

I recently tested the Moman C2 wireless microphone and compared it to the Rode Wireless Go. Using a wireless microphone has been a real game changer for me. Today I want to show you my 10 best setups. You can use any wireless microphone of course, I will use the Moman C2 but you can also use the Rode Wireless Go for example. Let’s go!
(Klickt hier, wenn ihr den Artikel auf Deutsch lesen wollt!)
Wired vs wireless system
Before using a wireless microphone I usually recommended using a lavalier microphone with a long cable for improved audio (click here for the article in German). But this can get annoying very quickly because it is very easy to forget that there is a cable connecting you to the camera and when walking away the camera lands on the ground (it’s the same when you have your headphones connected via a cable to your desktop PC).
Using a wireless microphone system is much better of course, you can walk away and come back no problem, also the sound will always be good, no matter how far you are away from the camera.
Today I want to show you my 10 best setups using a wireless microphone. You can use any wireless microphone of course, I will use the Moman C2 but you can use the Rode Wireless Go for example.
Moman C2 @ amazon.com Rode Wireless Go
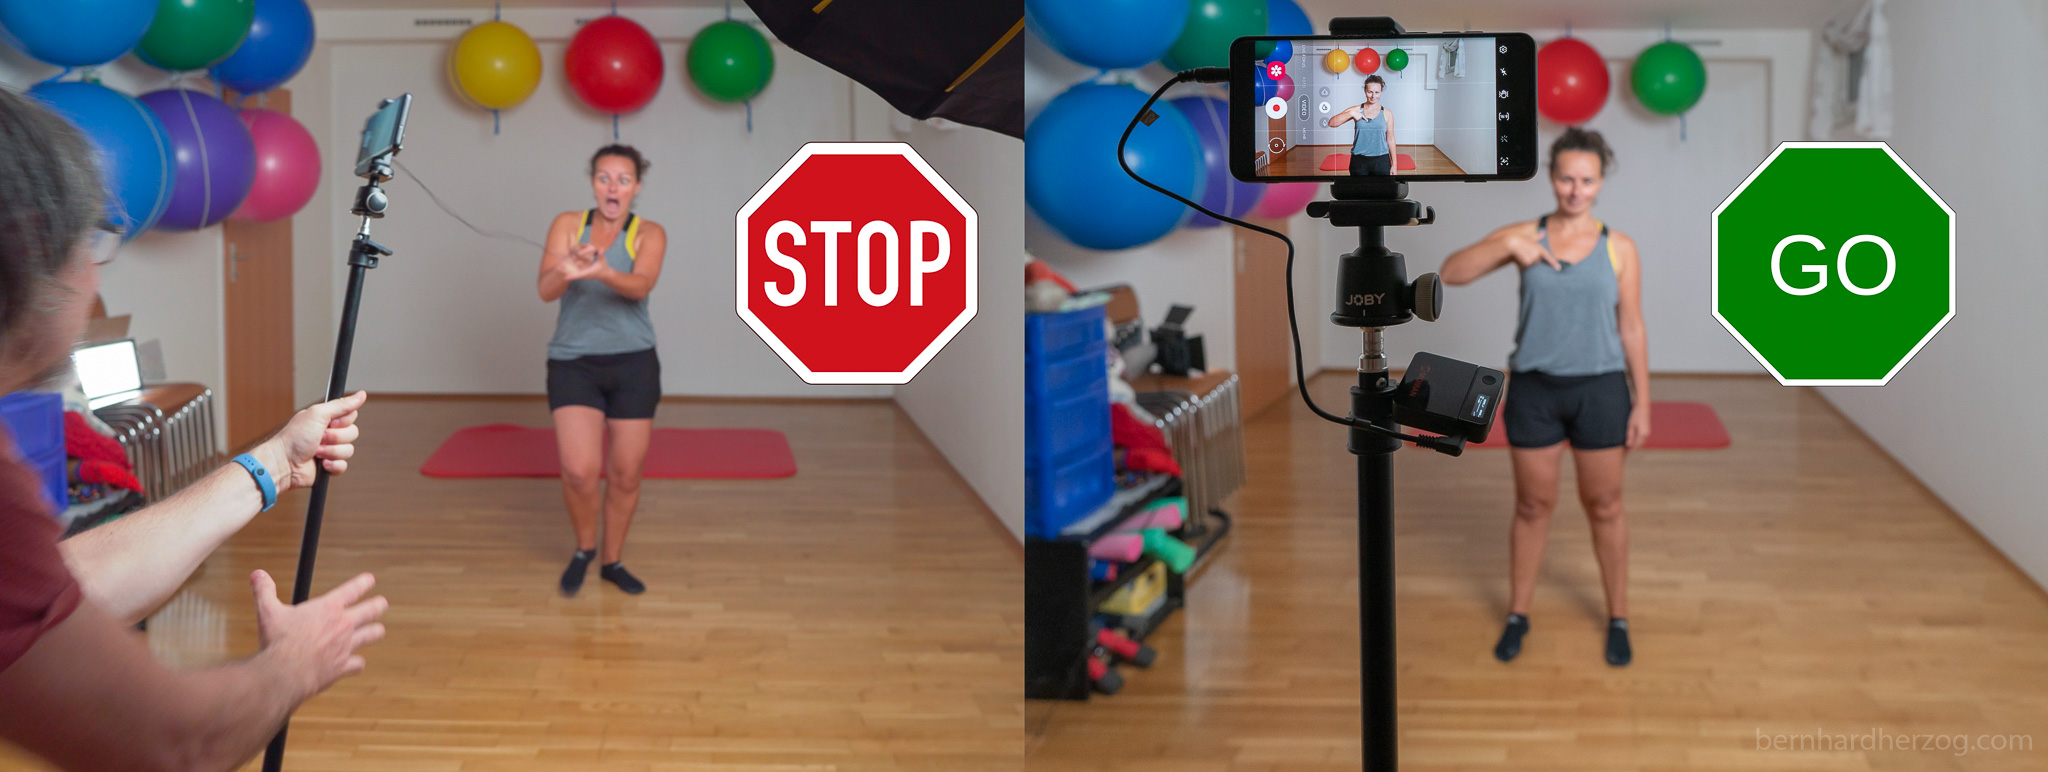
1. Smartphone on a Tripod
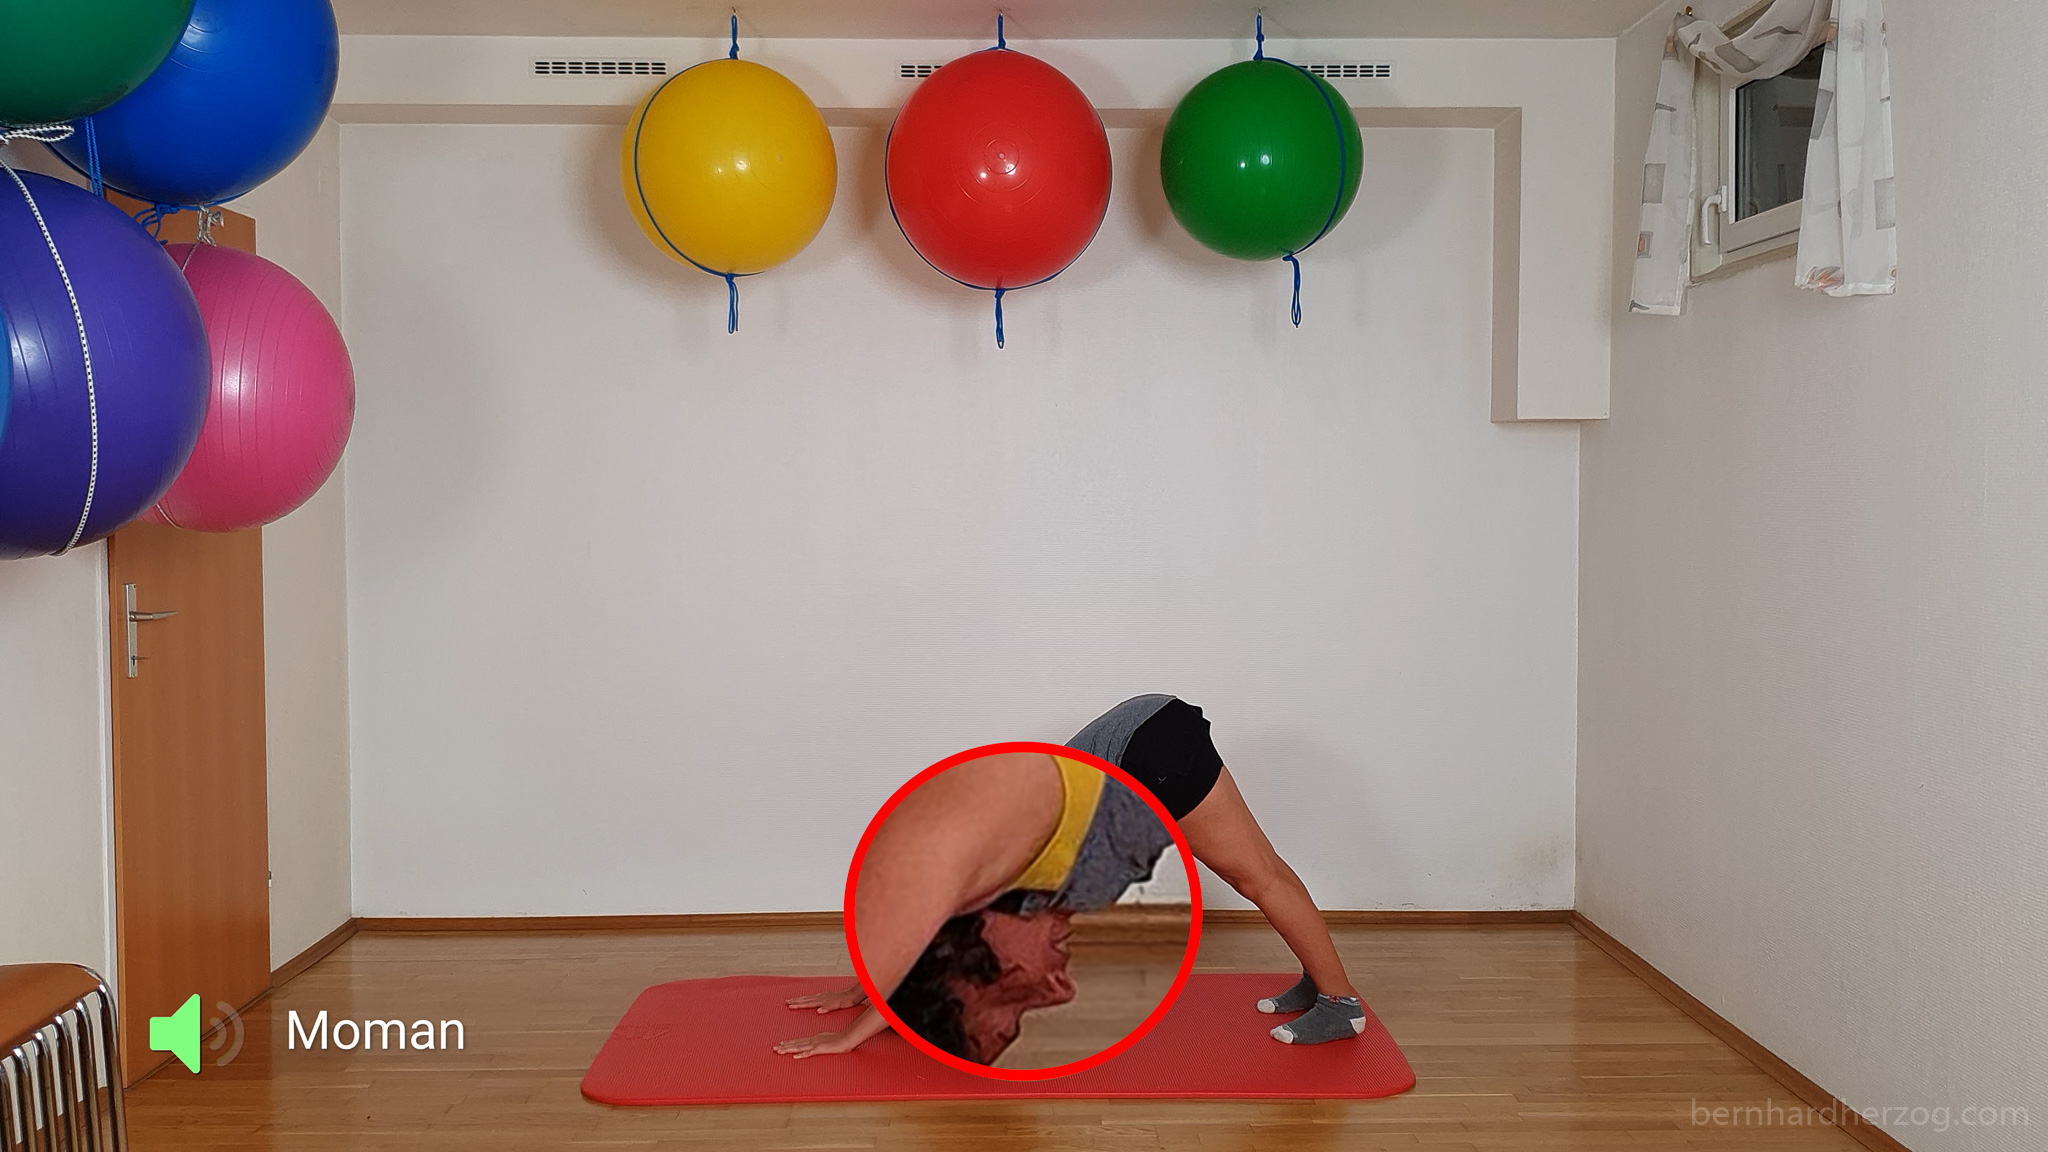
As already mentioned we filmed an online Yoga class using my smartphone (thanks to my girlfriend Patricia for her help). These kind of classes are very popular right now because of the pandemic.
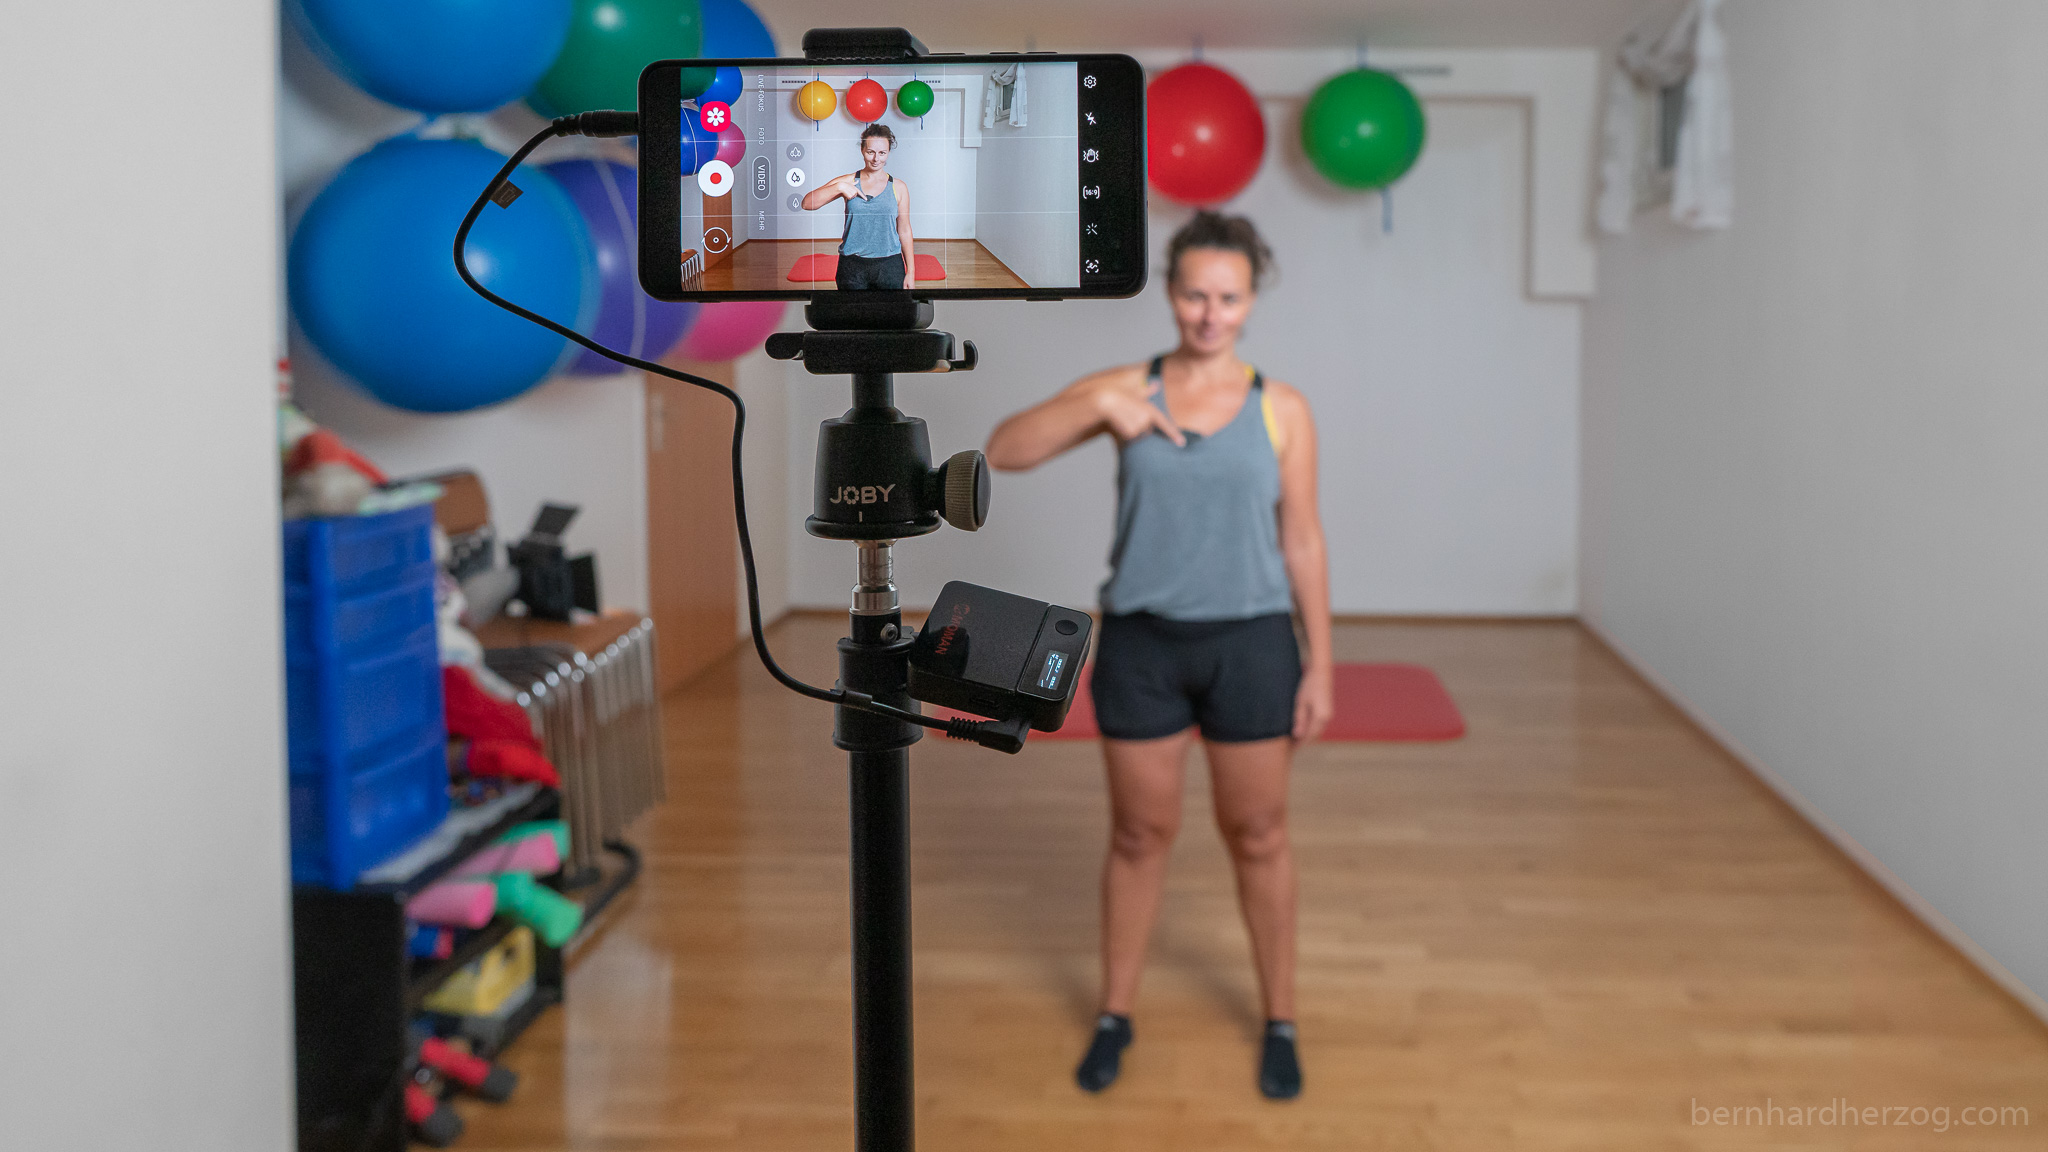
We plugged the receiver into the headphone port and let it dangling down from the smartphone.

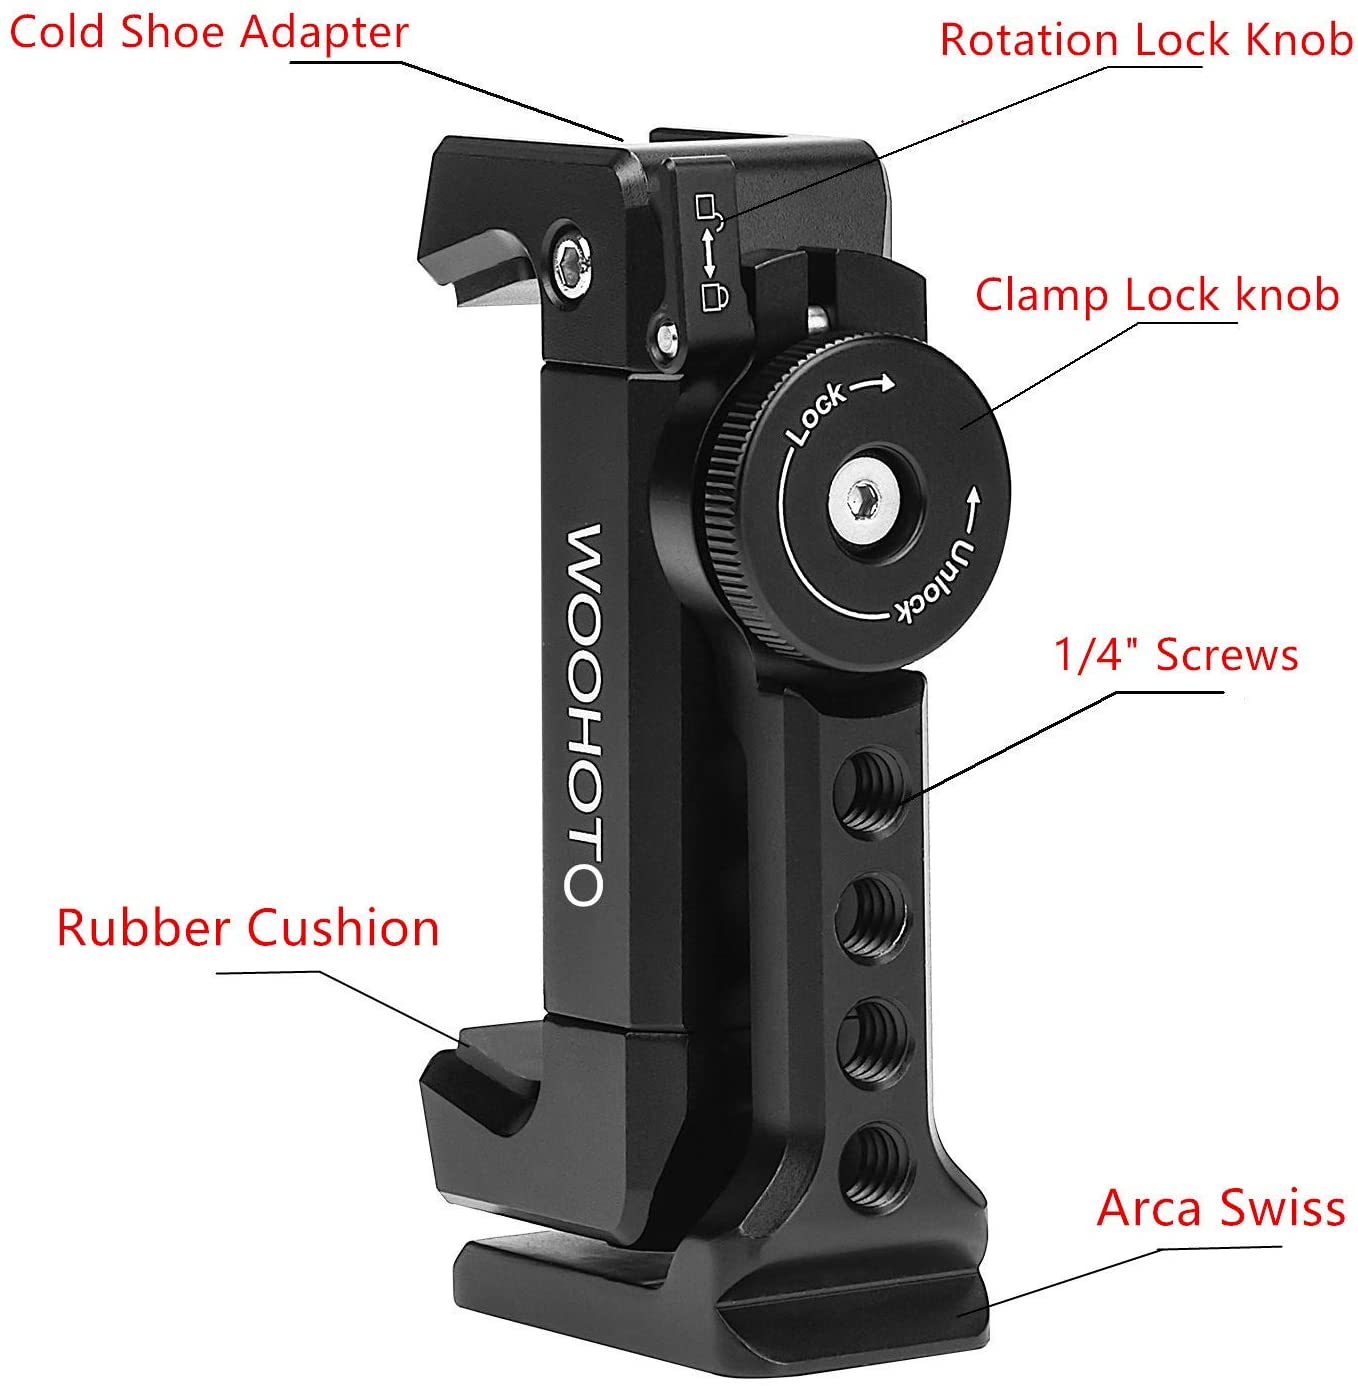
You will need a phone tripod adapter for your smartphone. I recommend you to buy one with a cold shoe adapter even if you will not absolutely need it for a static tripod setup.
A TRRS smartphone cable is included in the Moman C2 package.
For newer iPhones you will need an adapter cable because there is no headphone port anymore. We did not have this adapter that’s why we filmed using my Samsung s10+. (Also for newer Android phones you might need an USB-C to 3,5mm Adapter.)

The transmitter can be simply clipped on the sports bra or on the shirt.
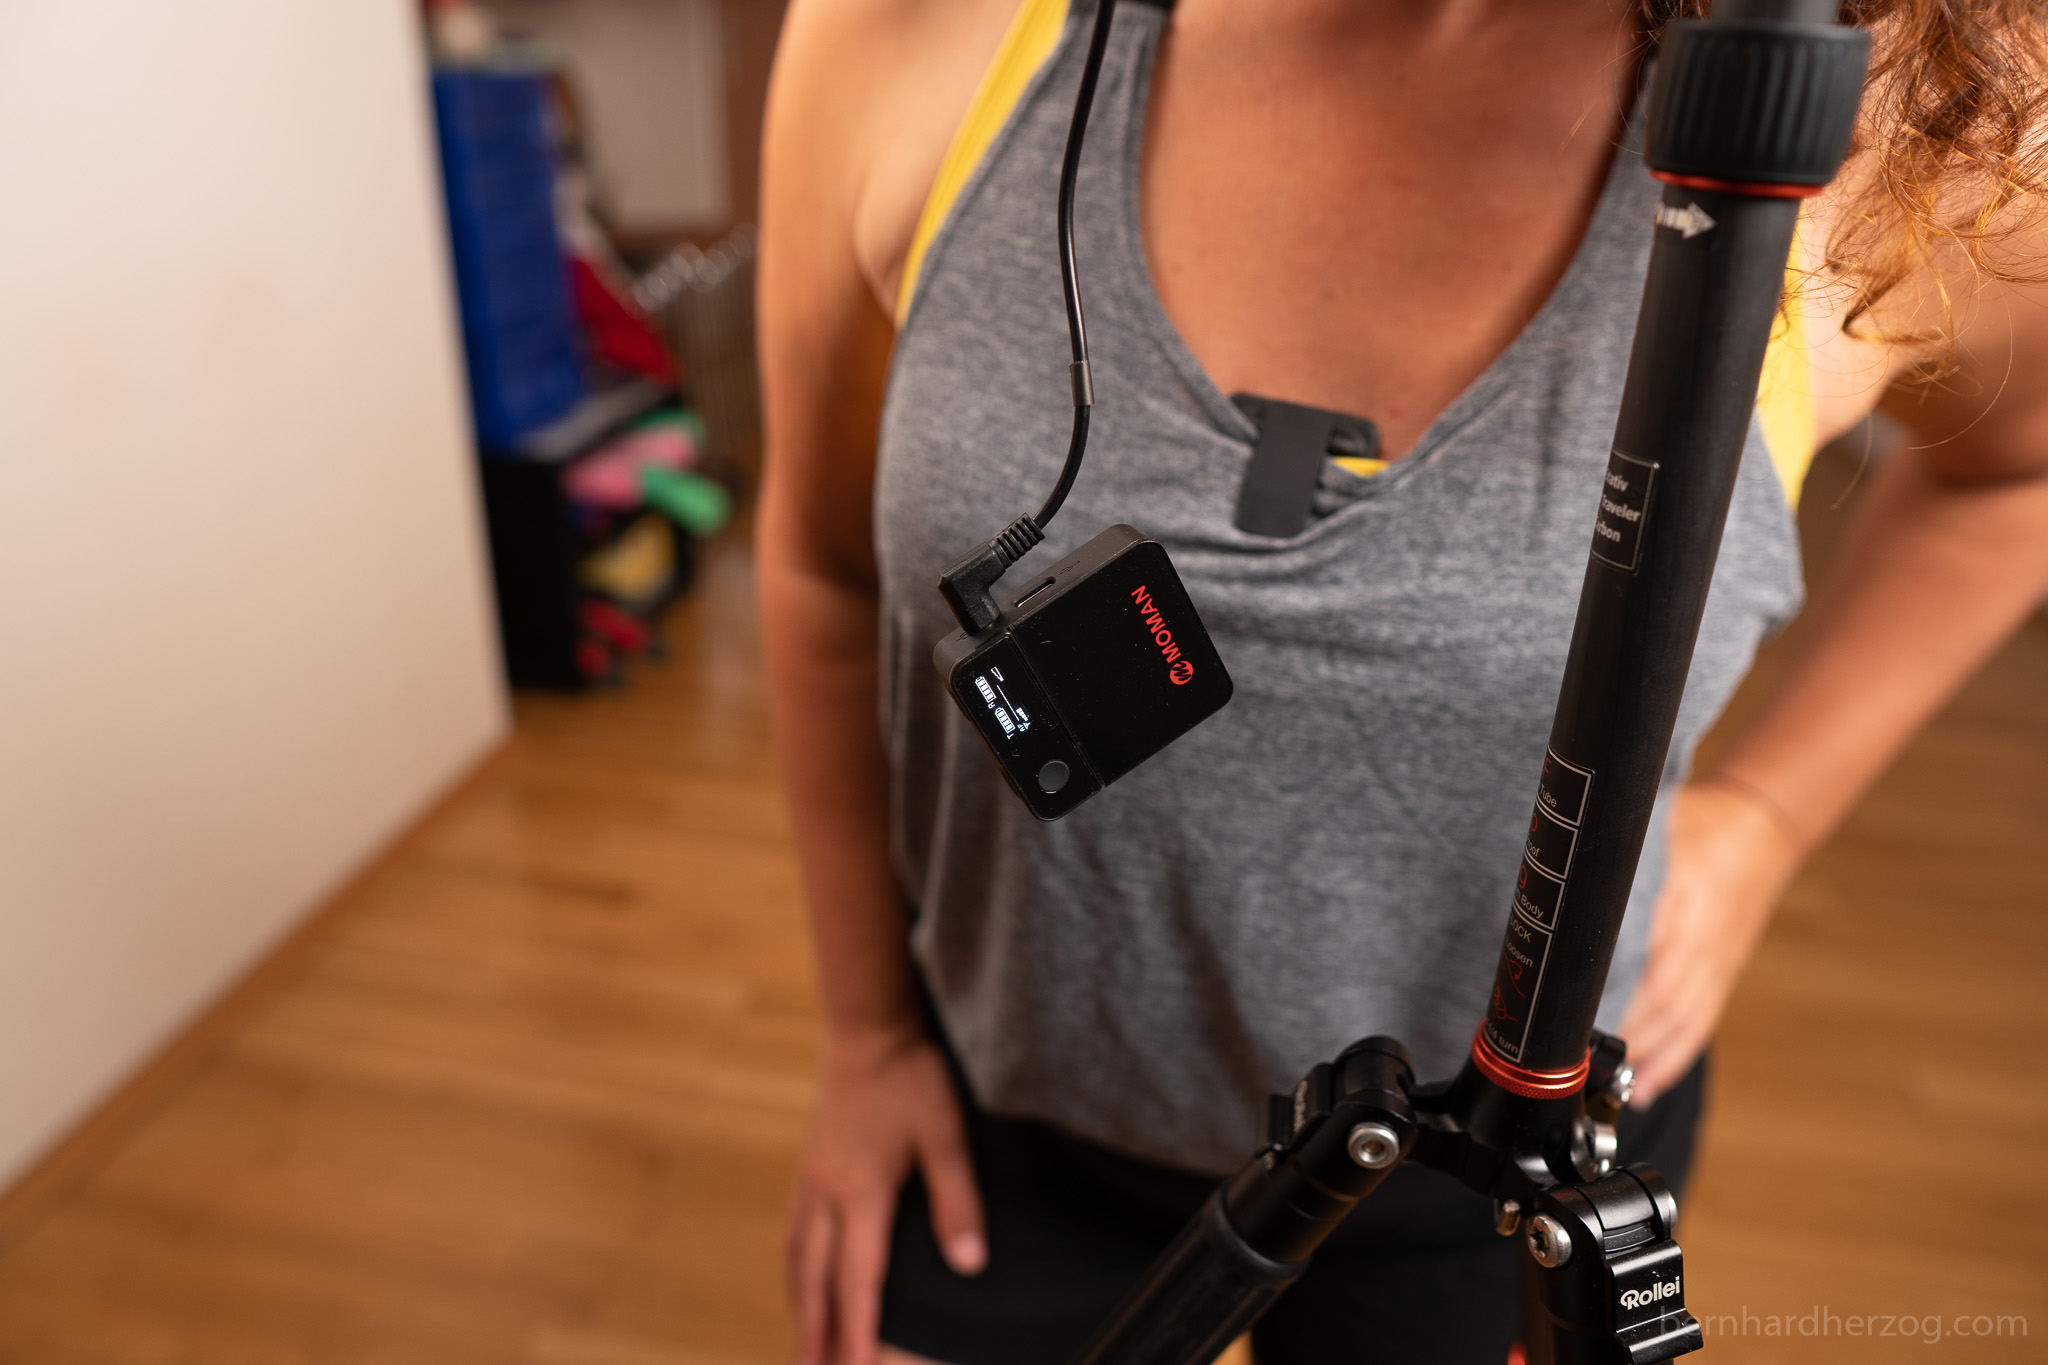
One finding was that because of the breathing during the exercise it would have been beneficial to use the supplied wind muff.
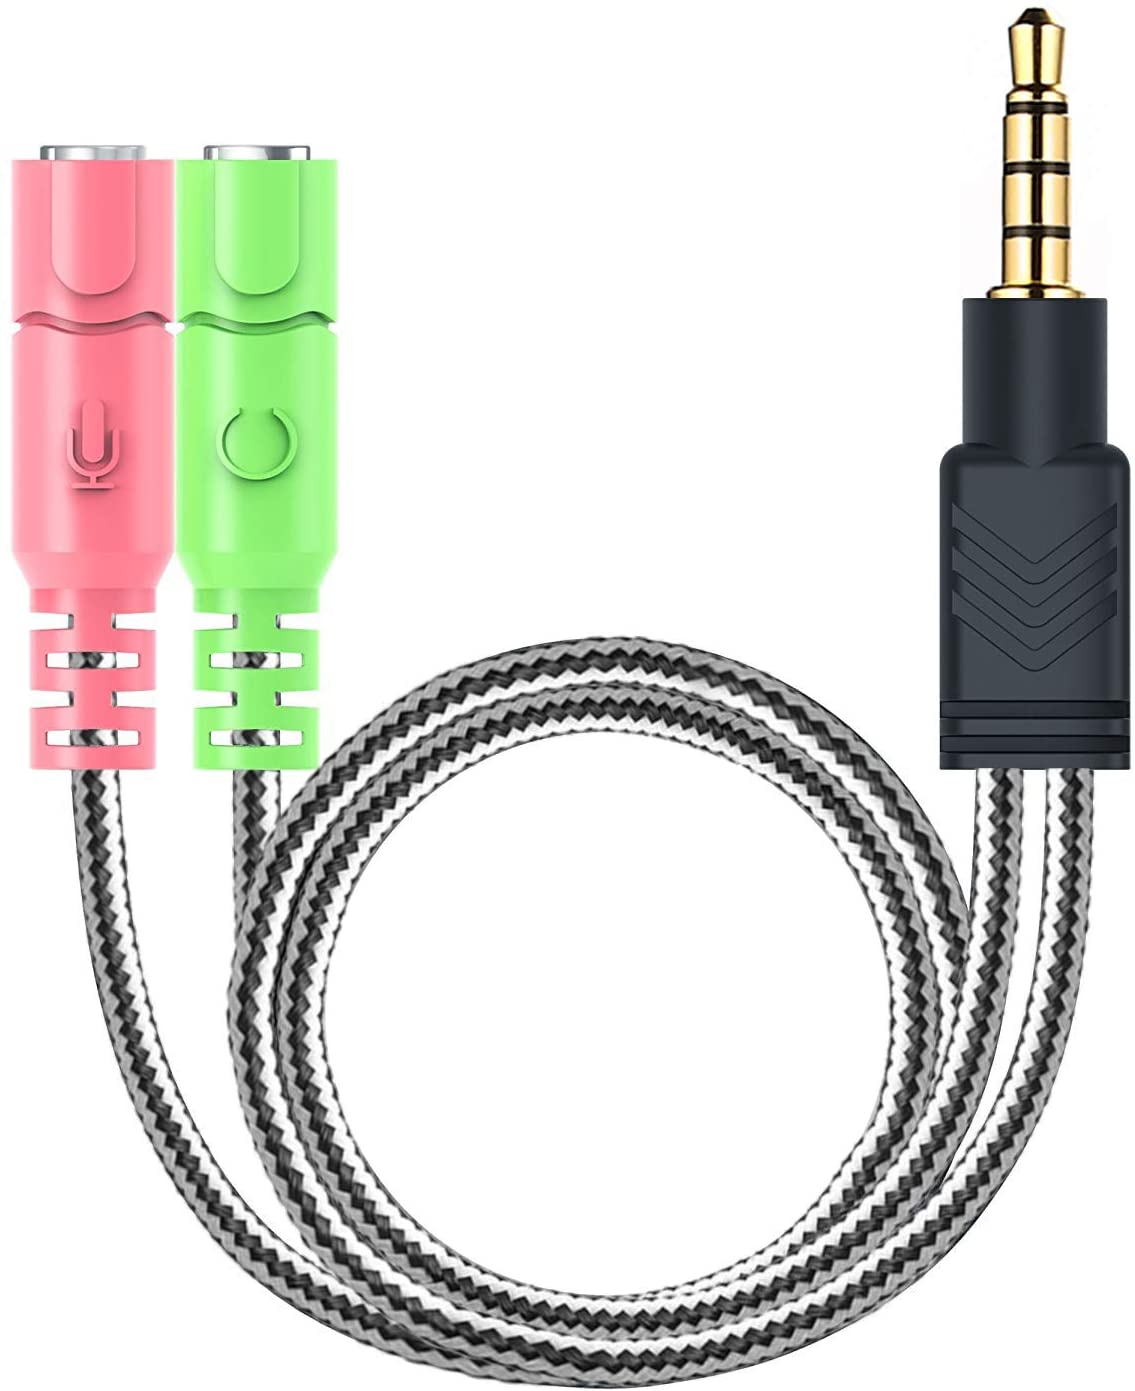
Also I recommend you to buy a Y-Splitter cable so you can connect headphones at the same time as the wireless receiver. Because otherwise if you want to play back your recording you will not hear the audio unless you remove the TRRS cable first.
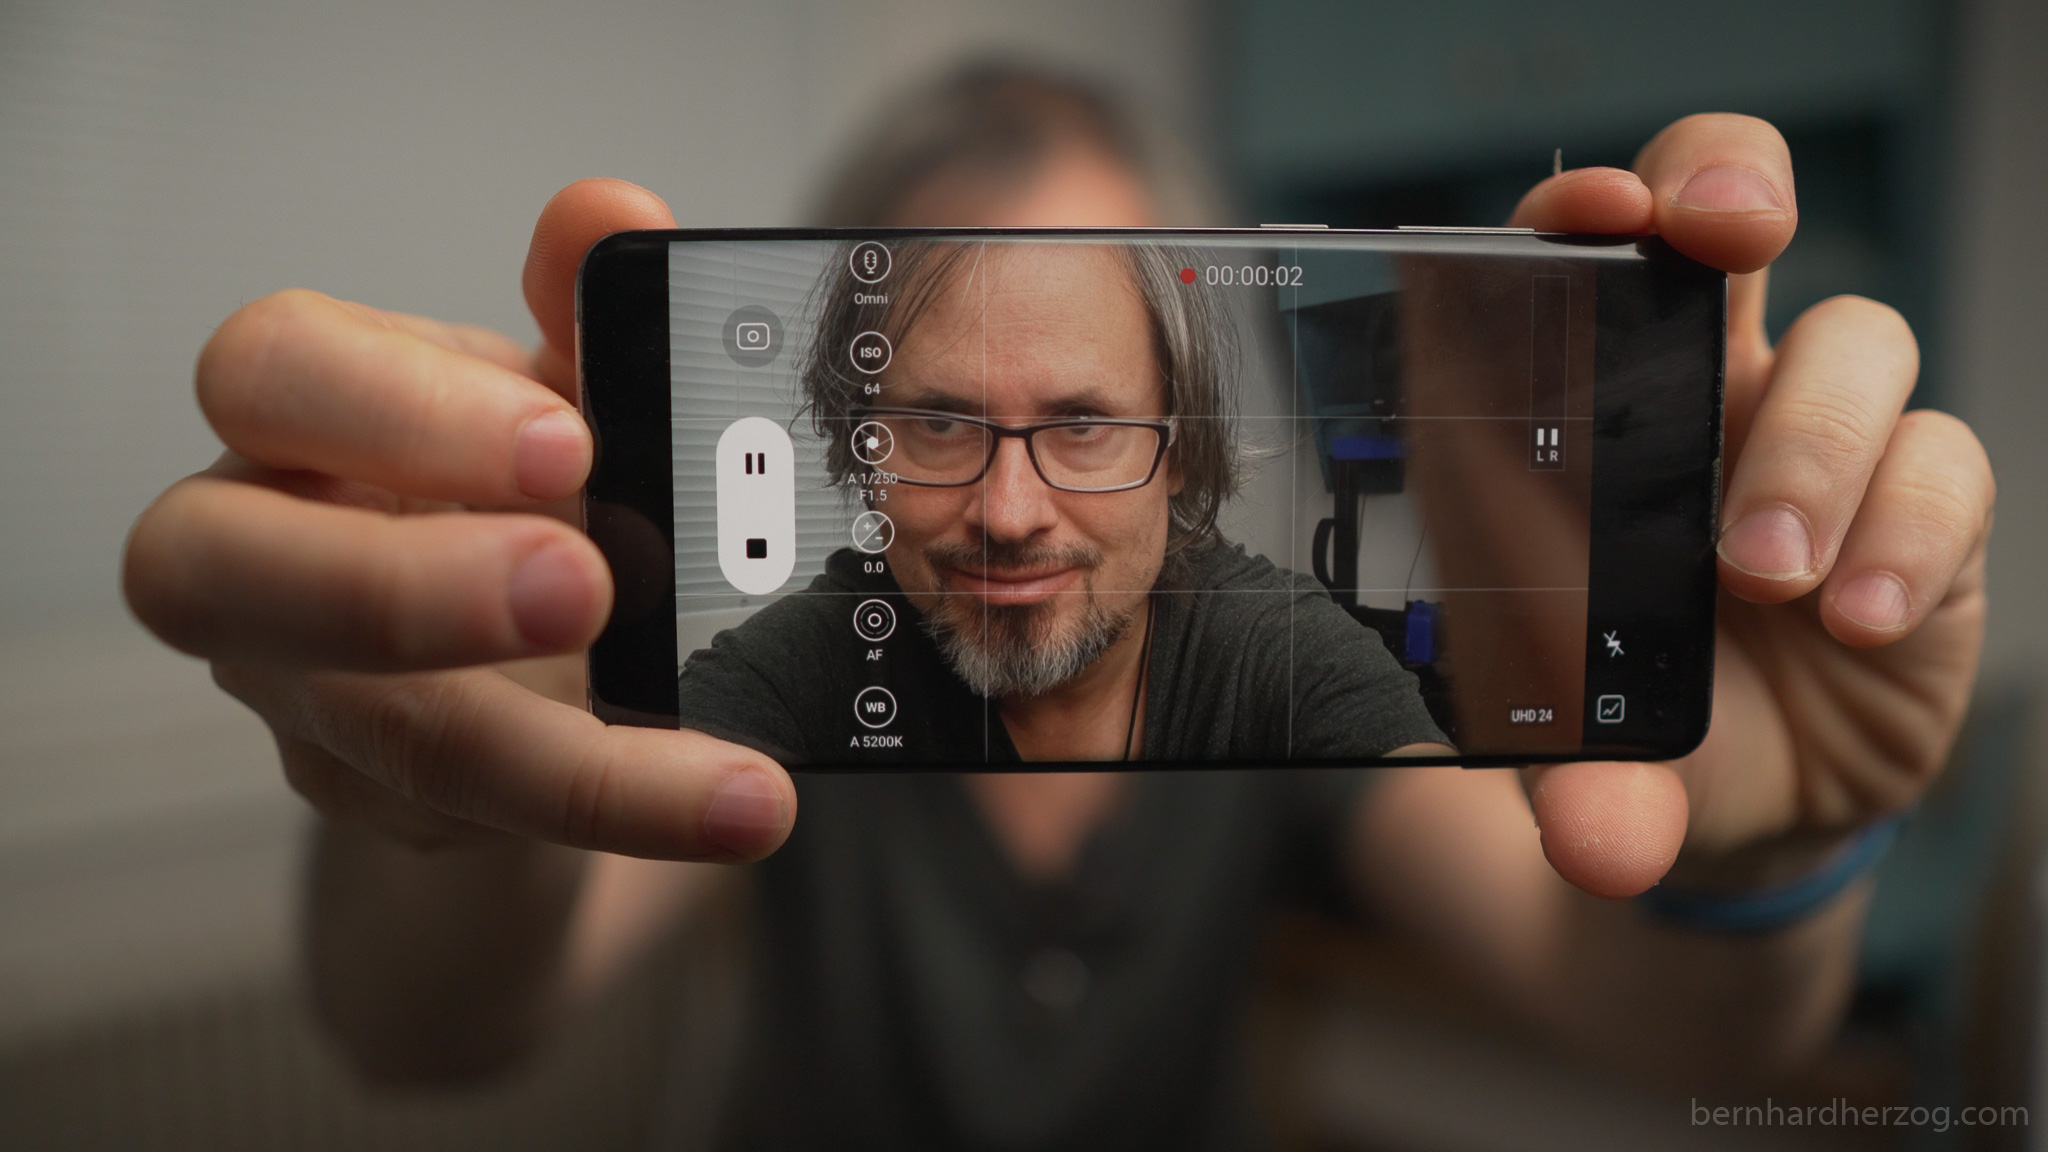
With the Samsung s10+ I recommend to use the Pro Video Mode because it has a nice audio meter so you can see if the microphone is working (but then don’t forget to activate the USB microphone or you will just use use the internal microphone!).
Recommended Tripod (also good for overhead shots) @ amazon.com Tripod Mount for Smartphone with cold shoe mount (can be rotated vertically for Instagram) Headphone/Mic Adapter for iPhone Headphone/Mic Adapter for newer Android phones Y-Splitter cable
2. Selfie Stick
A cool idea for non-static shots is to use a selfie stick. And you will have clear audio if you use a wireless microphone with the supplied wind muff.
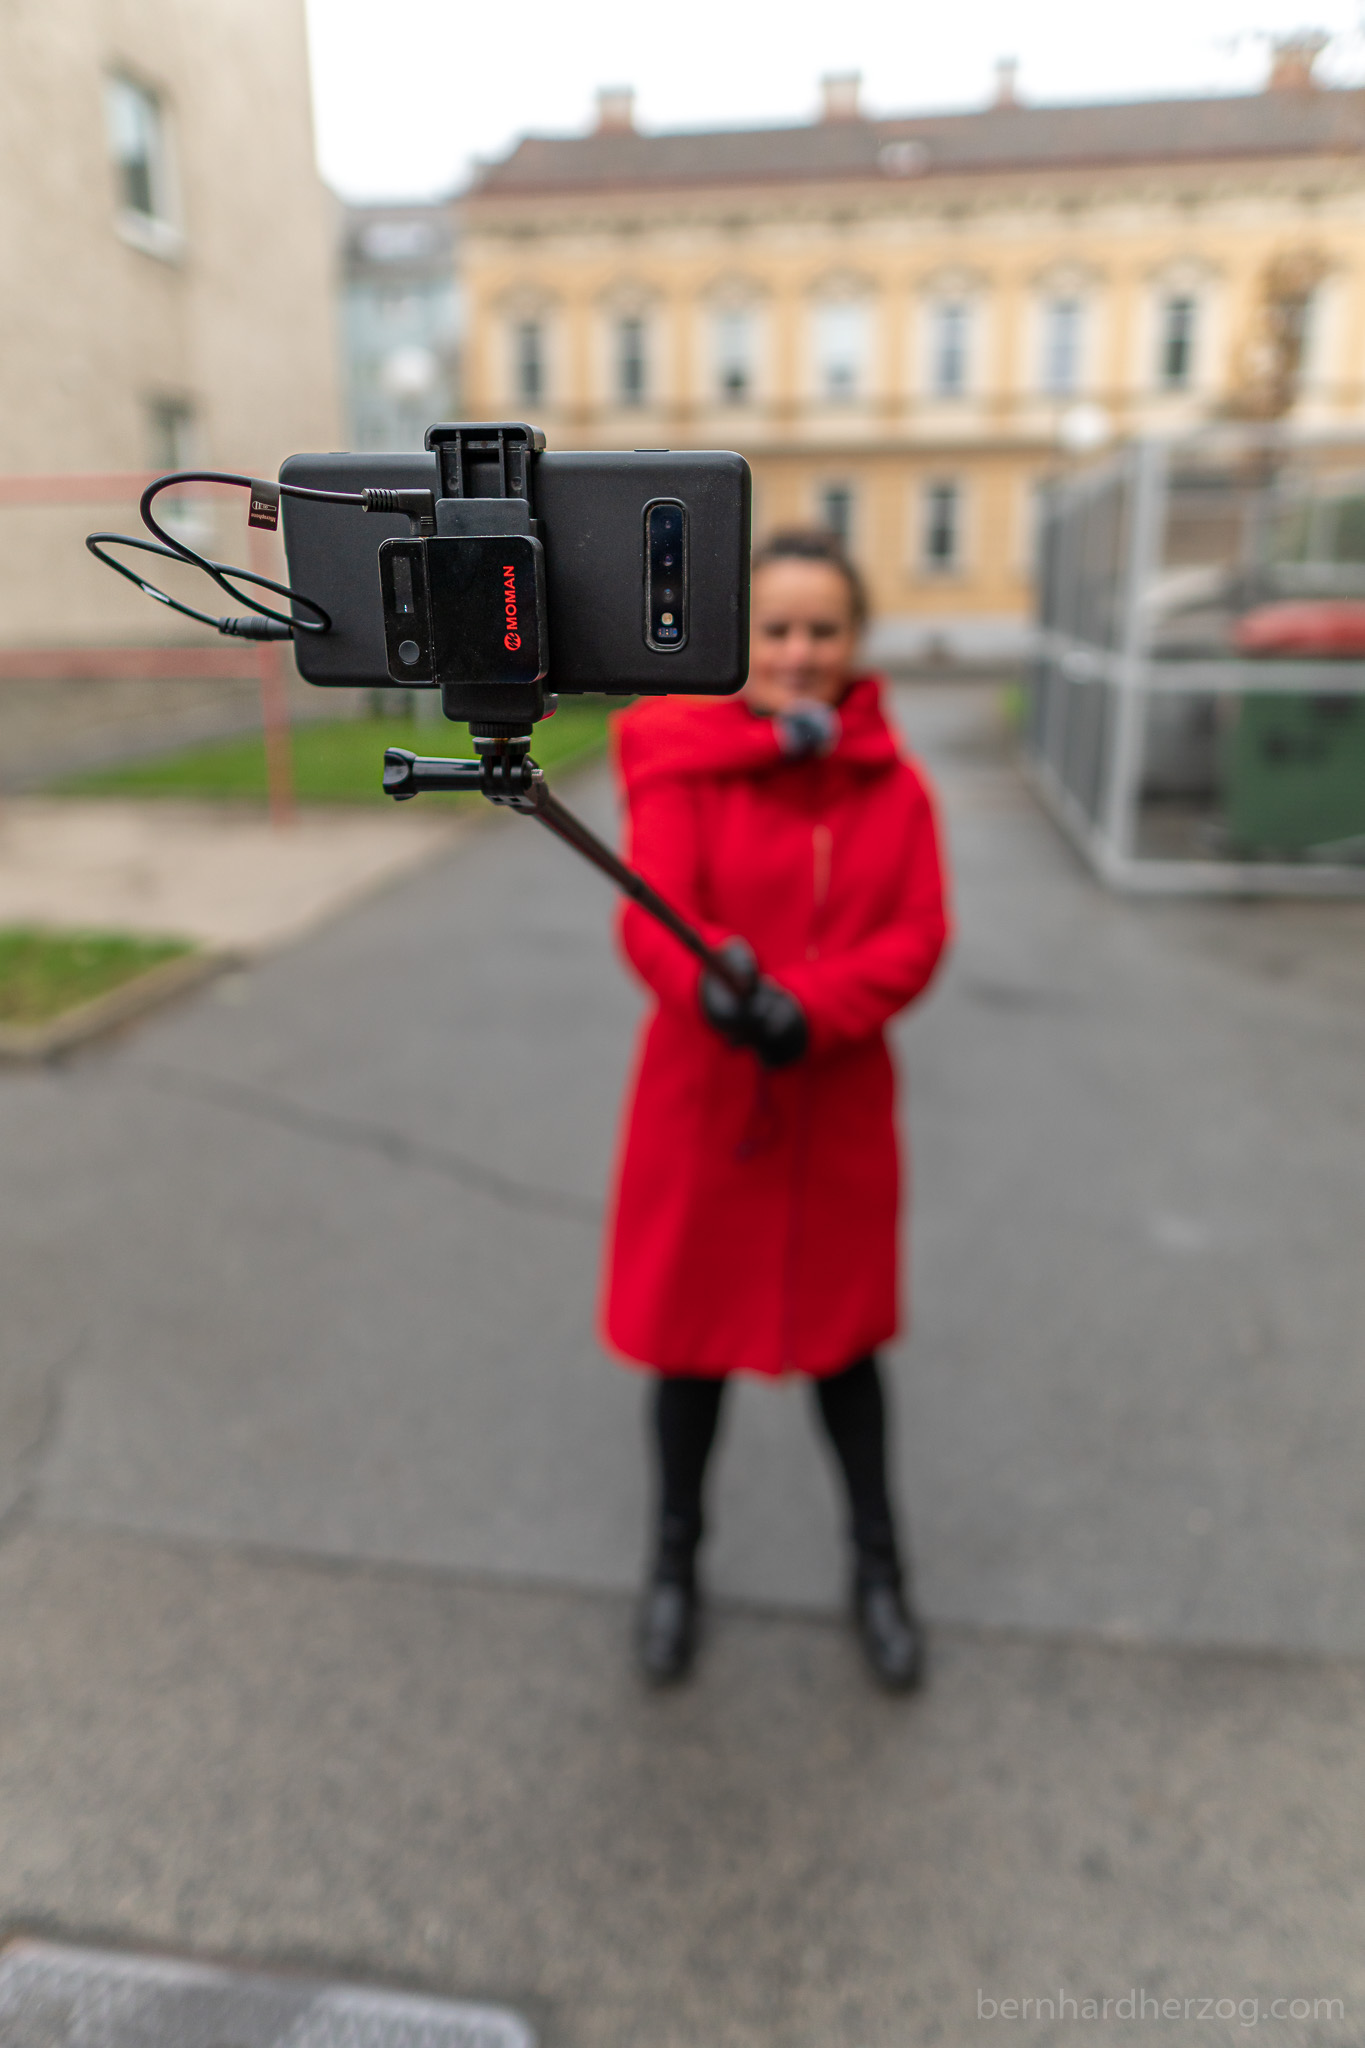
For this setup I recommend you to buy a tripod mount that already has a cold shoe mount to put the wireless microphone receiver.
It is also good to have a small bluetooth remote for your smartphone so that you can start the video without touching the smartphone. Because otherwise you will always have to cut out the beginning of each clip in a video editing program later.
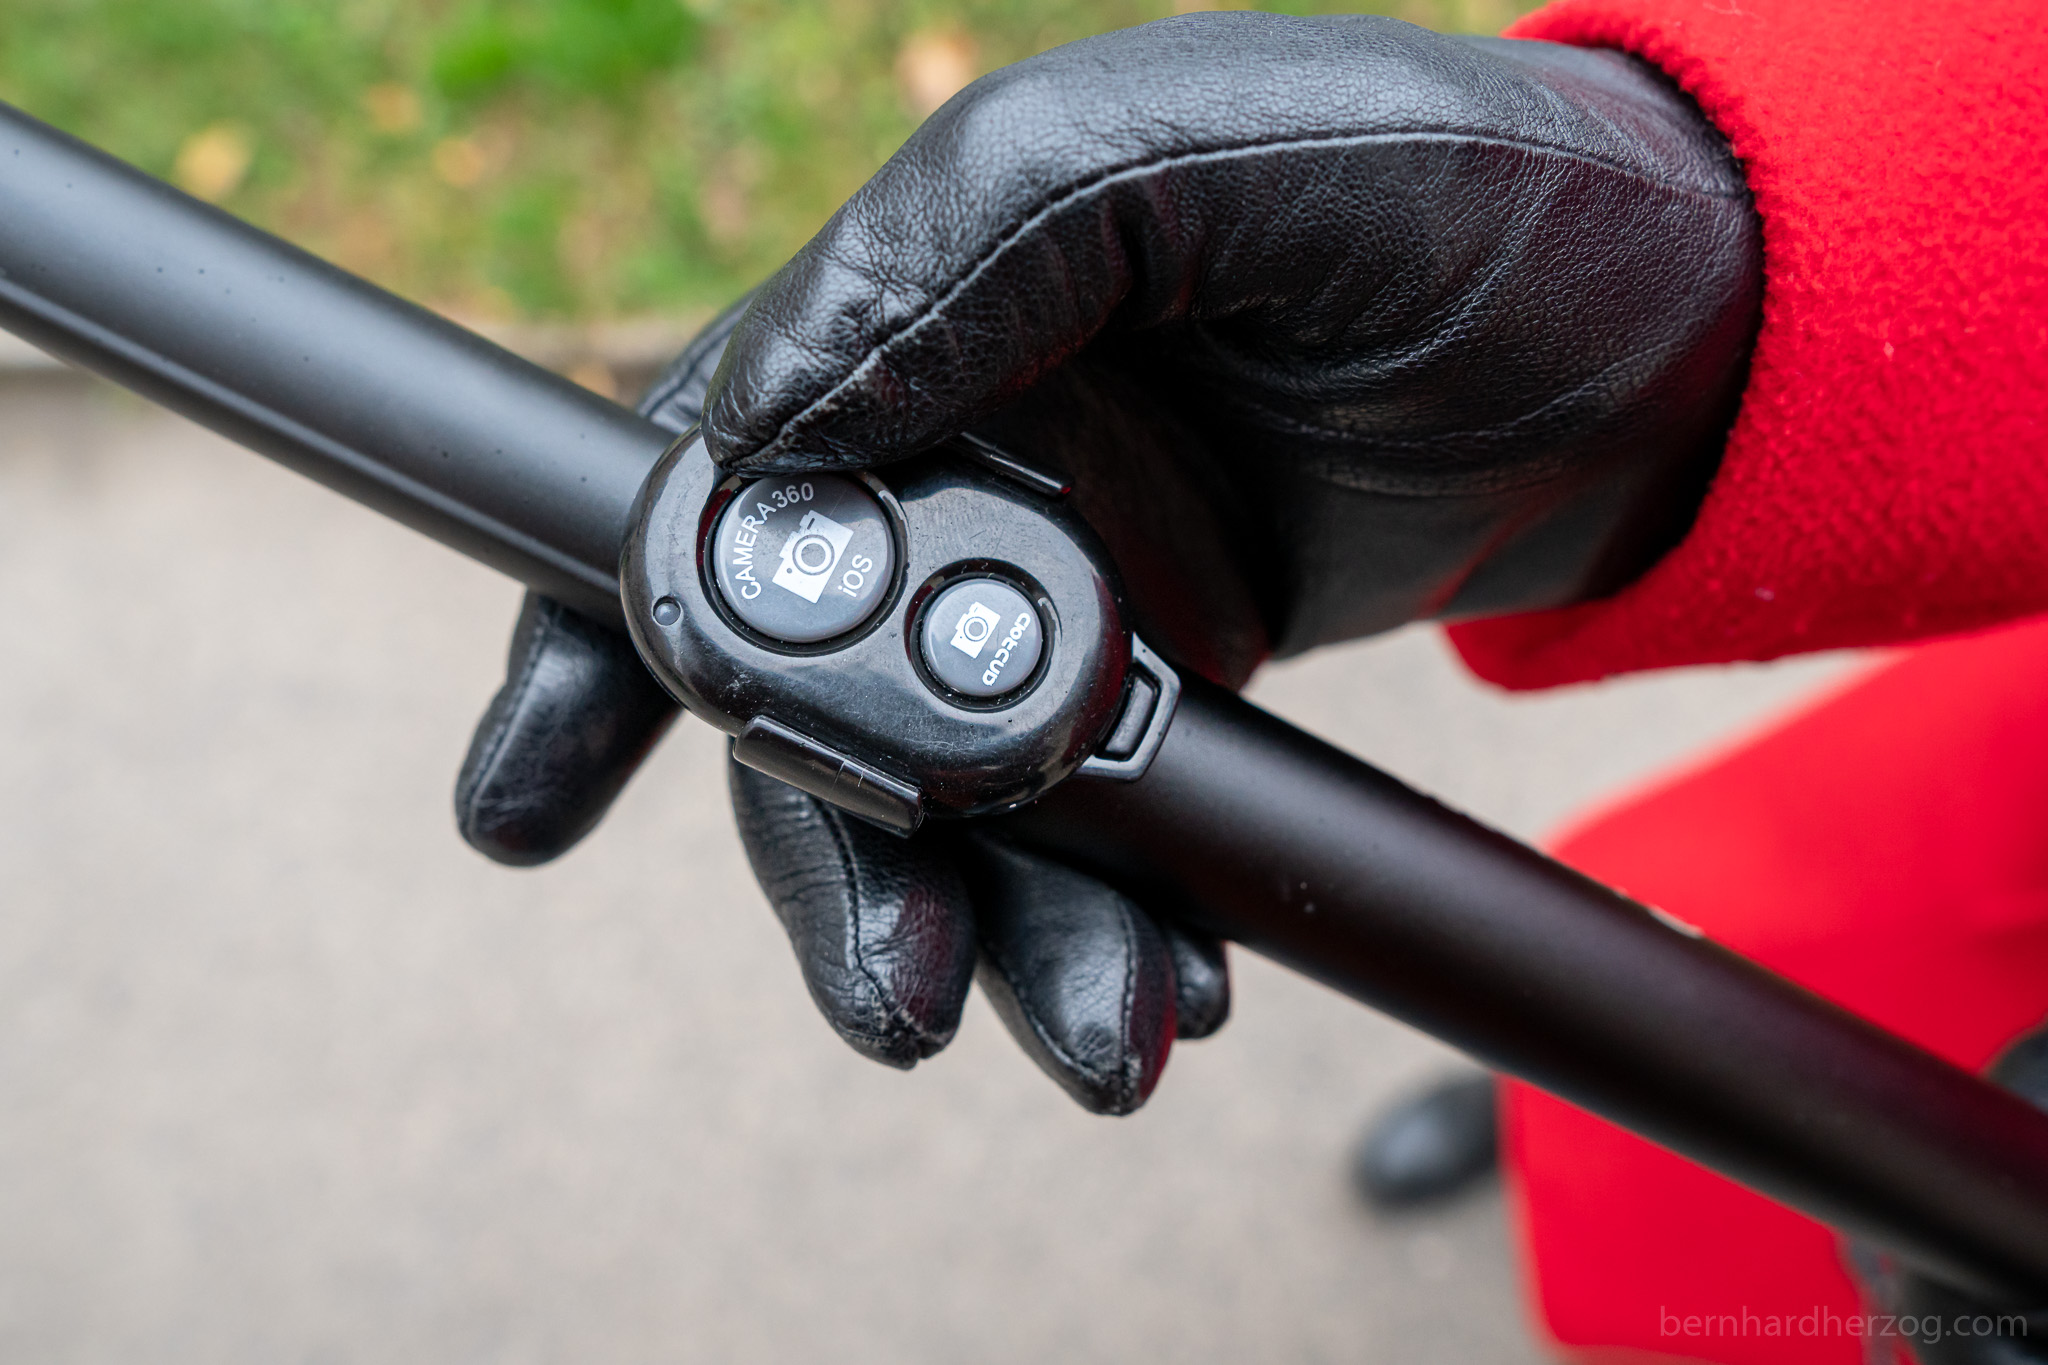
Selfie Stick Tripod with cold shoe Tripod Mount for Smartphone with cold shoe mount Bluetooth remote
3. GoPro (or DJI)
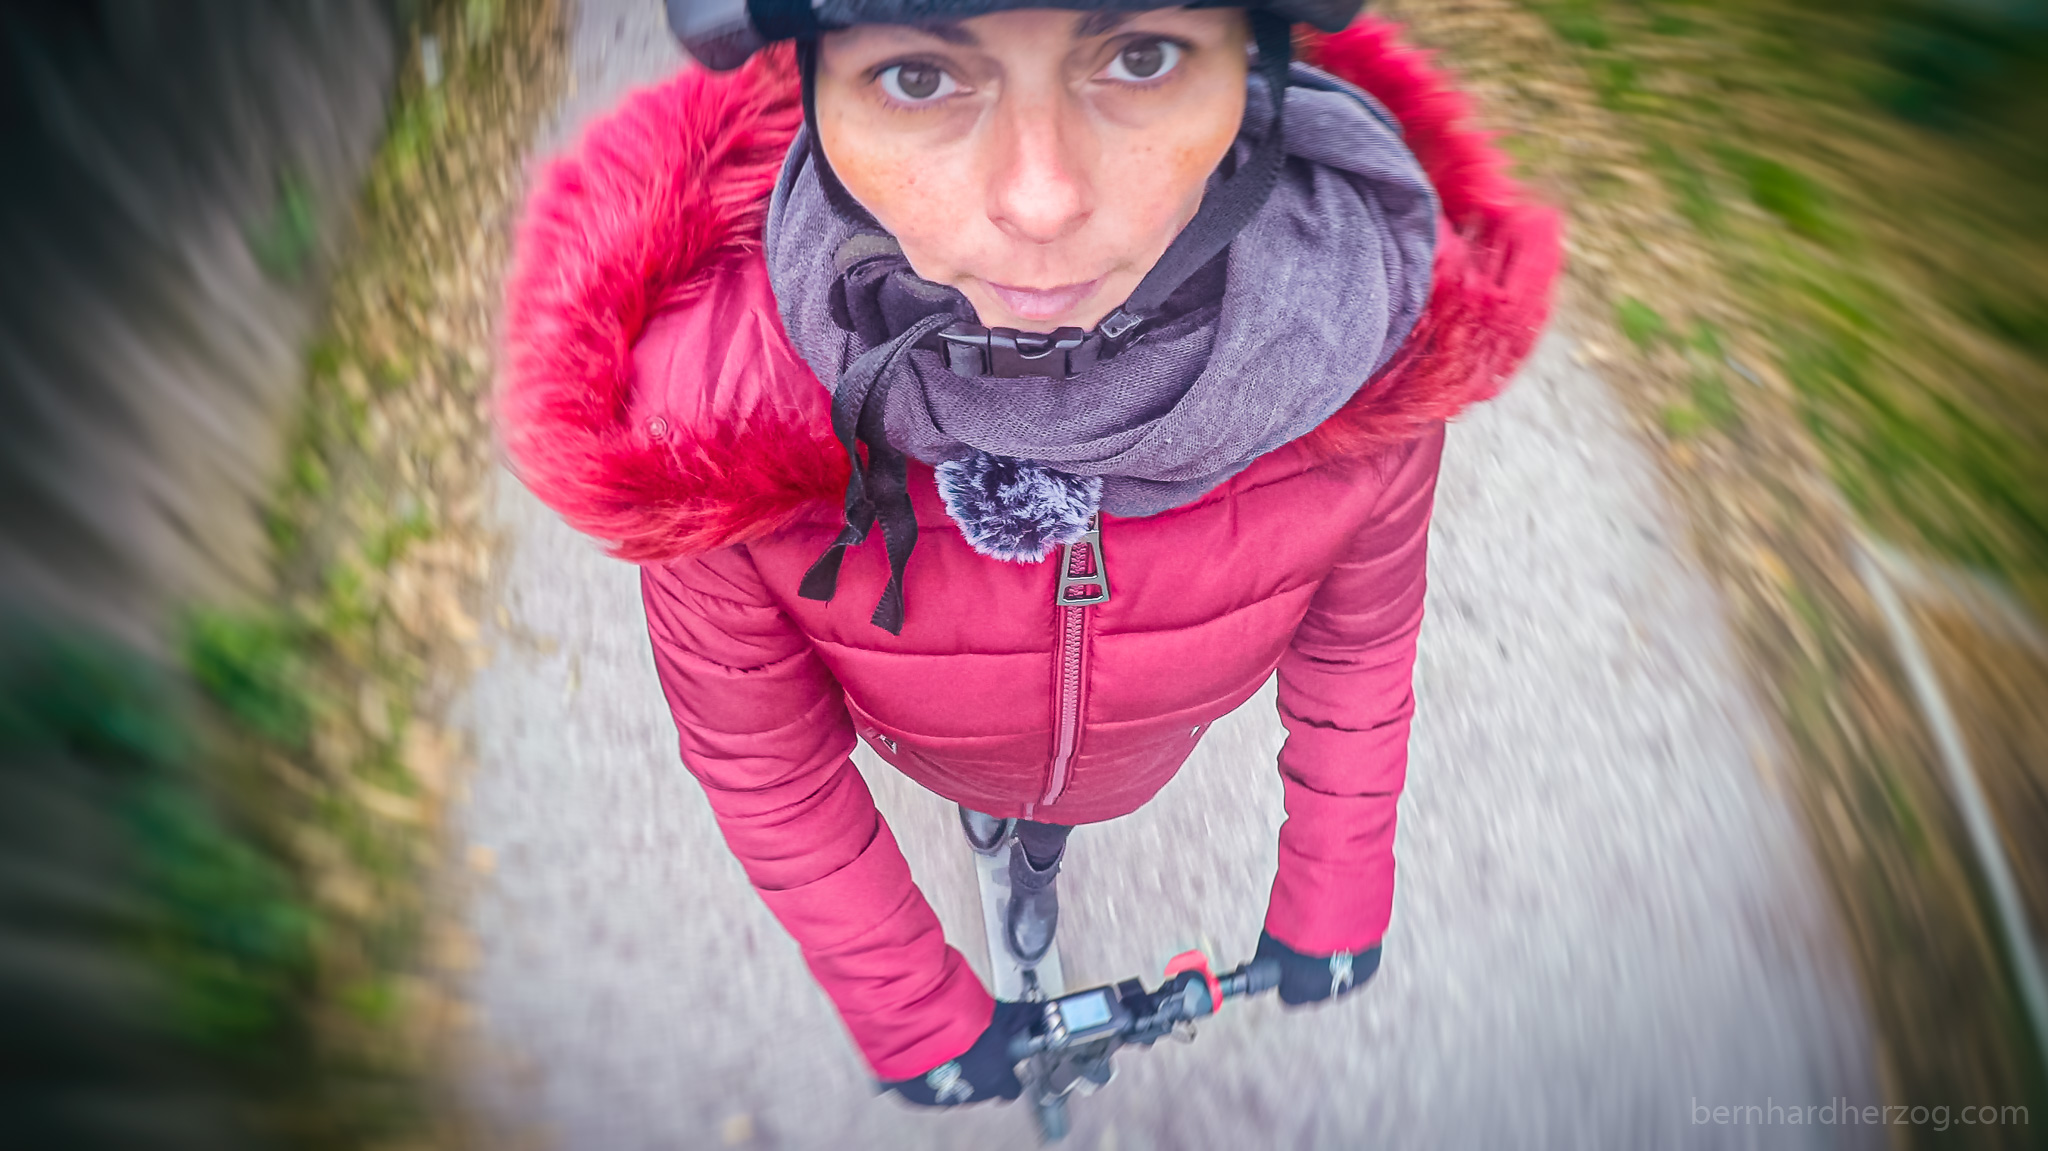
Using a wireless microphone with a GoPro is one of my favourite setups. I will show you my most advanced setup, of course you can dial it down and simply mount the GoPro to your bike/scooter handlebar. In this example I have mounted the GoPro to my bicycle helmet for a cool first person perspective (not good for people that suffer from motion sickness easily!).
I have attached the GoPro to the helmet using an extension arm so that I can film myself.

The extension arm uses two points of contacts to avoid shaky footage. (This actually works better without the GoPro stabilizations turned on because the person’s face will be very stable and also the field of view will be wider because stabilization would crop in.)

The Microphone Receiver is clipped to the helmet so that not all of the weight is in front.
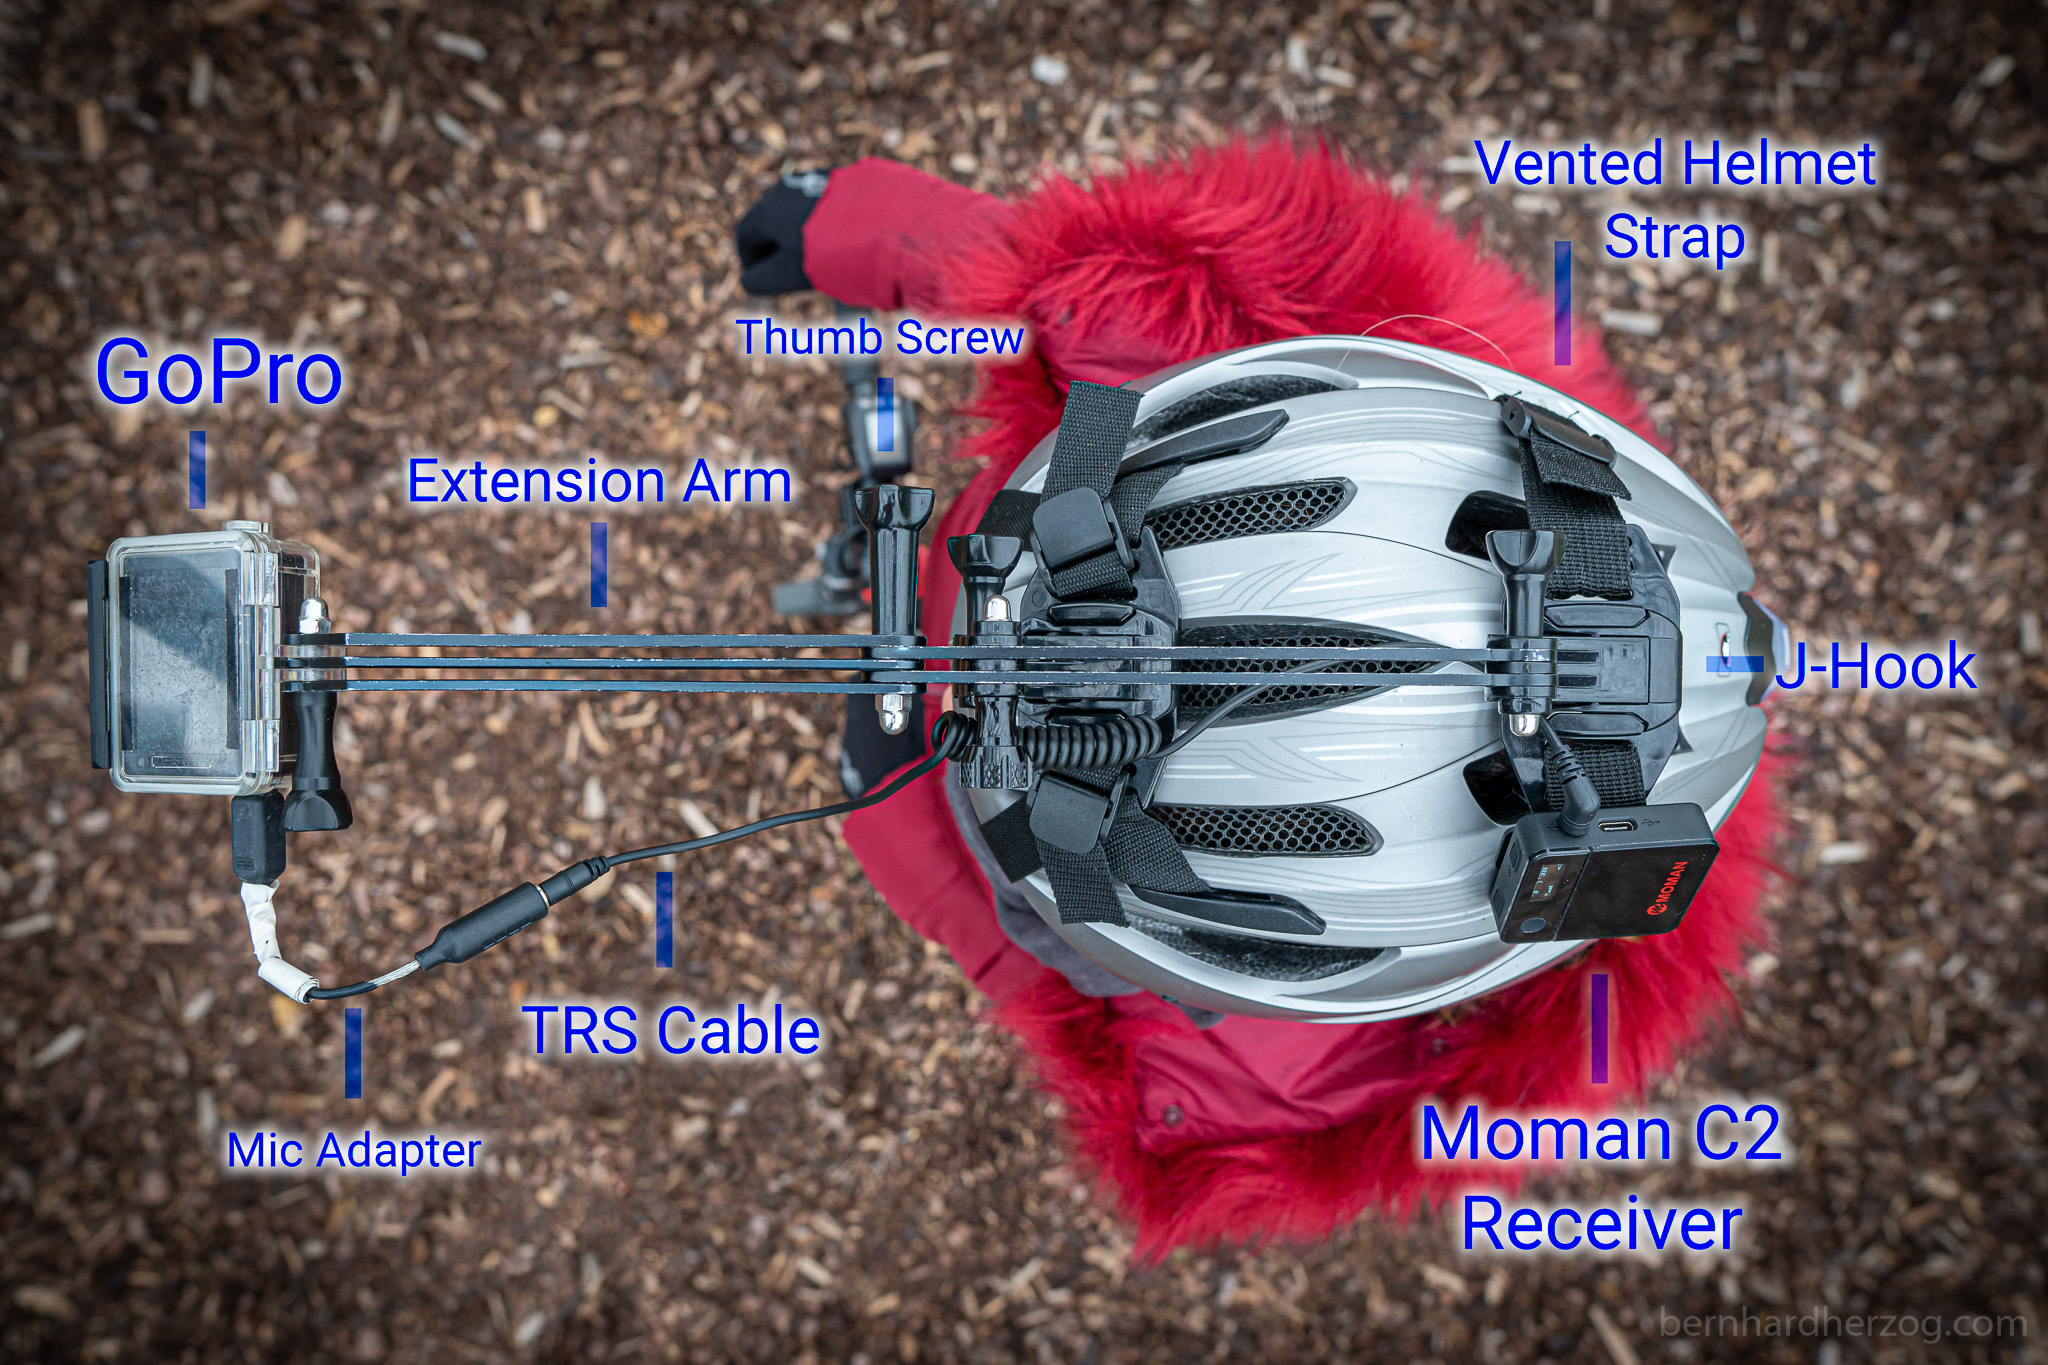
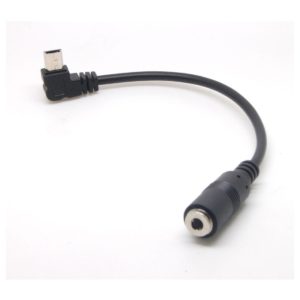
One problem with GoPro cameras is that they don’t have a 3,5 mm jack to connect the wireless microphone to. You will need an adapter cable and it is a special cable that usually has to be bought from GoPro for a relatively high price. This is very annoying because when the cable breaks you have to buy a new one.
I still have the GoPro 4 and there is a small cable for the USB port but mine is already almost worn out. There are already some third party options for this luckily.
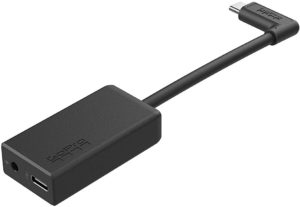
For the GoPro 5 and newer models there is a very chunky (and expensive) adapter that is difficult to buy because always out of stock.
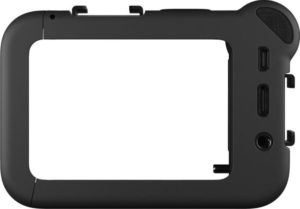
For GoPro 8 and 9 there is a “media mod” that has a 3,5 mm jack for a microphone and also a cold shoe mount.
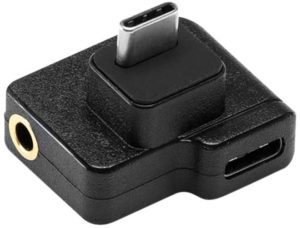
For the DJI Osmo Action there is a small USB Adapter piece. But I heard different things about connecting external microphones, i.e. that it does not work as well as with GoPros.
It is important to use a wind muff on the microphone because when riding the bicycle there is lots of wind that can destroy the audio.
It might be necessary to add a Denoiser Plugin to remove background noise when recording in quite environments with the GoPro. When recordings outside, this will not be necessary because the sound of cars etc. will be louder anyways.
Extension Arm Vented Helmet Straps (you will need 2) J-Hook Mounts (break easily, better buy more) GoPro 9 (turn off stabilization when using newer GoPros) GoPro 4/3/3+ Mic Adapter GoPro 5/6/7/8/9 Mic Adapter GoPro 8 Media Mod GoPro 9 Media Mod DJI Osmo Action Audio Adapter
4. Live Streaming Setup for your PC/Laptop
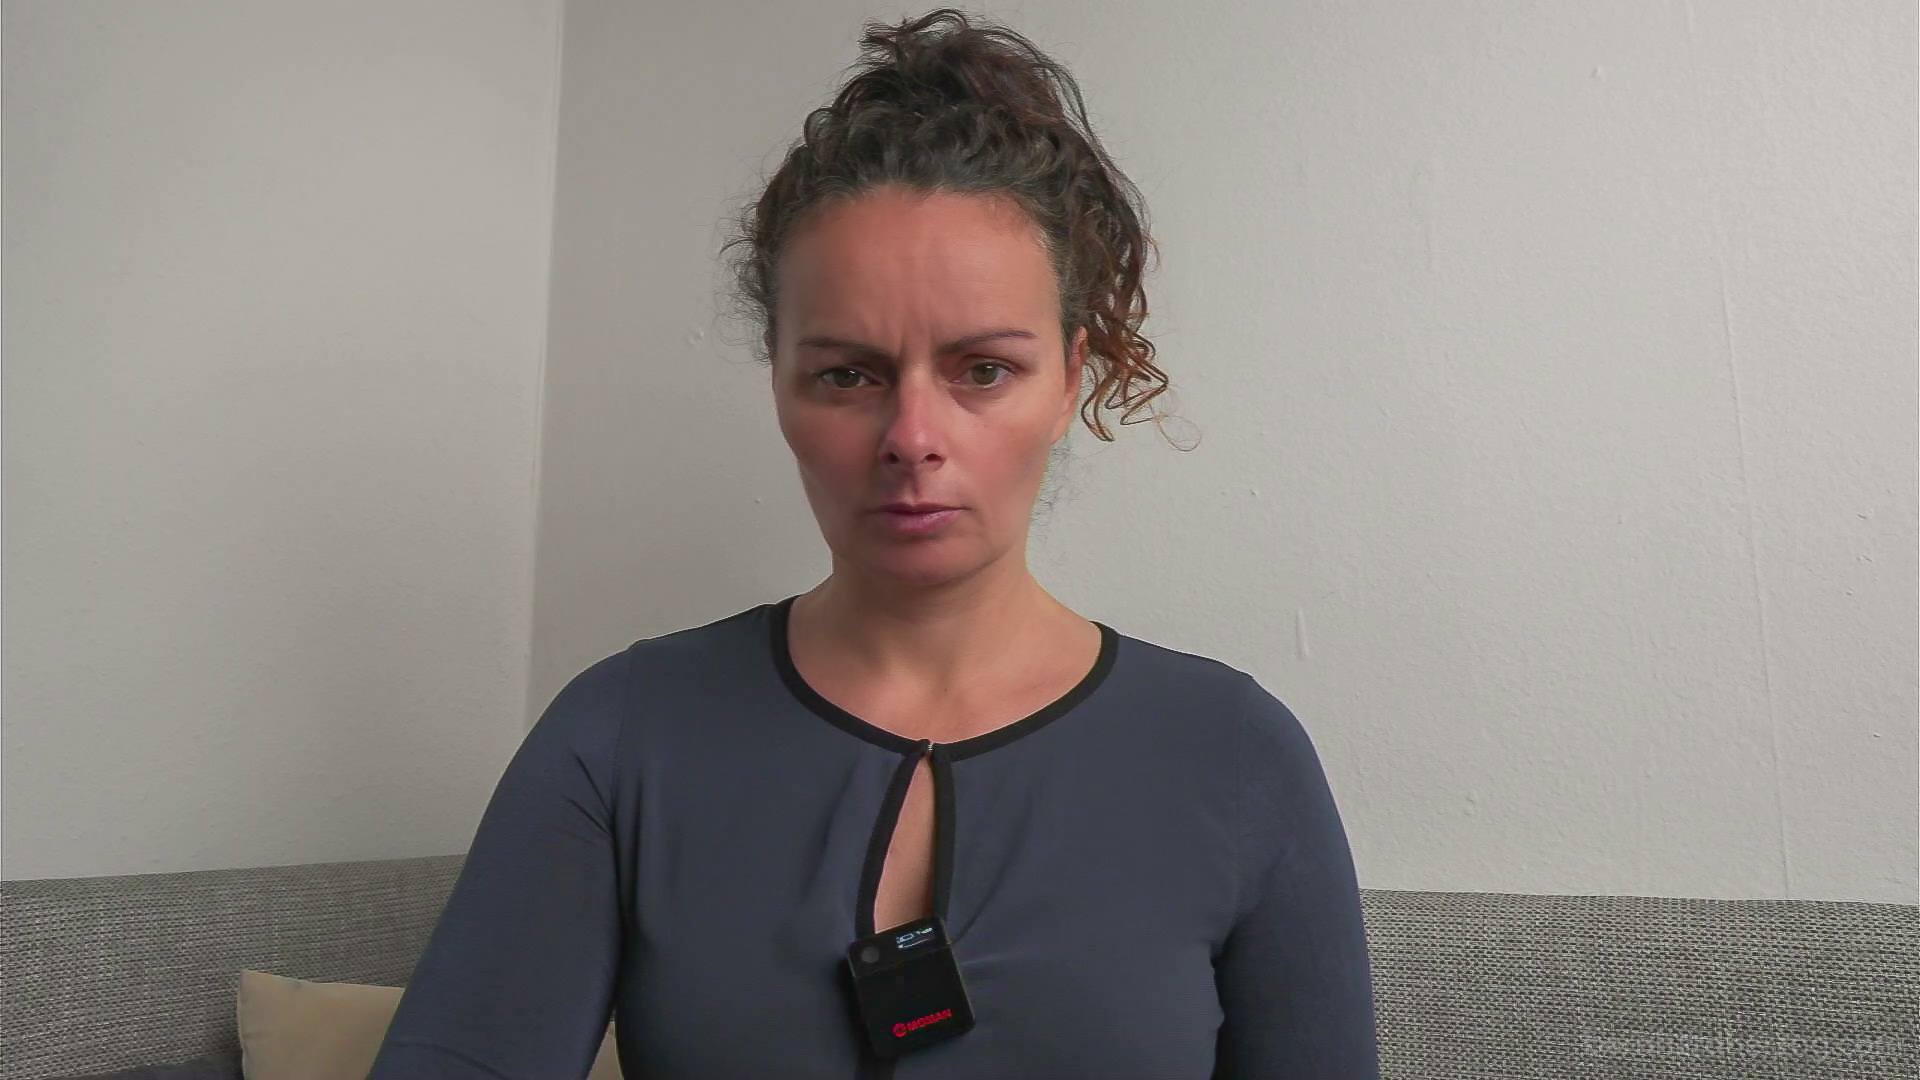
You can use a wireless microphone with your laptop for video conferencing with Zoom or Live-Streaming when using OBS for example. (Of course you can also use this setup to record directly to your laptop to make an explanation video while showing something on your screen for example.)
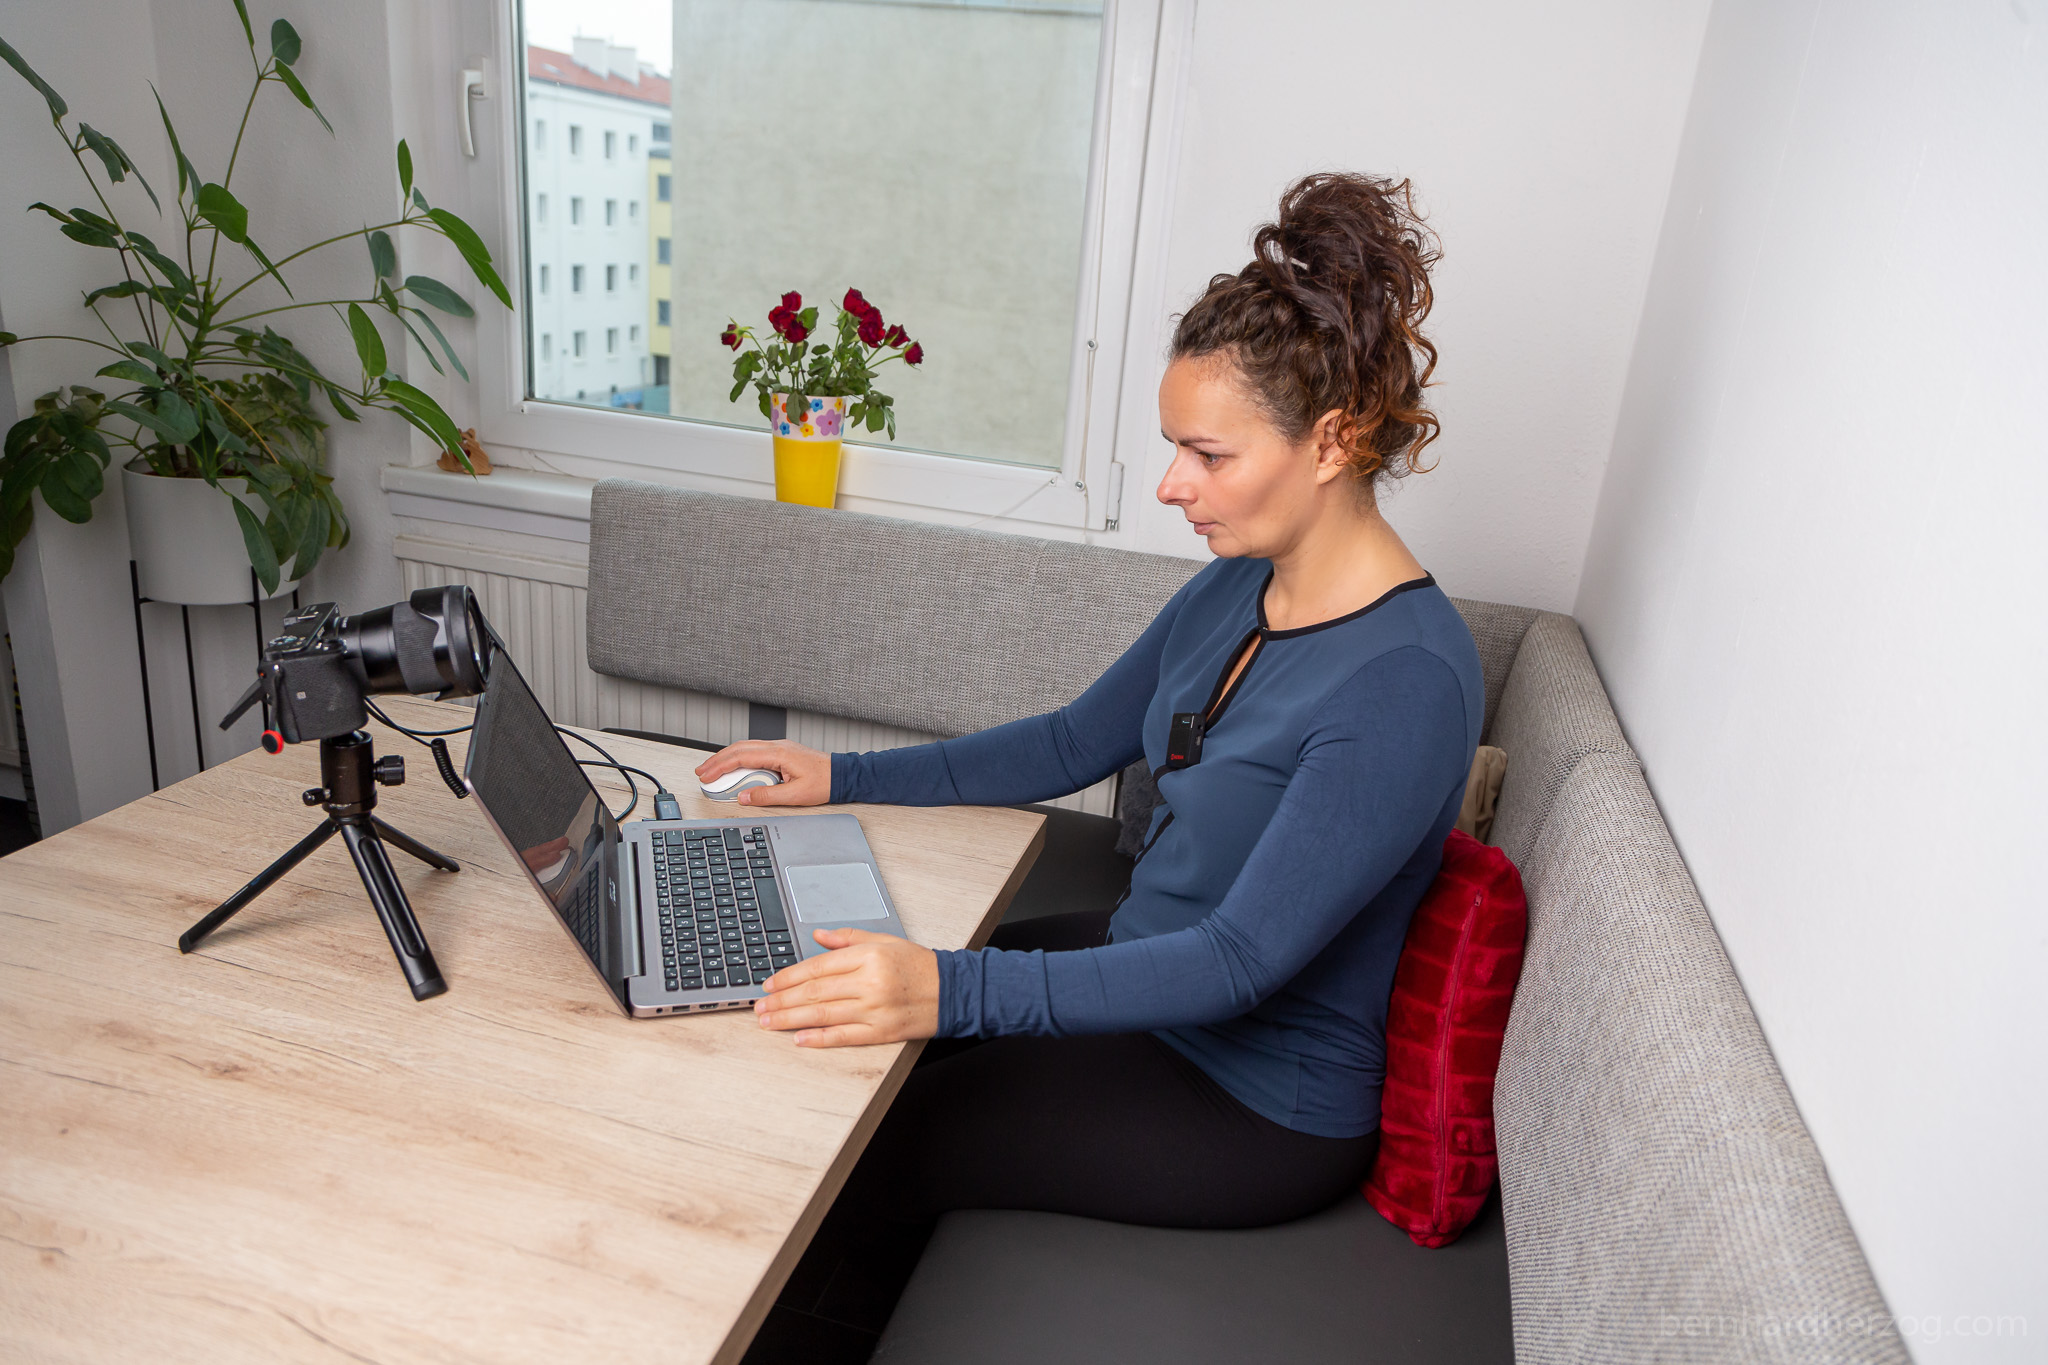
Many cameras now allow to be connected via USB to your PC so you can have a great quality picture but the camera audio is usually not supported.
But you can simply use an HDMI Capture Card / USB Stick to connect your camera as I did in my example. There are some very cheap options out there, it is not necessary to buy an expensive Elgato product.
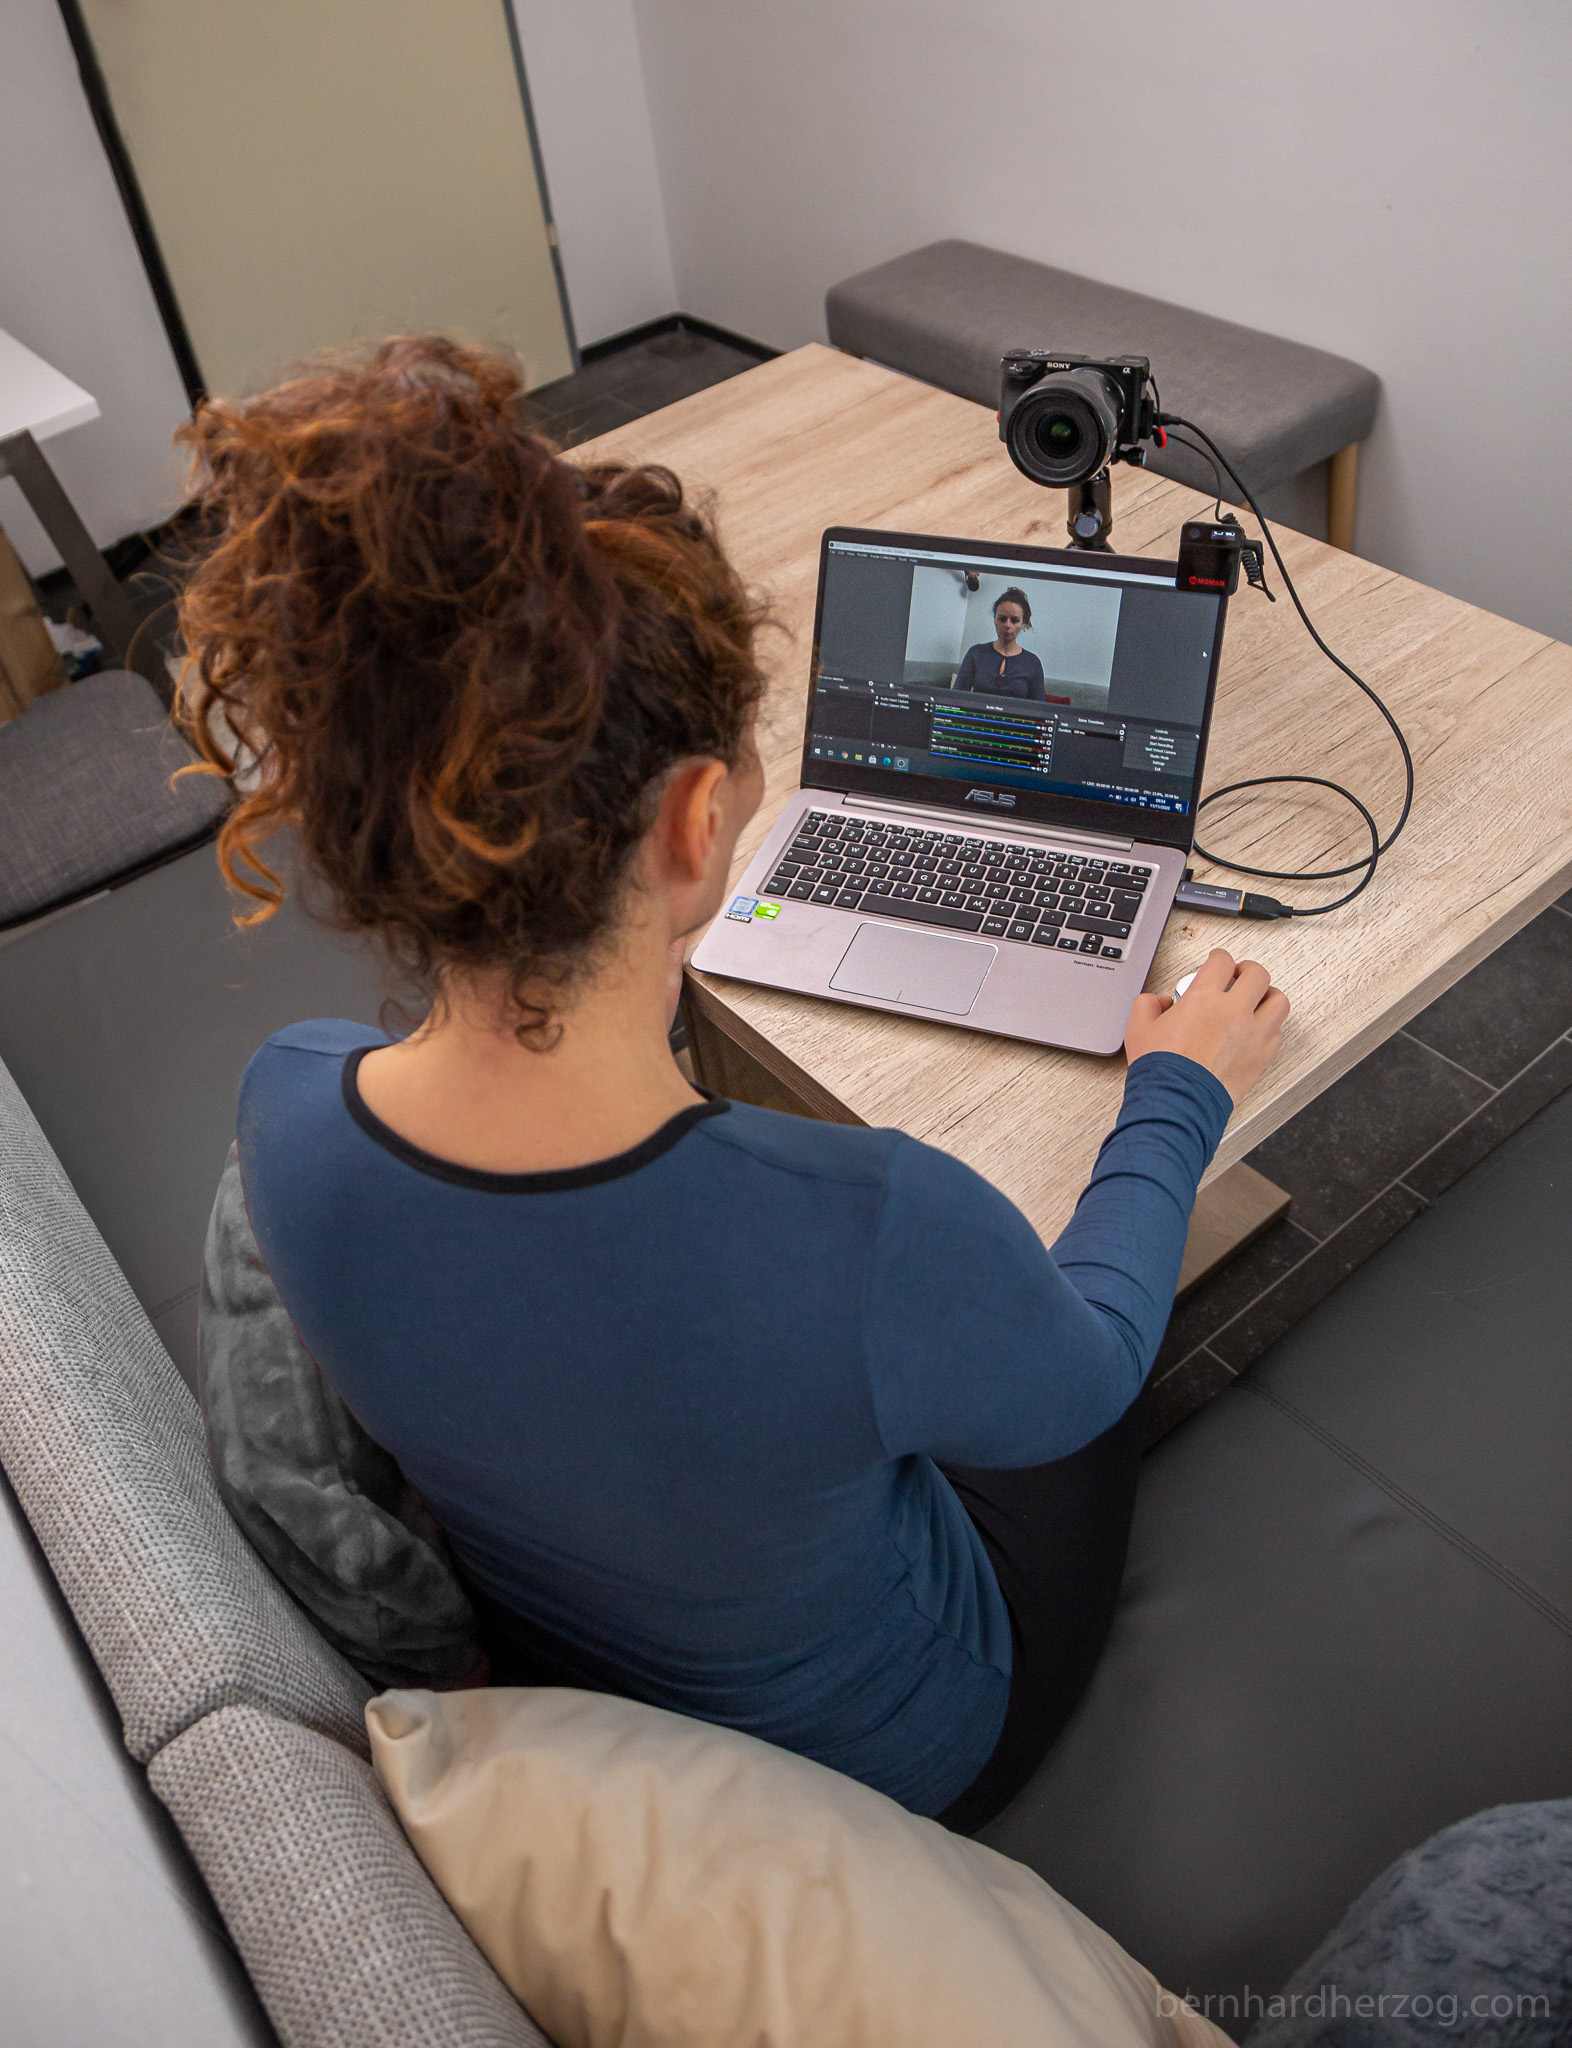

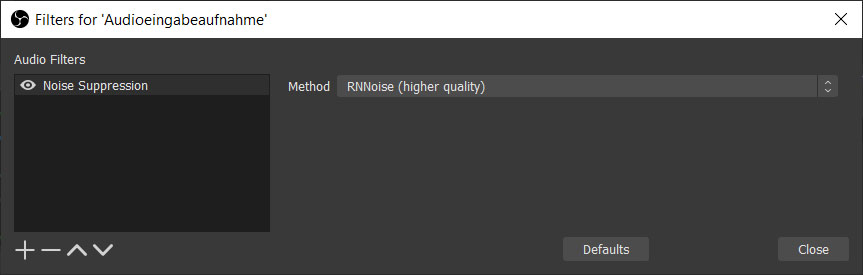
In general I would recommend adding a noise filter in OBS to the audio track to supress any noise that might appear in the recording.
It is a good idea to power your camera from continuous power for streaming. For older camera you will need a dummy battery, newer cameras like the Sony a6600 and the Sony a7c can be powered via USB.
HDMI Stick / Capture Card Micro HDMI cable Tabletop Tripod Dummy Battery for Sony Alpha A6500, A6400, A6300, A7, A7II, A7RII, A7SII, A7S, A7S2, A7R, A7R2, A55, A5100, RX10 Cameras
5. Interview Microphone
For interviews you can use an interview adapter for your wireless microphone.

BTW: Using an interview adapter has one very neat side effect. When you clip the microphone to your t-shirt it is below your mouth and usually the sound will be more muffled because of that (very typical for lavalier microphones). But when holding the microphone in front of you the audio will sound much better.
I put a foam wind muff on this contraption to avoid pop sounds and to stop light wind noise. On a windy day outside I also recommend to use a big deadcat.
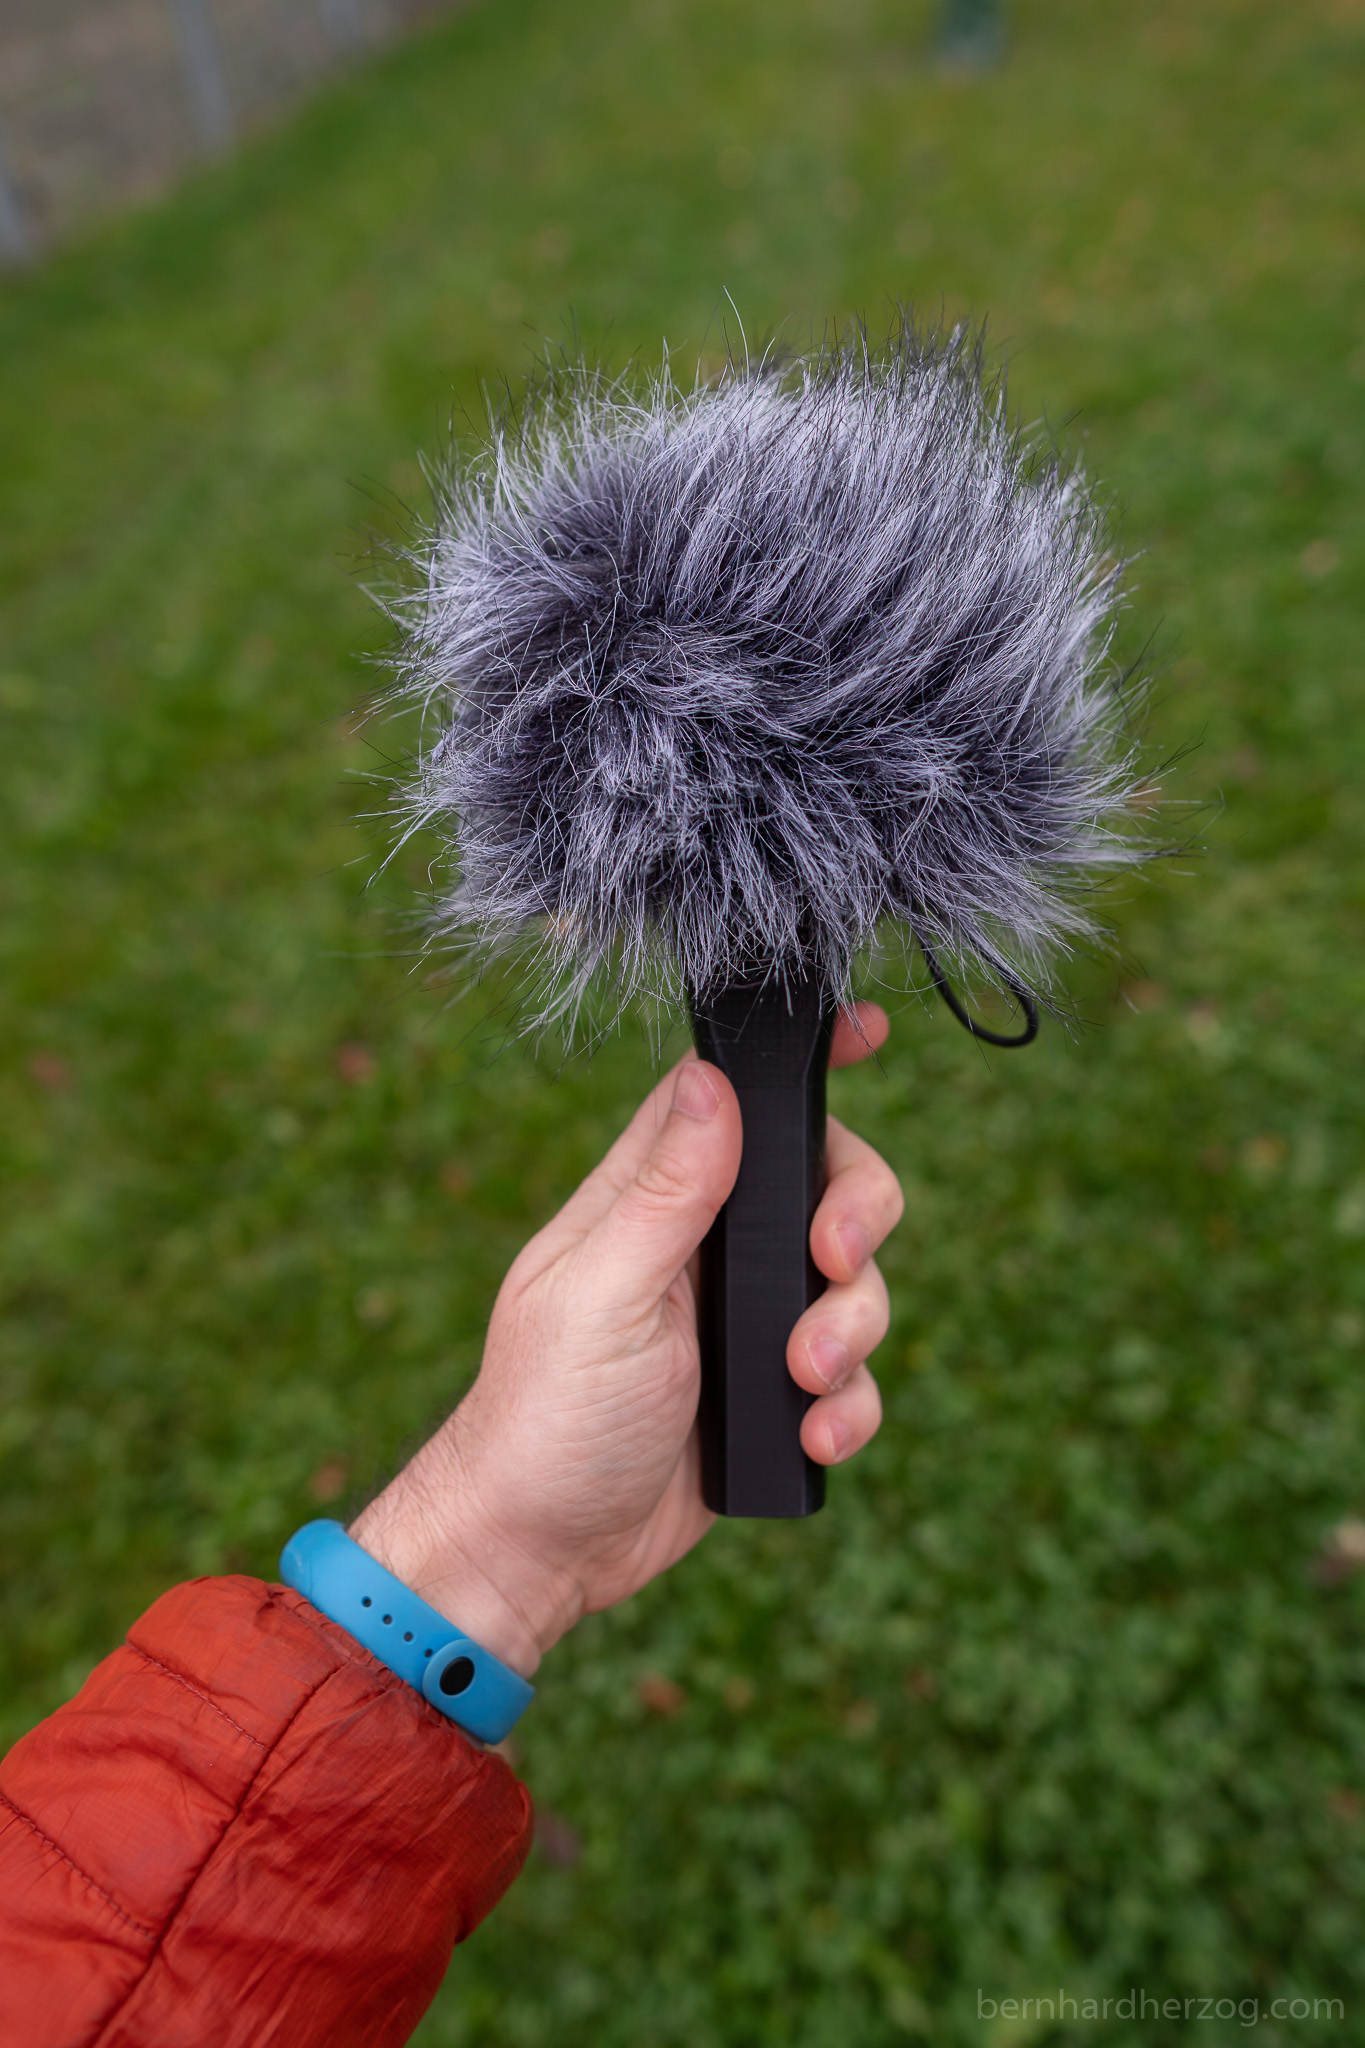
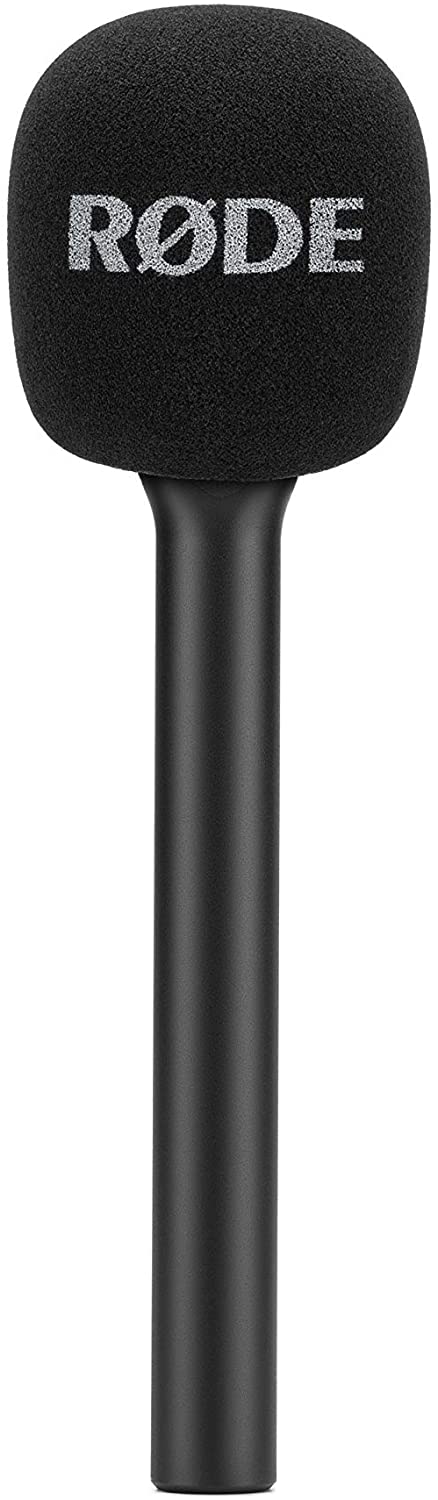
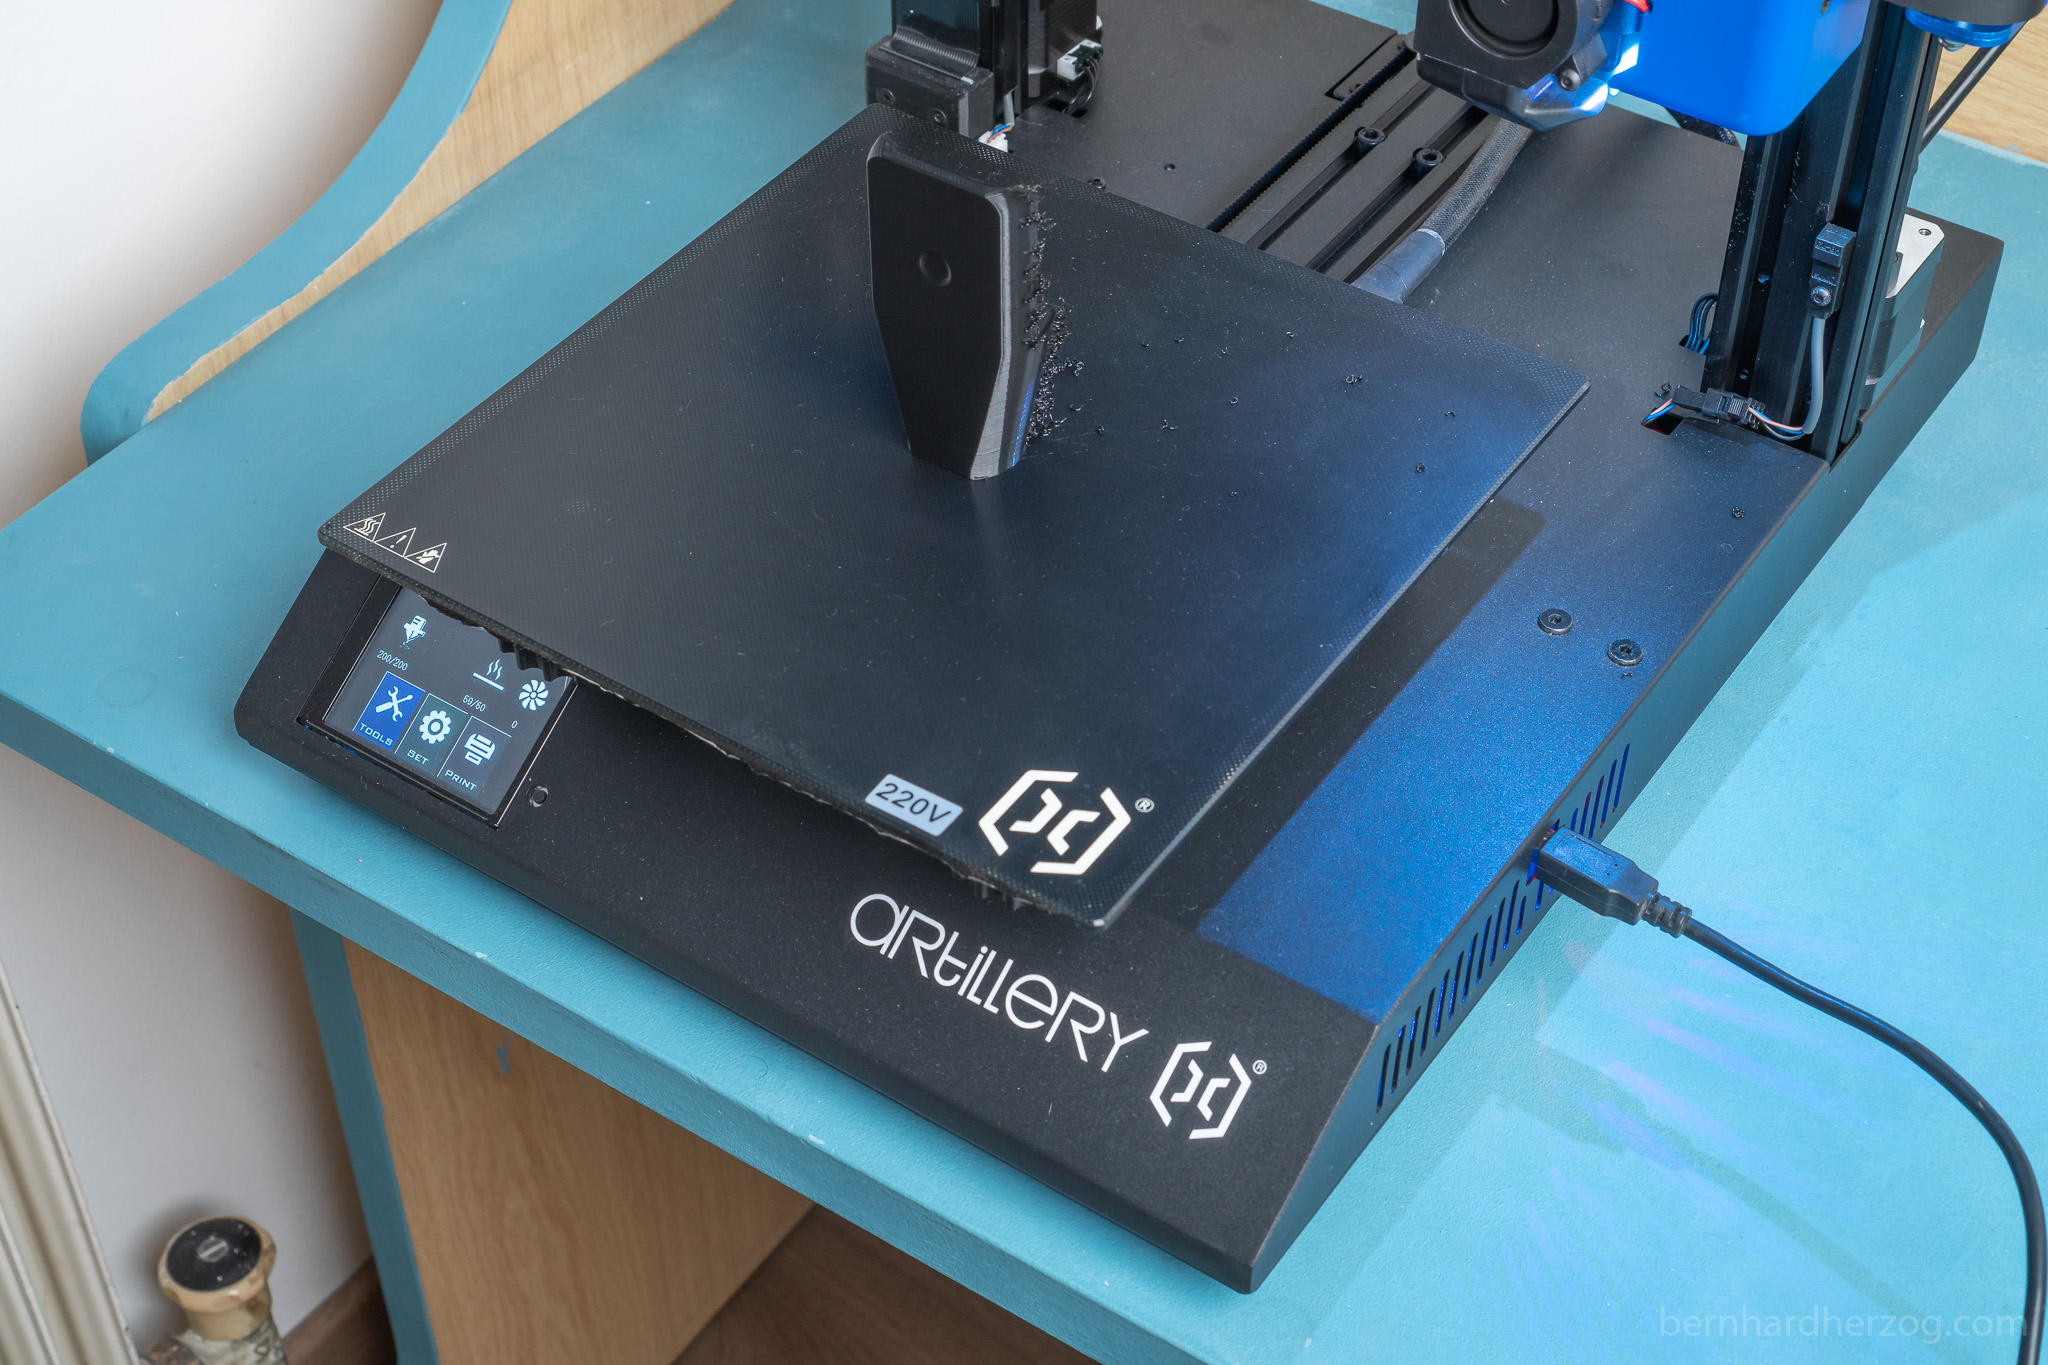
You can buy this adapter from Rode but I simply printed it using my 3d printer. (The advantage of the Rode version is that there is a weight inside so it is better to hold, i.e. it is not so top-heavy, but of course you could add your own weight inside the printed version!)
Here you can see the 3d model:
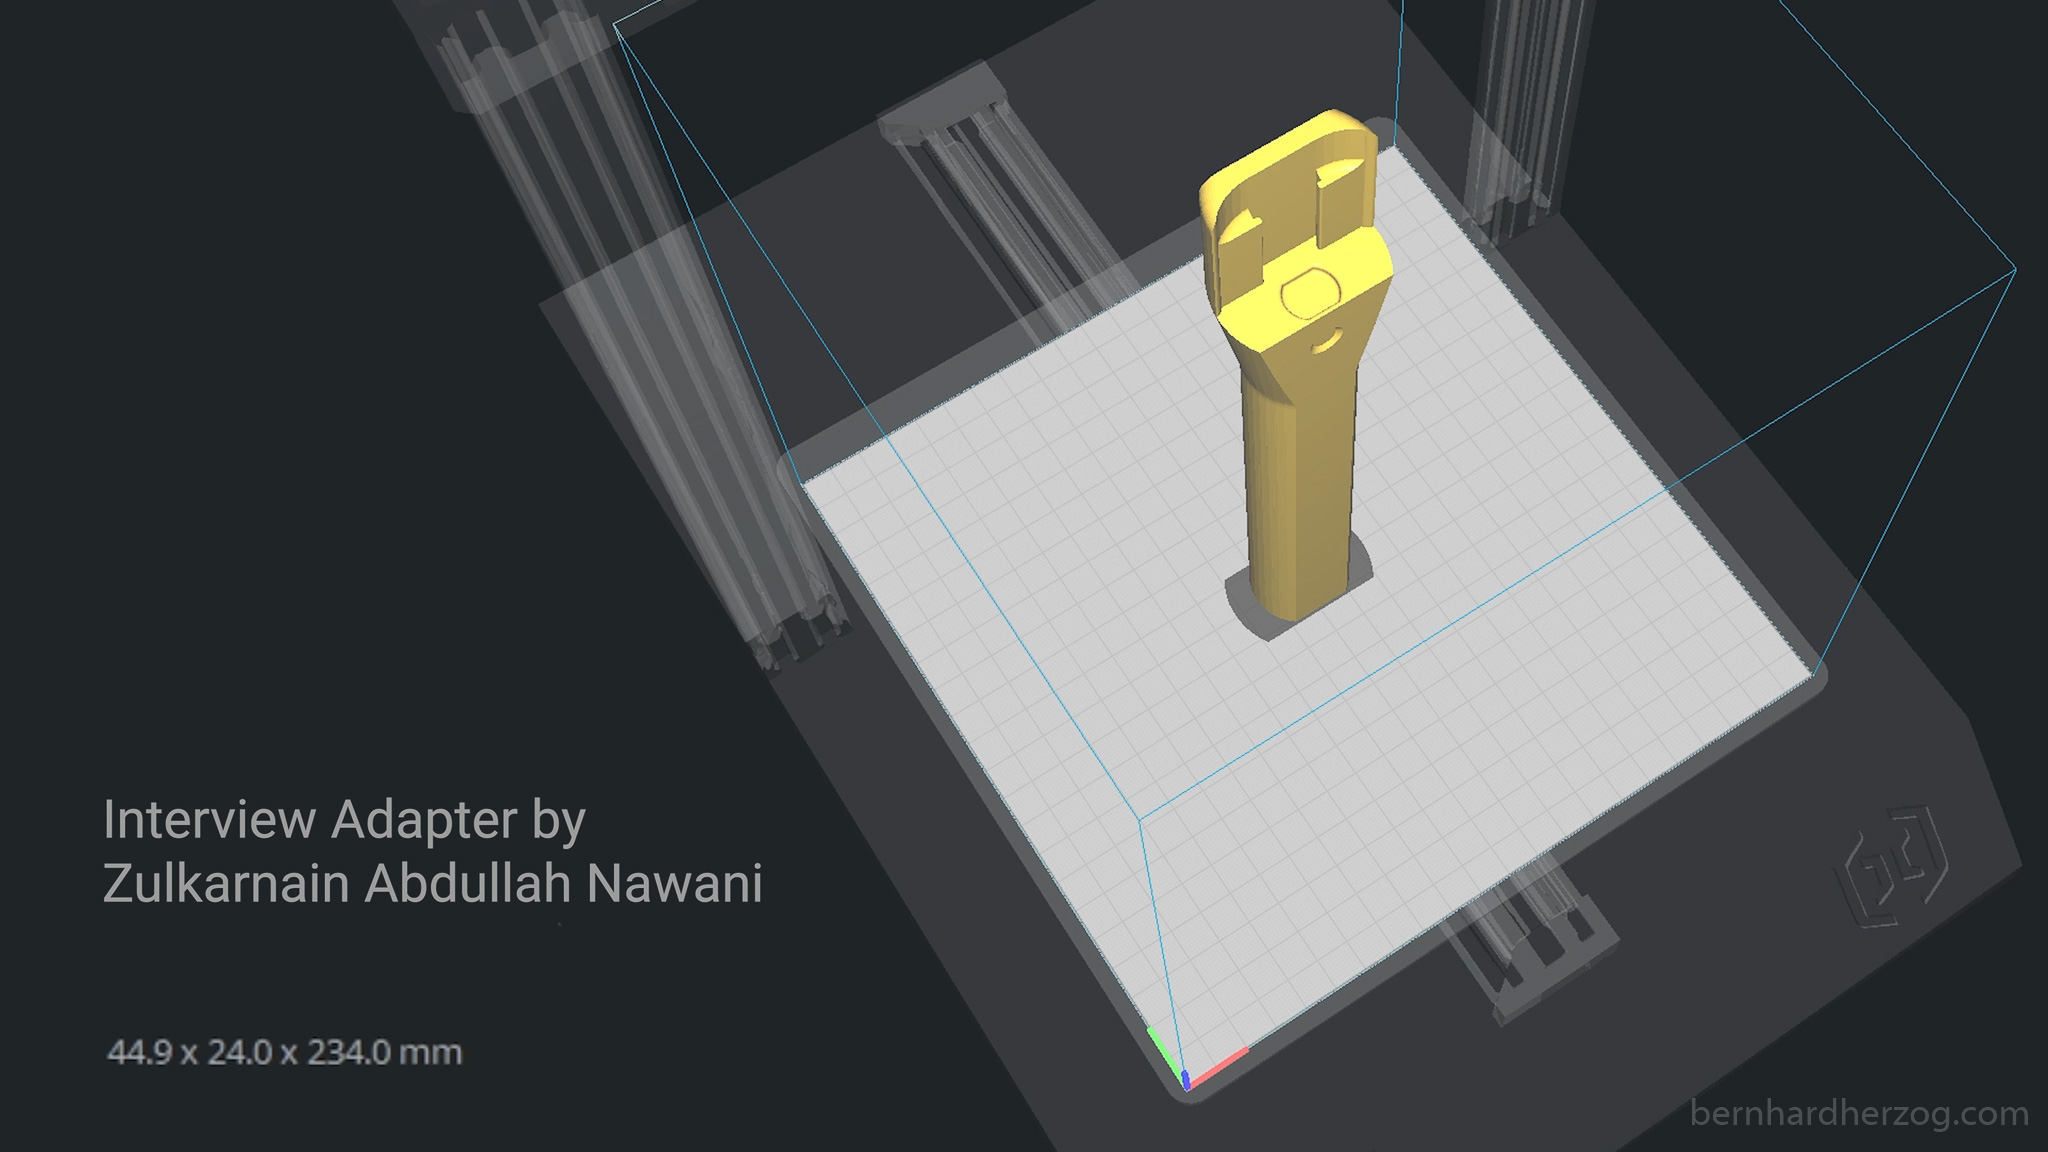
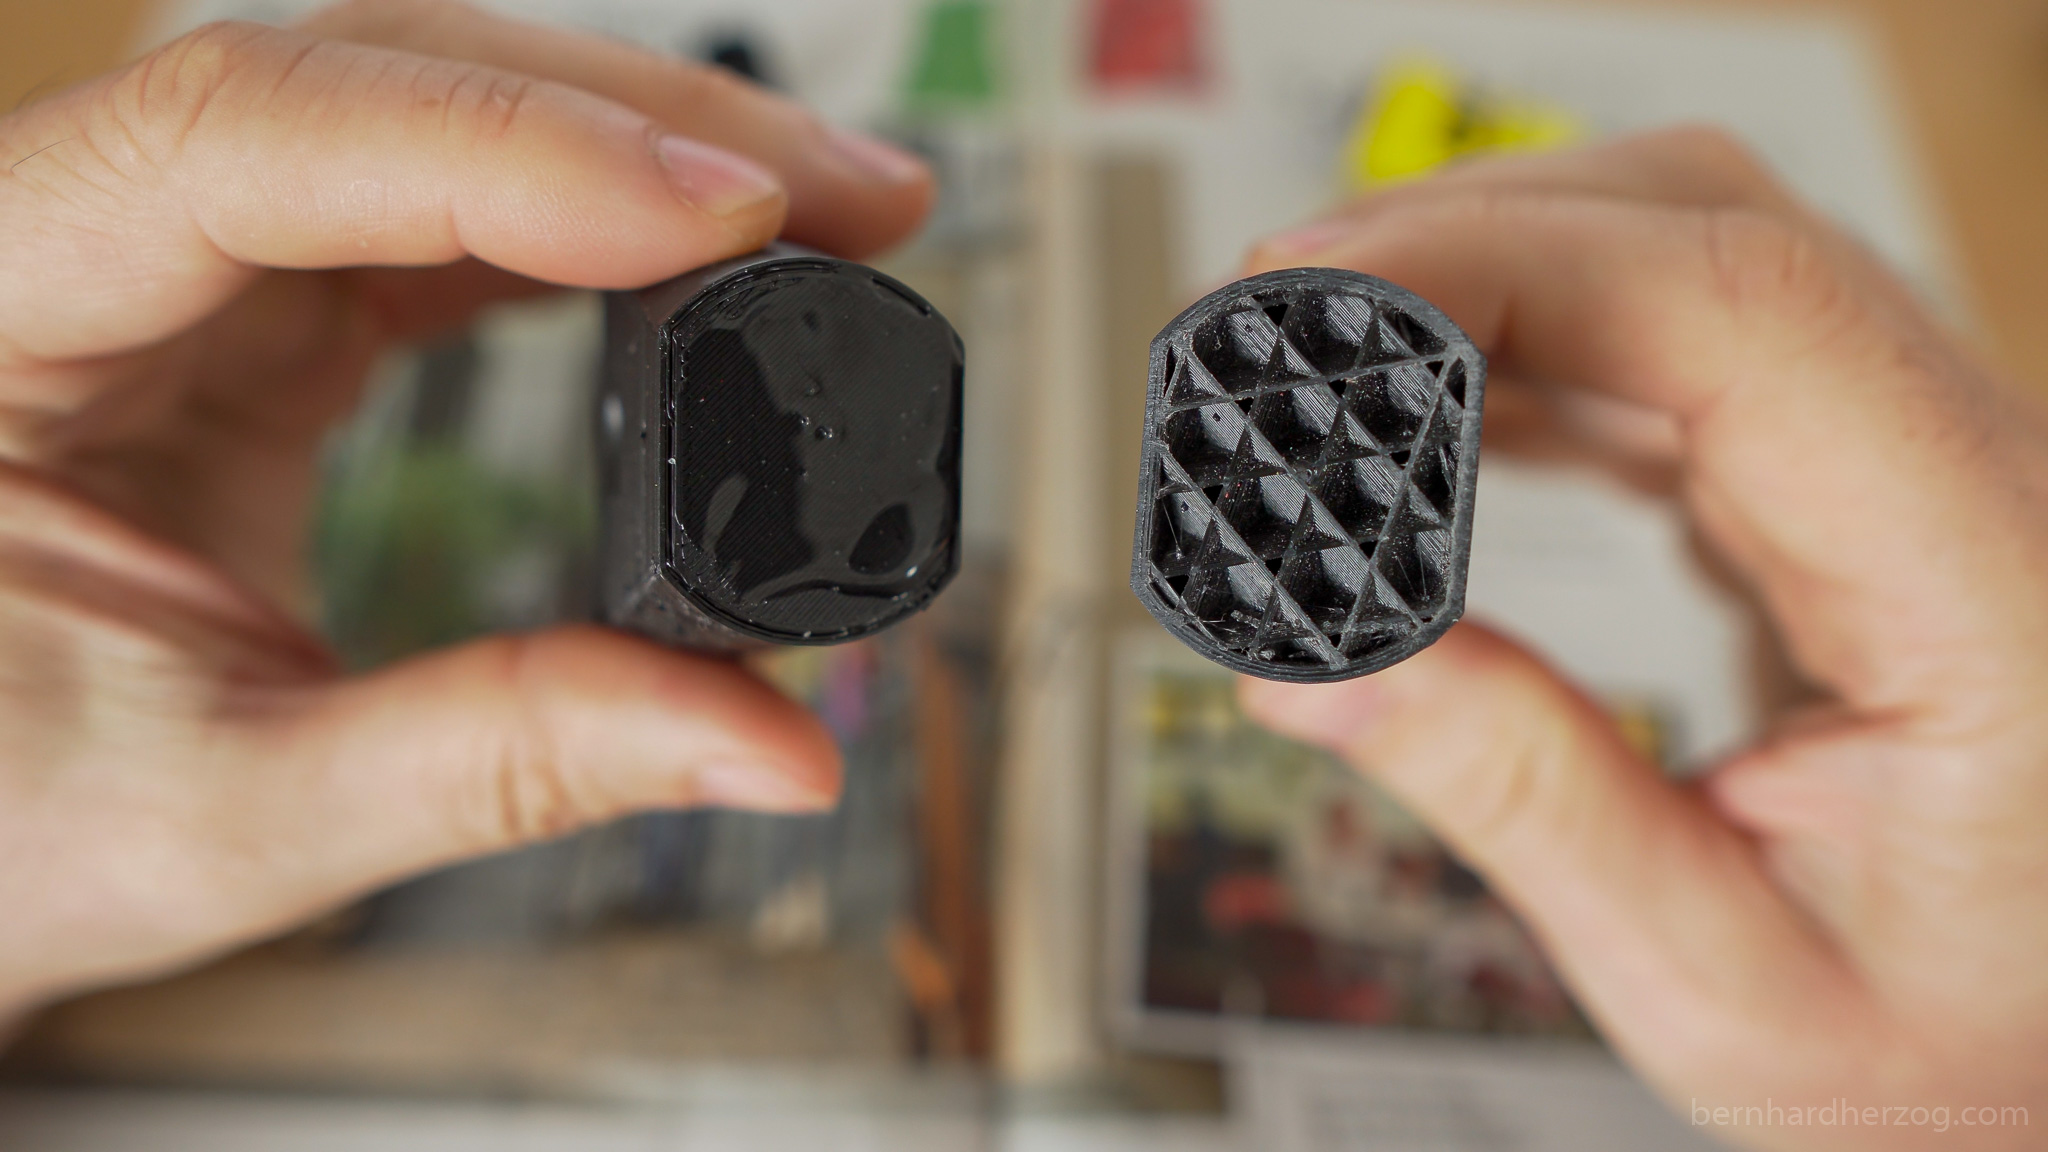
I printed the microphone in 2 parts, because it was much easier and I could test the upper part first. I used the free program Autodesk Meshmixer to separate the upper part from the lower part using the Slice-Command (under Edit).
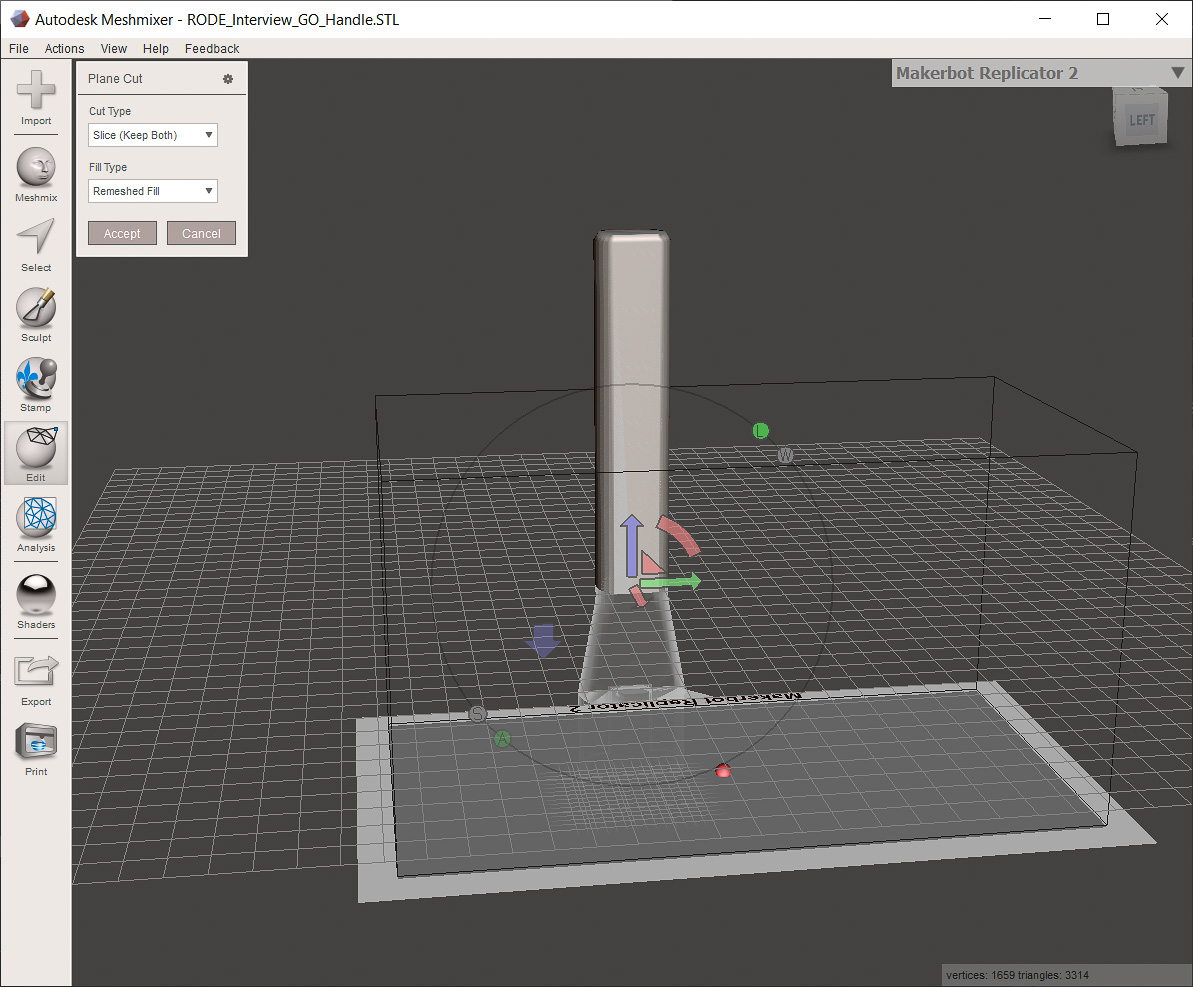
Make sure to select “Keep Both” and afterwards you can execute the command “Separate Shells” and delete one part to select only the other and save it. I use Cura for slicing but maybe you use another slicer and it supports cutting your model into two halves so that you don’t need Meshmixer at all.
I did not need to print any supports when printing in a stand-up position.

Afterwards I glued the parts together:
If you need more information on how to print your own interview stick please don’t hesitate to post in the comments, I will try to answer as quickly as possible.
Rode Interview Go Adapter Foam Wind Muff and Deadcat Download 3d Model Artillery Genius (my 3d printer) UHU allplast
6. Use an Audio Recorder for capturing Foley
Often times I need to record foley to enhance my videos with sound effects. A wireless microphone works very well for that, for example I can put it in places that I normally cannot put an audio recorder.
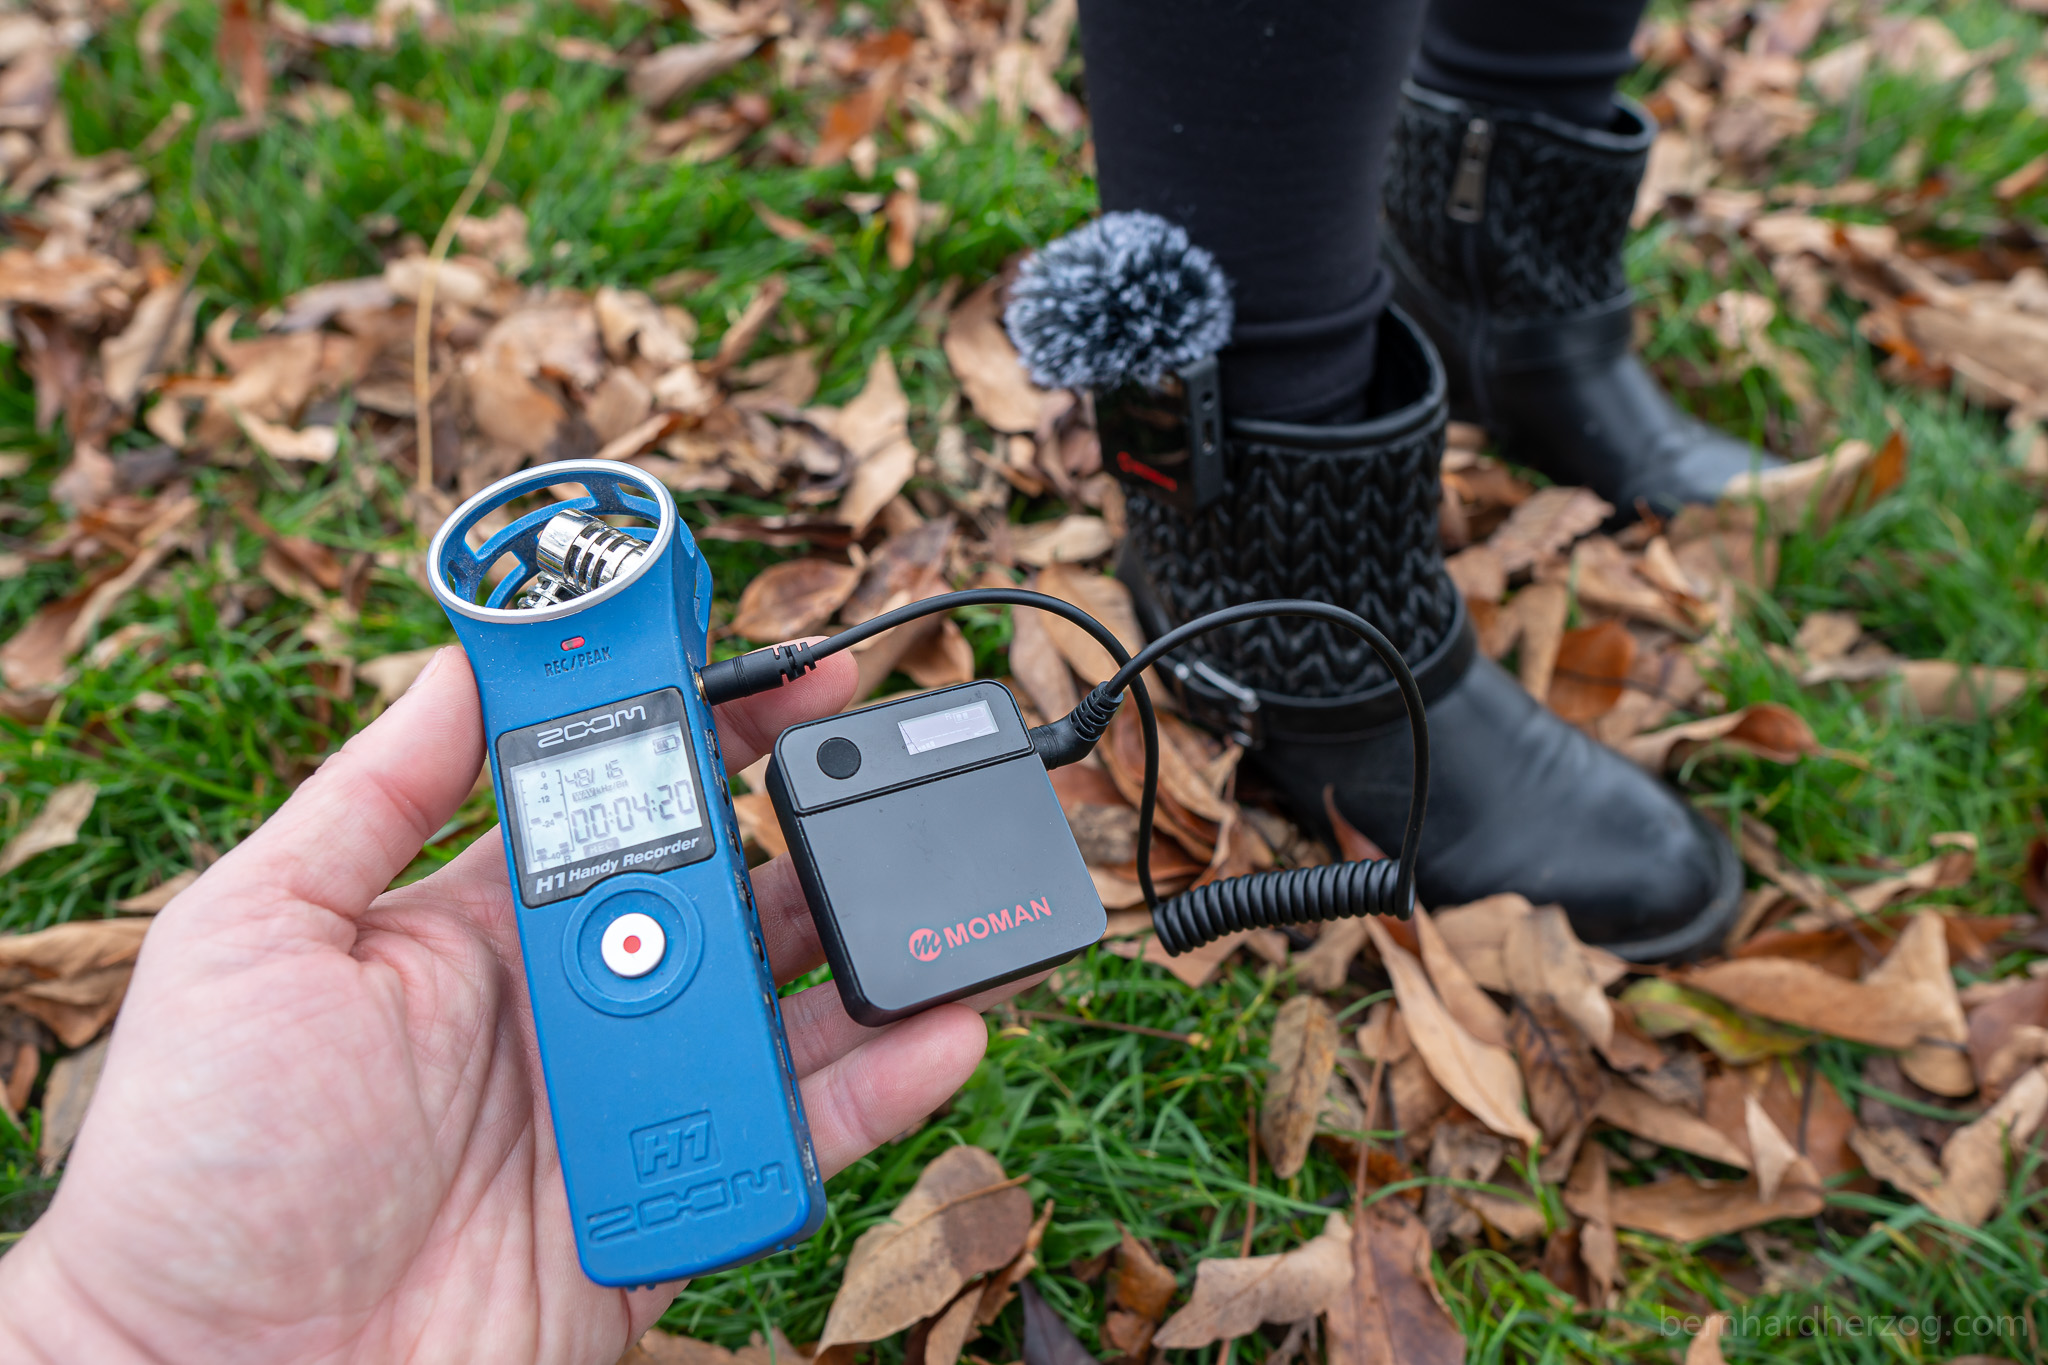
I have connected the receiver to my Zoom H1 audio recorder. But of course you can also connect it to your camera, then you have a video recording as well so it will be easier to remember which sound you have recorded later.
Actually before using a wireless microphone I was using the Zoom H1 instead as an external recorder, but I always had to sync the audio file with my video in post which was a real pain in the ass.

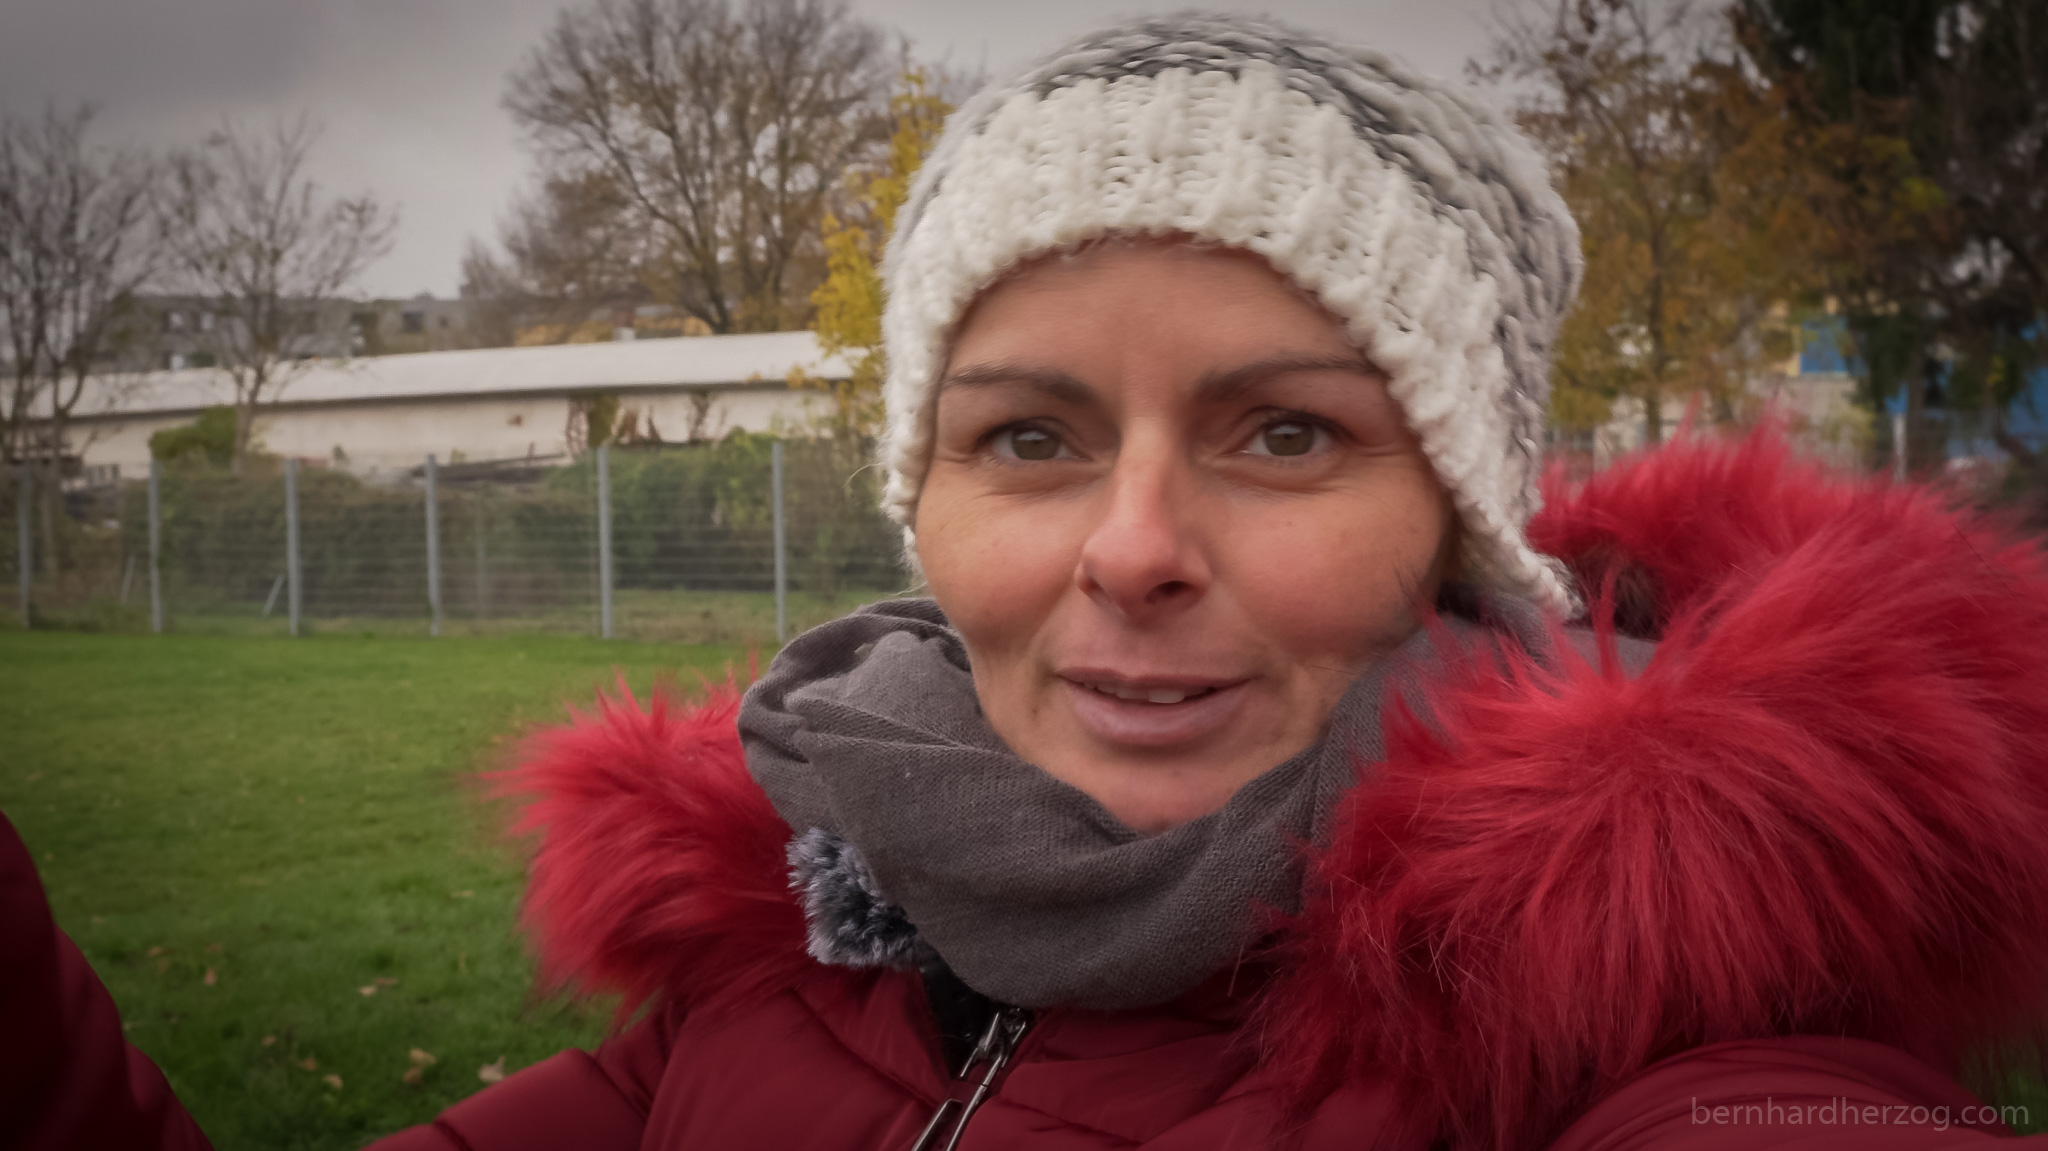
7. Vlogging
Using a wireless microphone is very practical when vlogging because it makes the whole setup much more lightweight and you will have better quality audio.
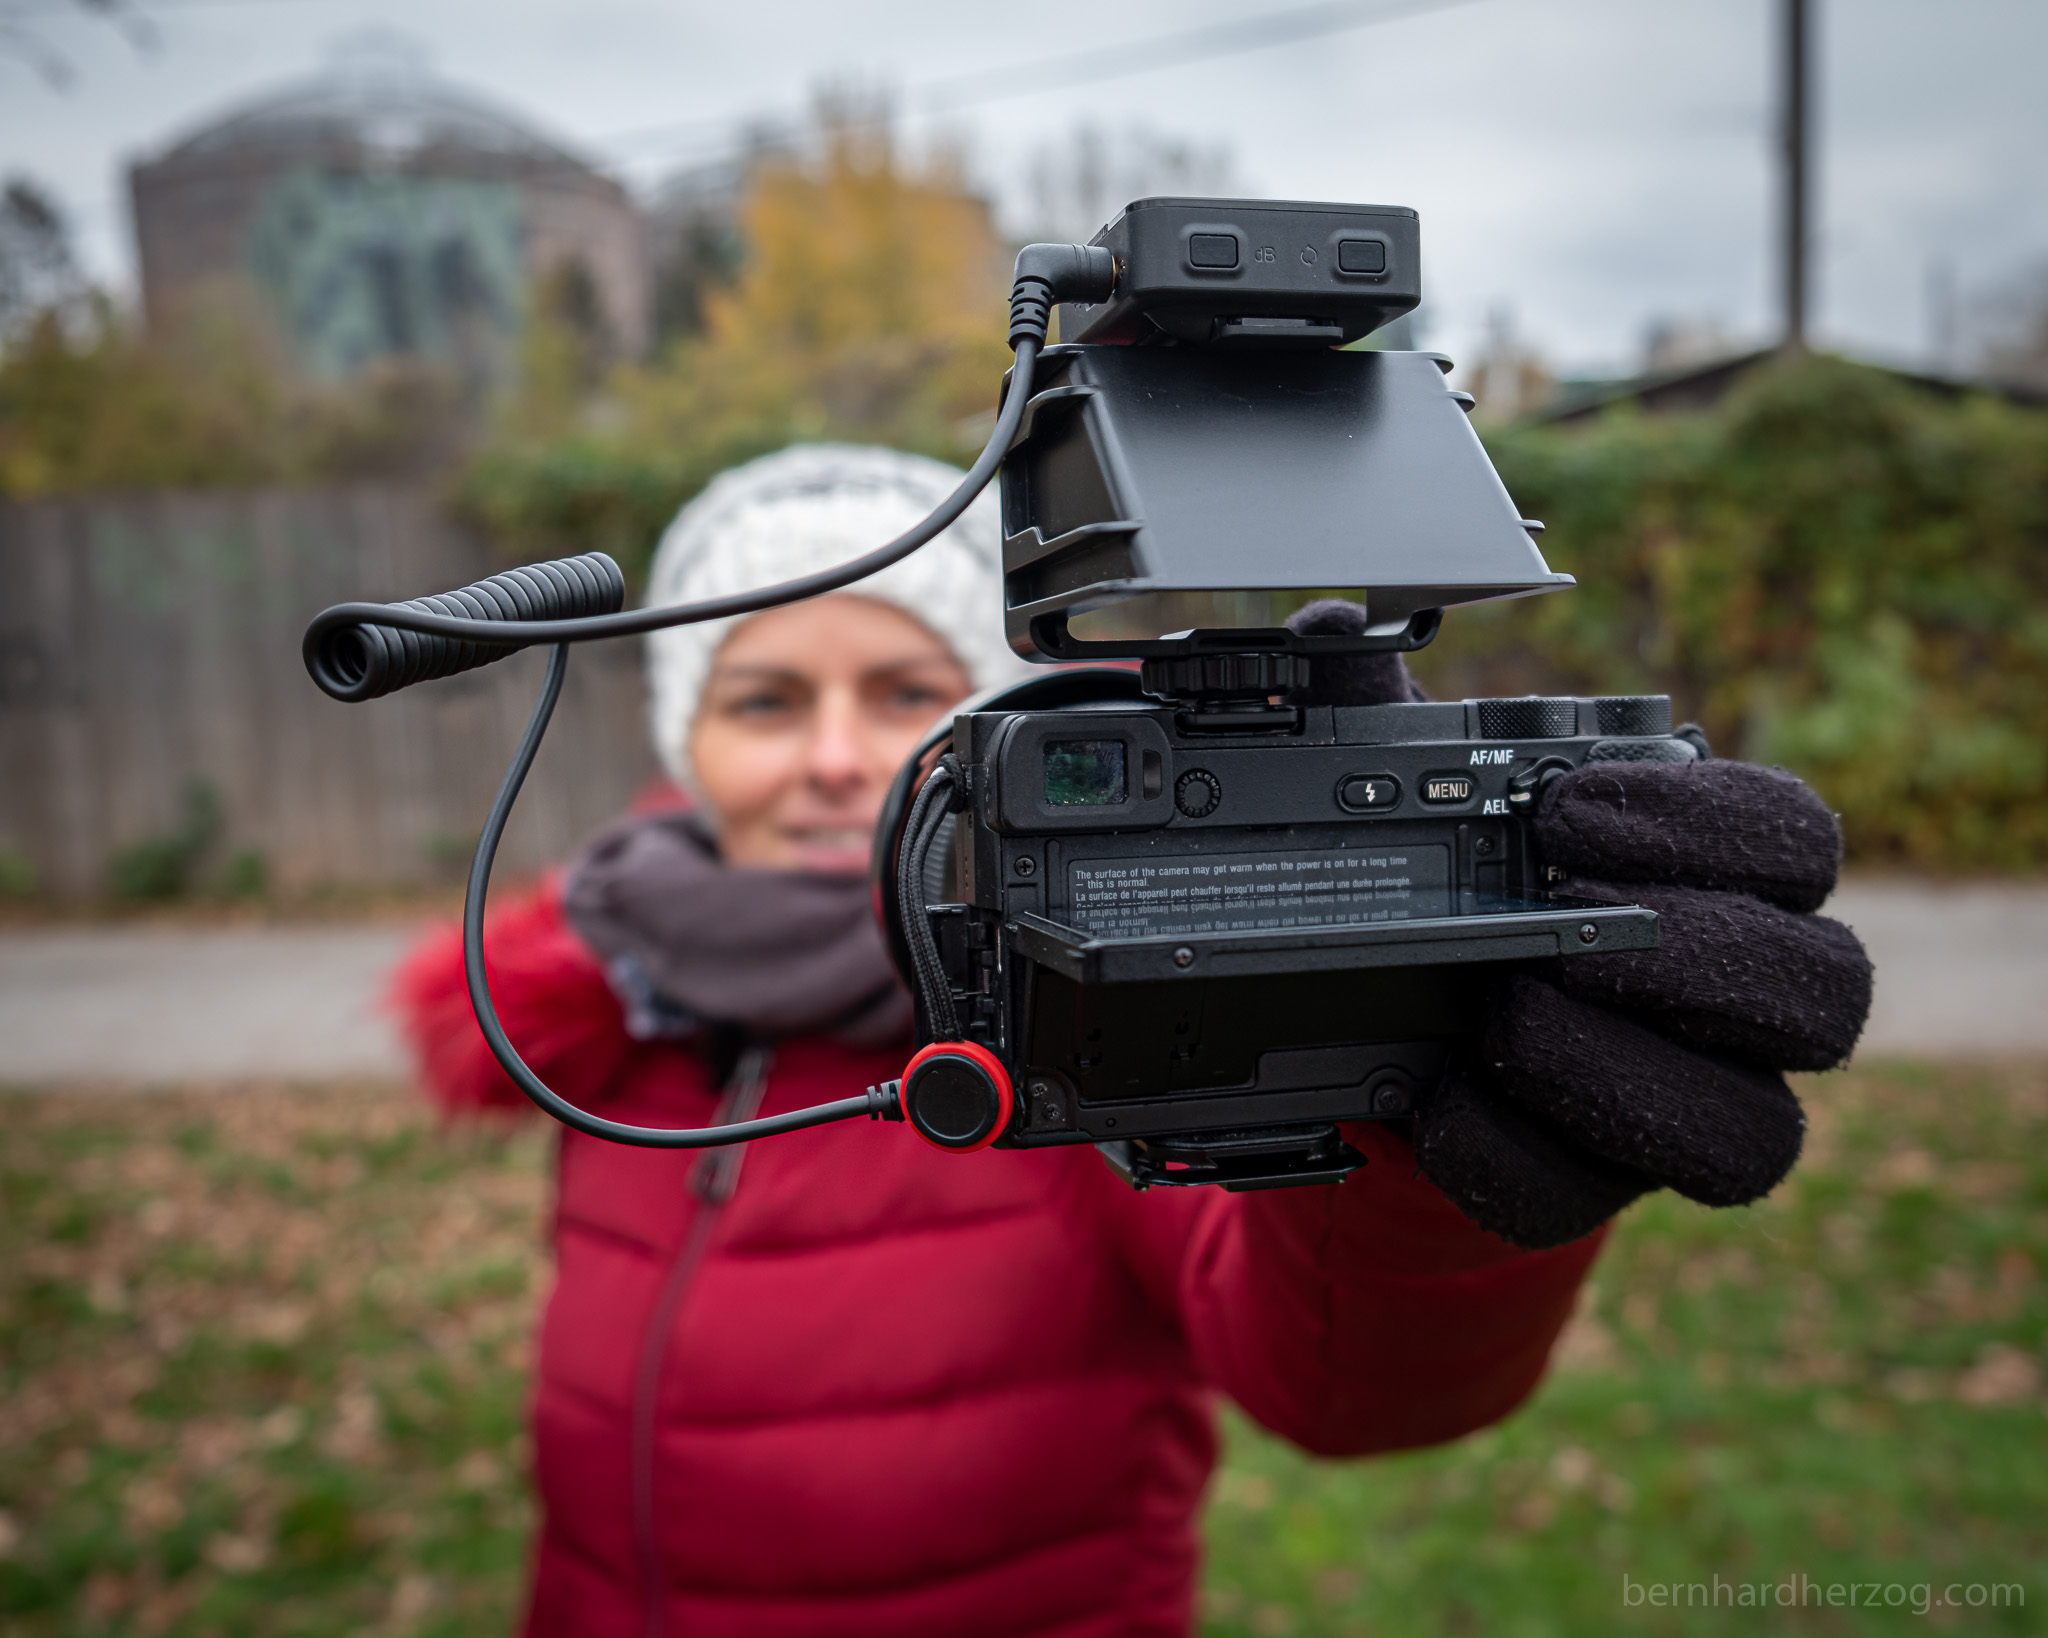
Ideally you will have a camera with a flippy screen but my a6500 does not have one – unfortunately – so I will be using this small mirror thingy which also has some cold shoe attachments where I can attach the wireless receiver.
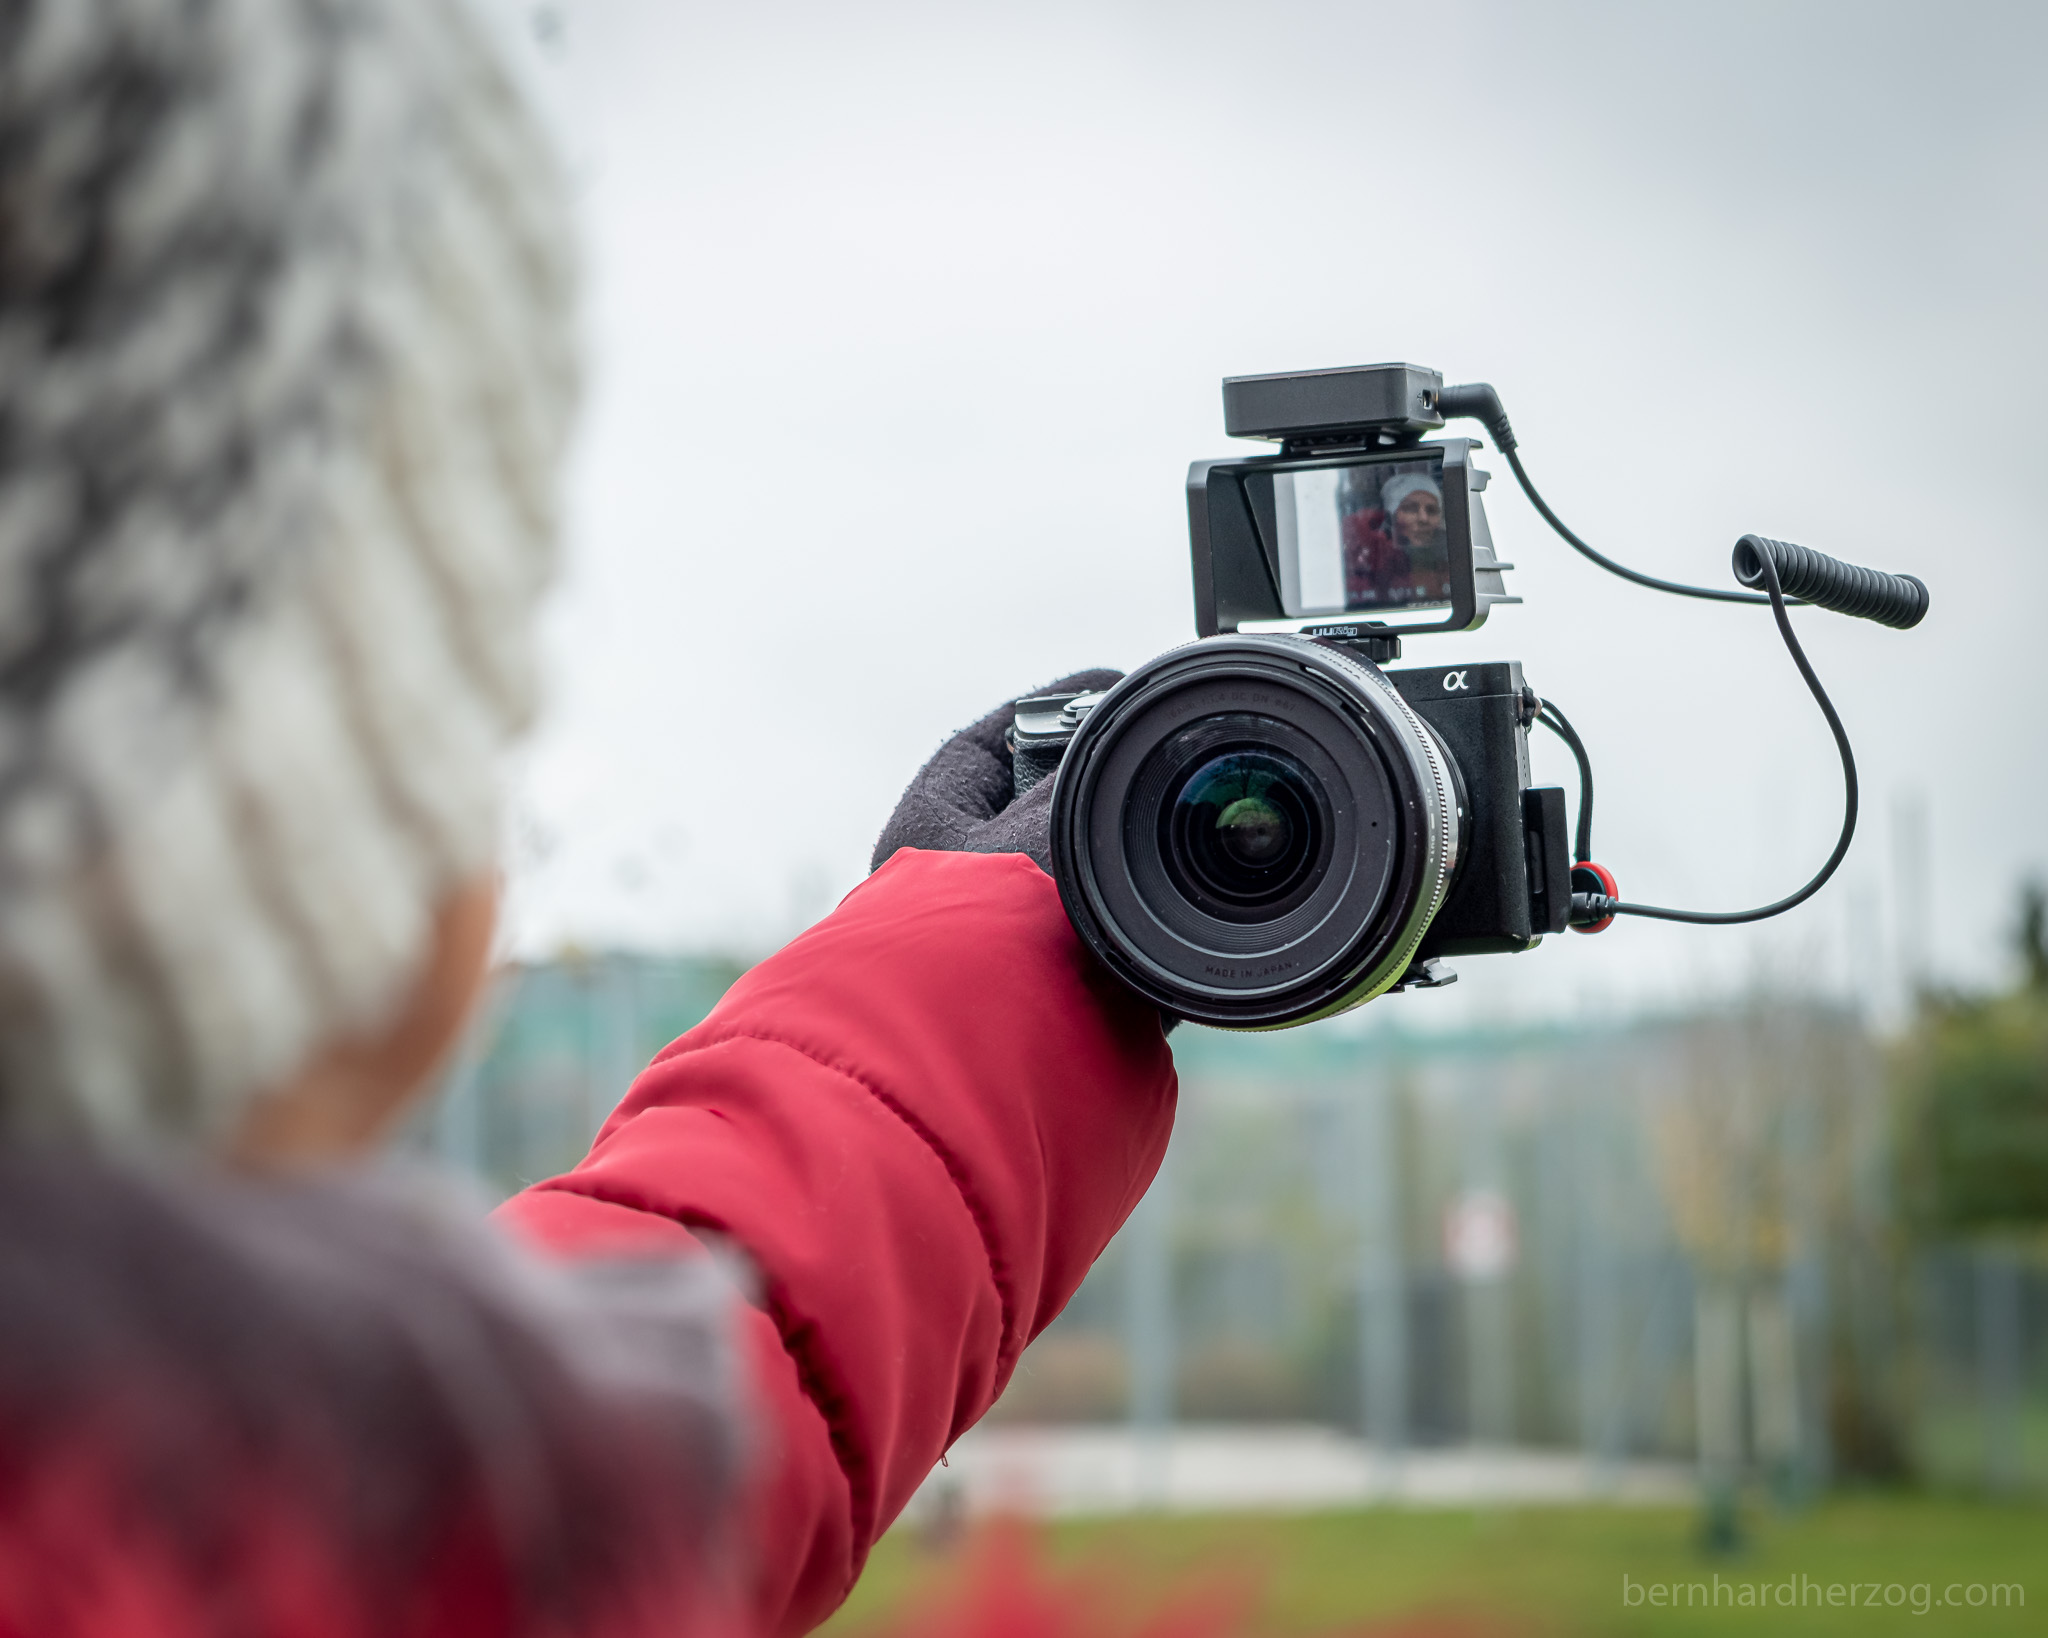
You can also add a tabletop tripod to this setup to get more stable footage and it makes it easier to set it down for a more static shot.
Screen Mirror for Vlogging Version 1 Screen Mirror for Vlogging Version 2 Tabletop Tripod
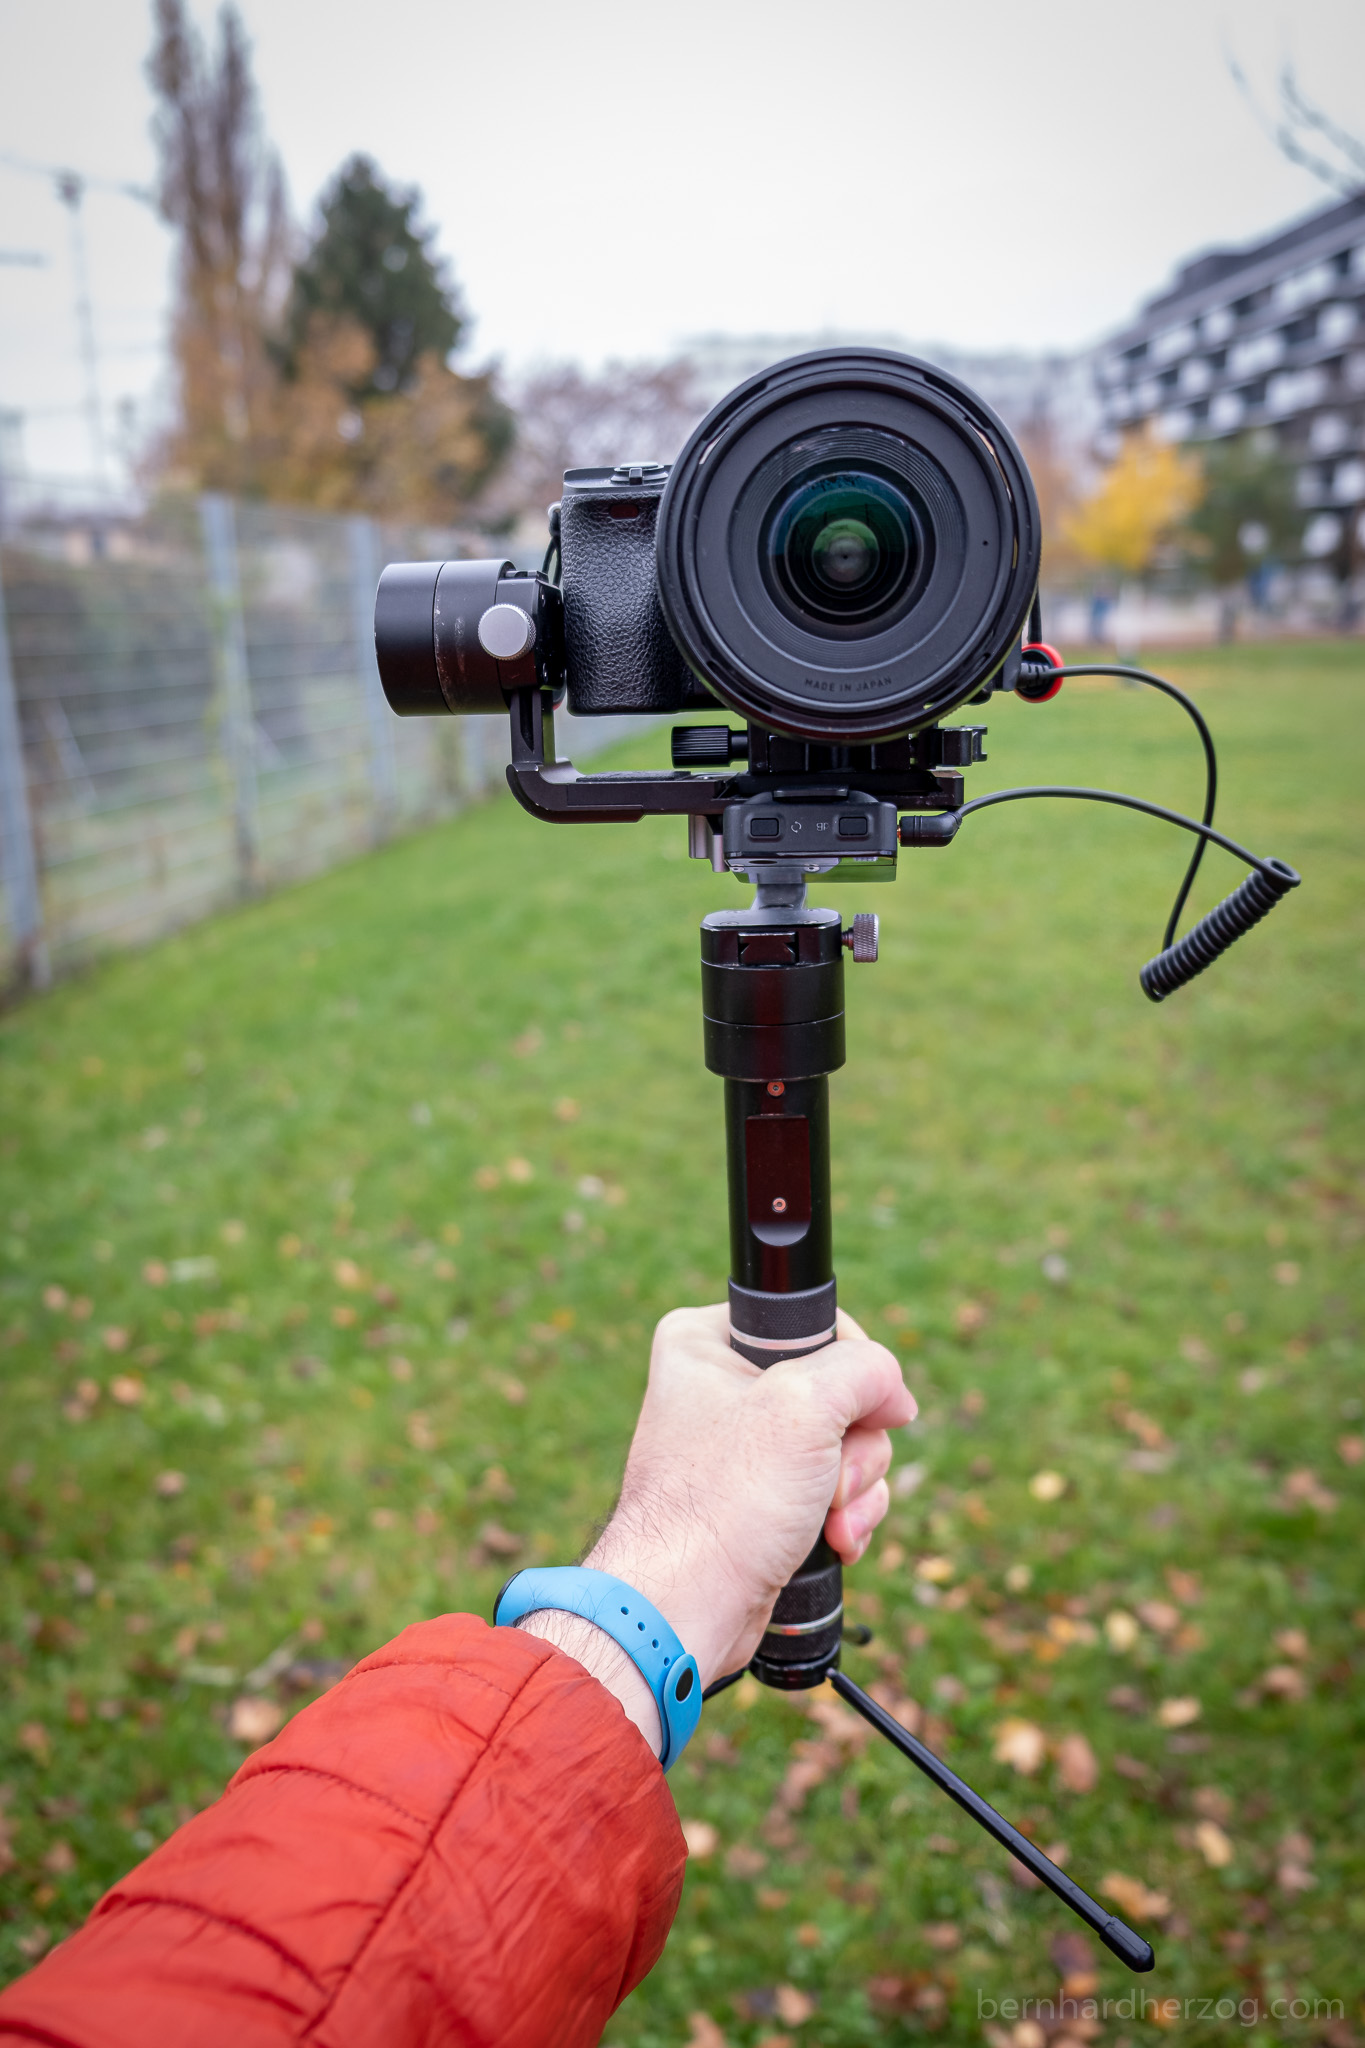
8. On a Gimbal
I could never balance a camera and a big microphone on my very small and lightweight Gimbal. But a wireless microphone works much better because it is so tiny.
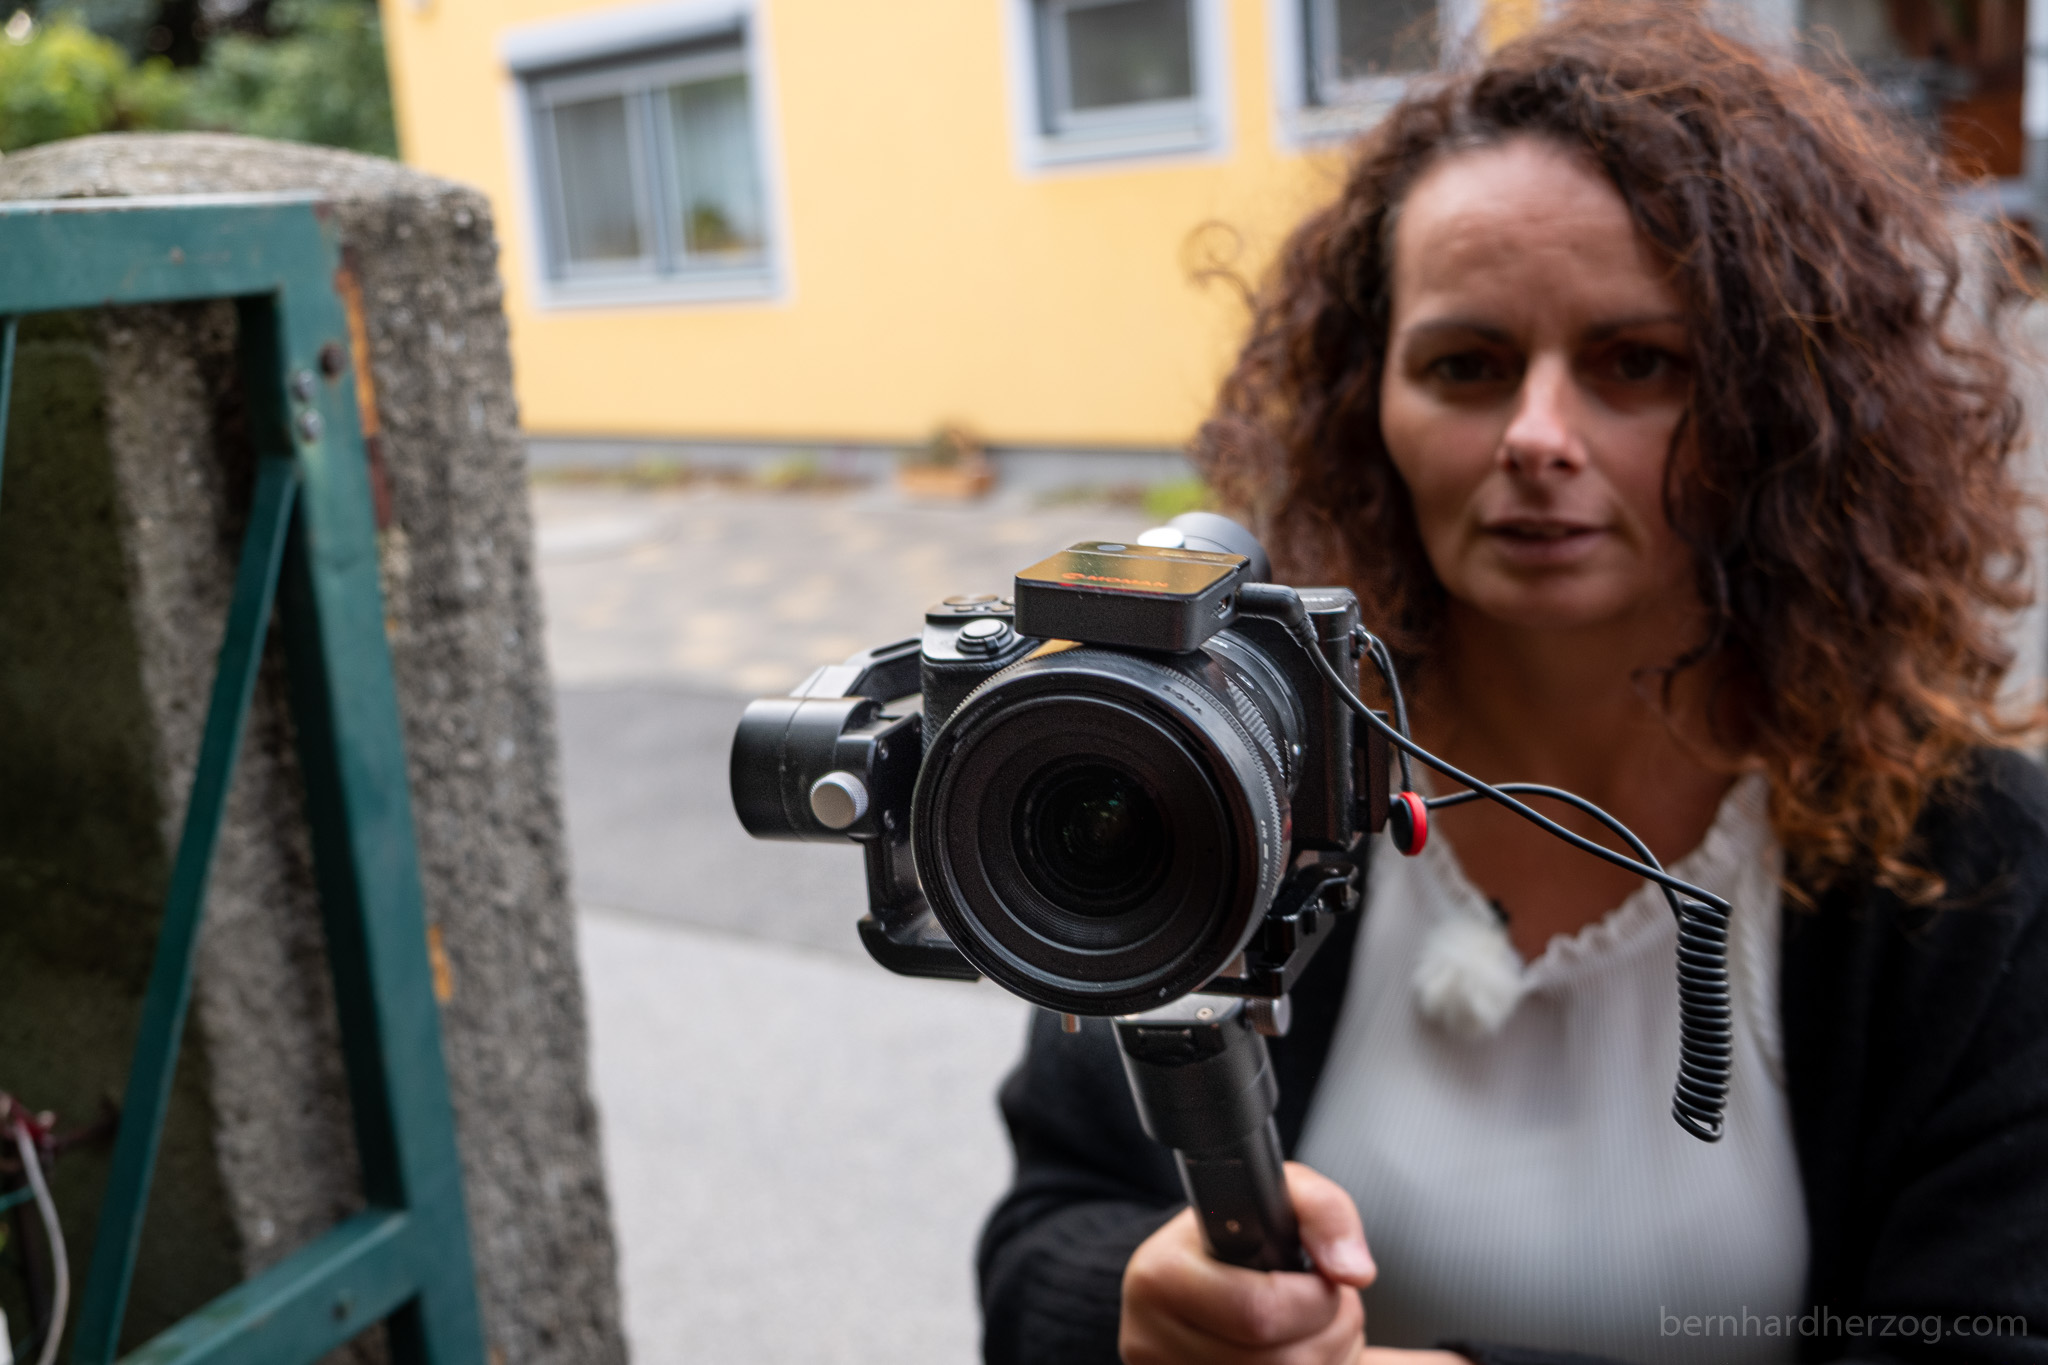
I still do not have enough clearance for the Gimbal motor in the back but I came up with the smart idea to clip the receiver to the lens hood which works great for me. But basically you can put it any place you want.
DJI RSC 2, recommended Gimbal (I still use a Zhiyun Crane M which is not sold anymore)
9. Boom Arm
Another setup I want to show you is to put the microphone on a pole to boom it over the talent so that no microphone is visible in the shot (which also improves audio quality).
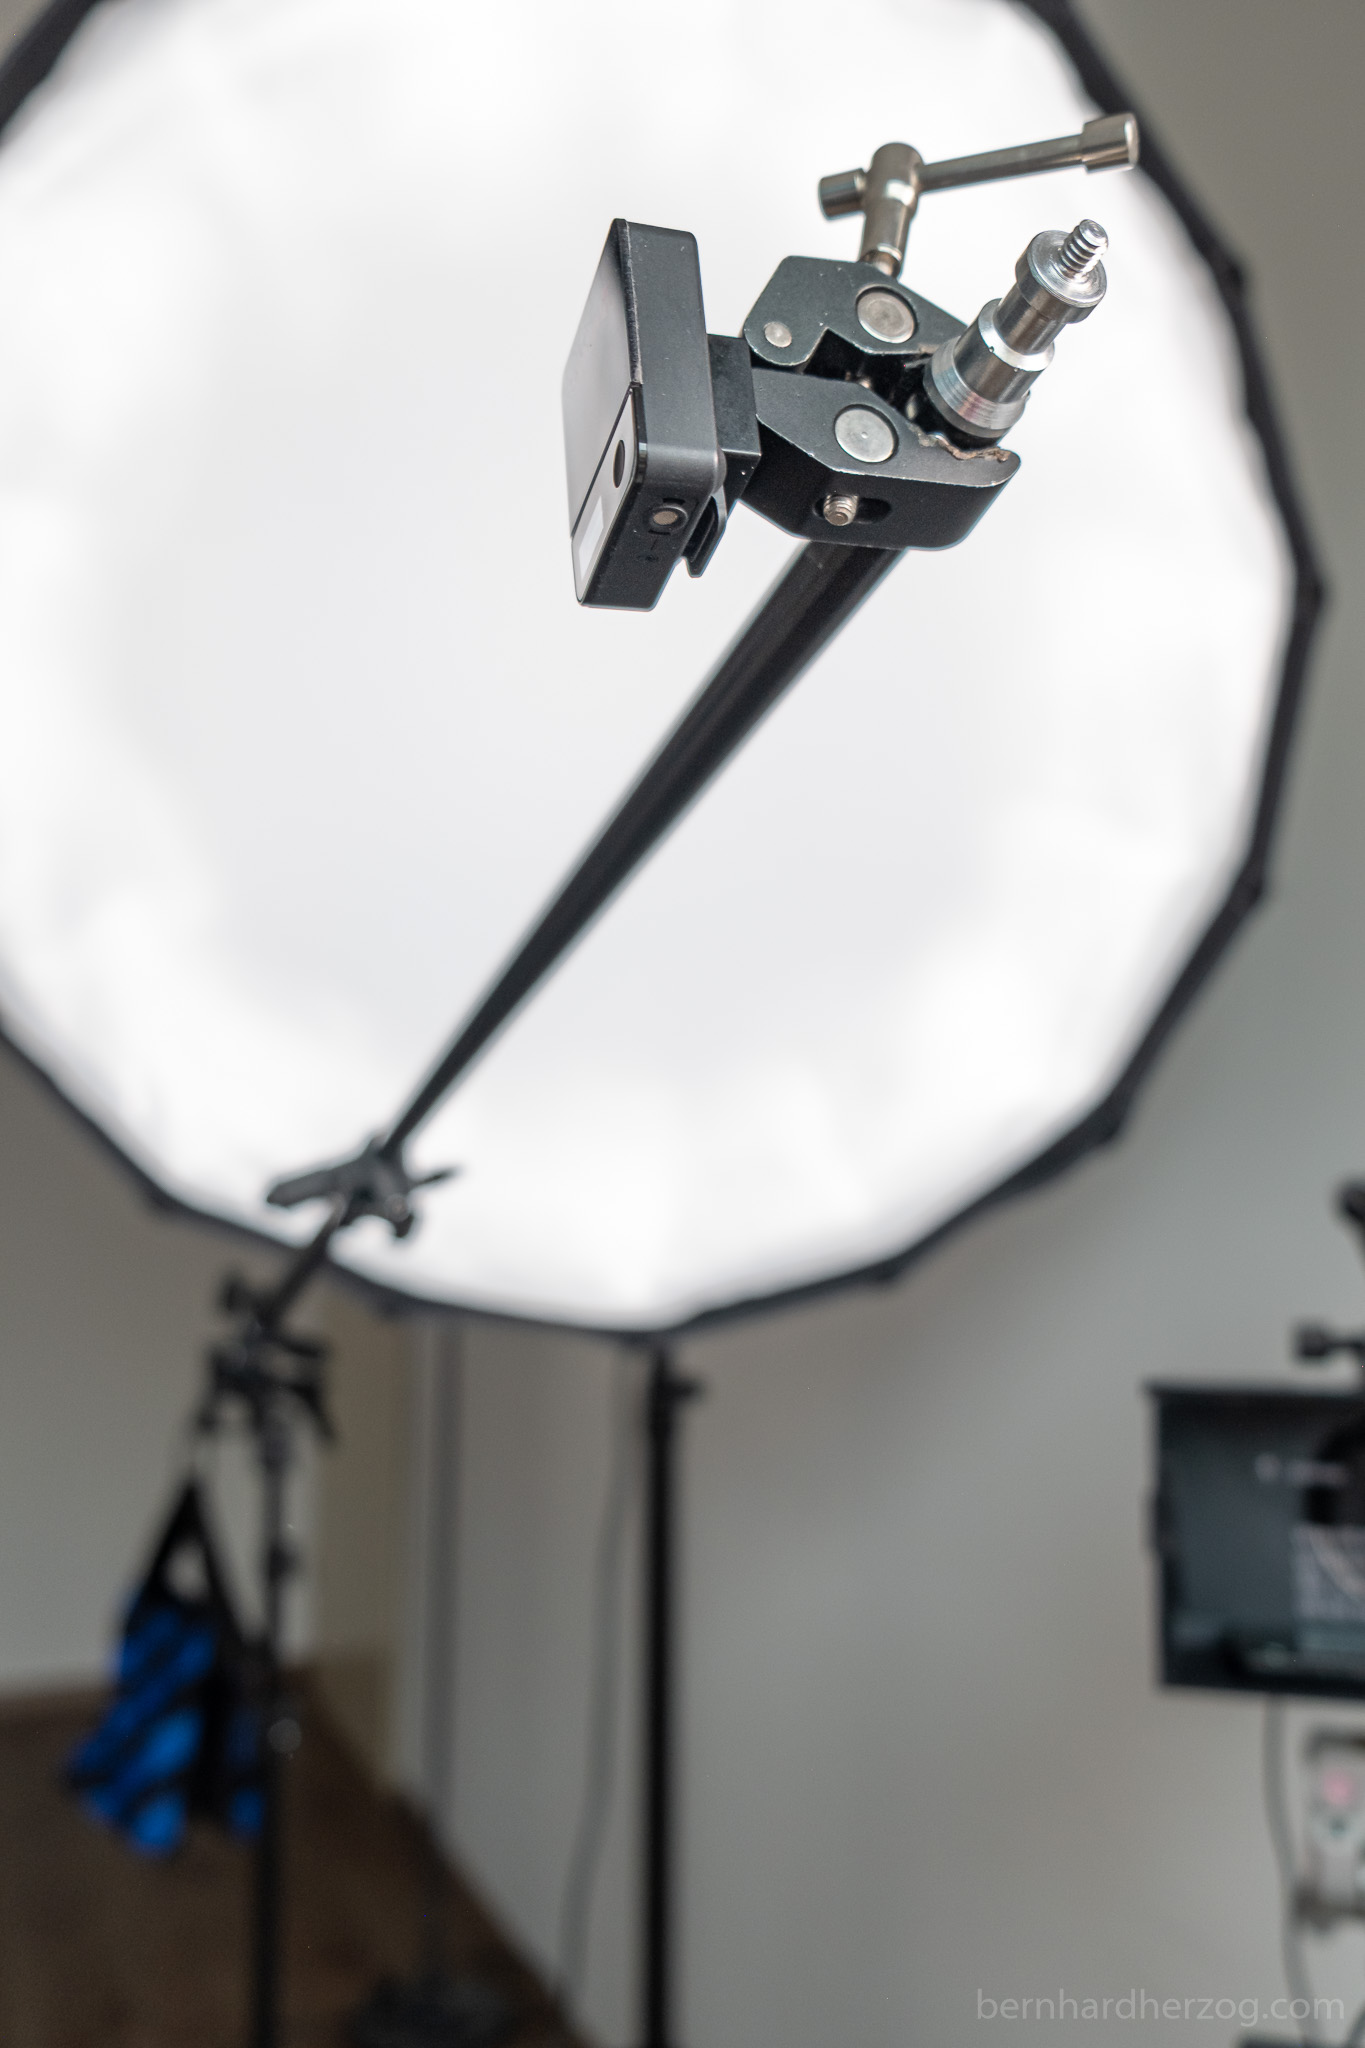
You can also connect a bigger microphone like the Rode VideoMicro to the transmitter.
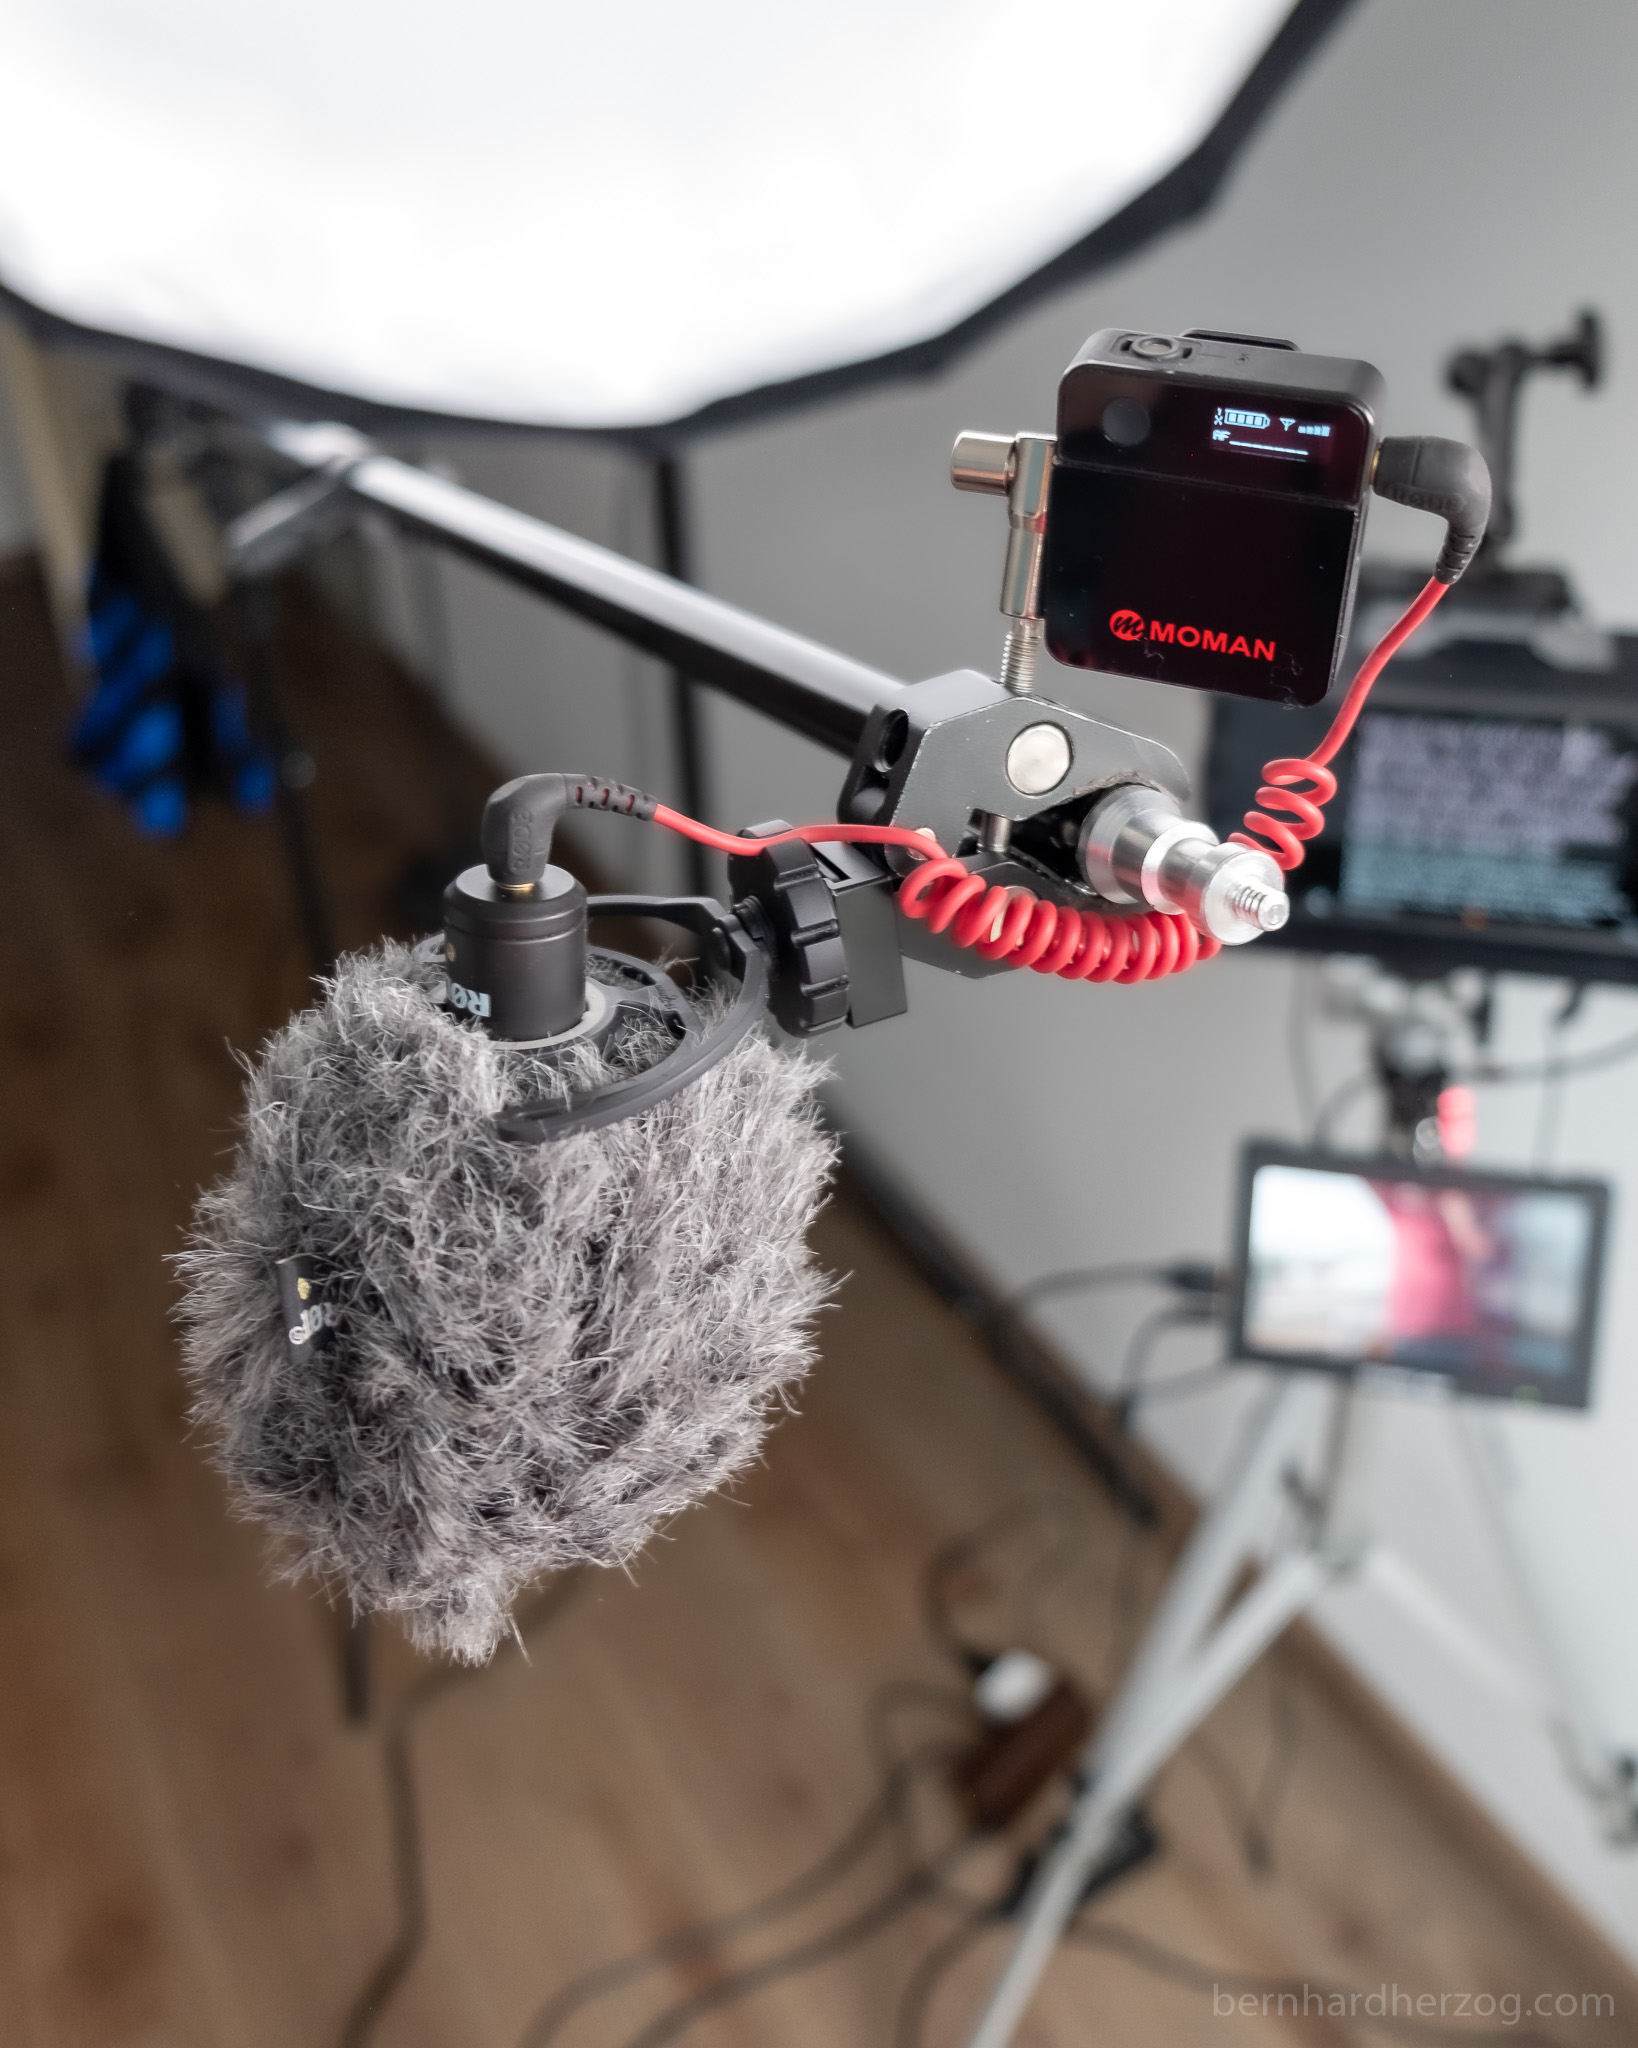
But I had problems with this because it requires to boost the gain on the camera and I had too much noise because of that. If you have a wireless microphone with very low noise levels this could work out nicely.
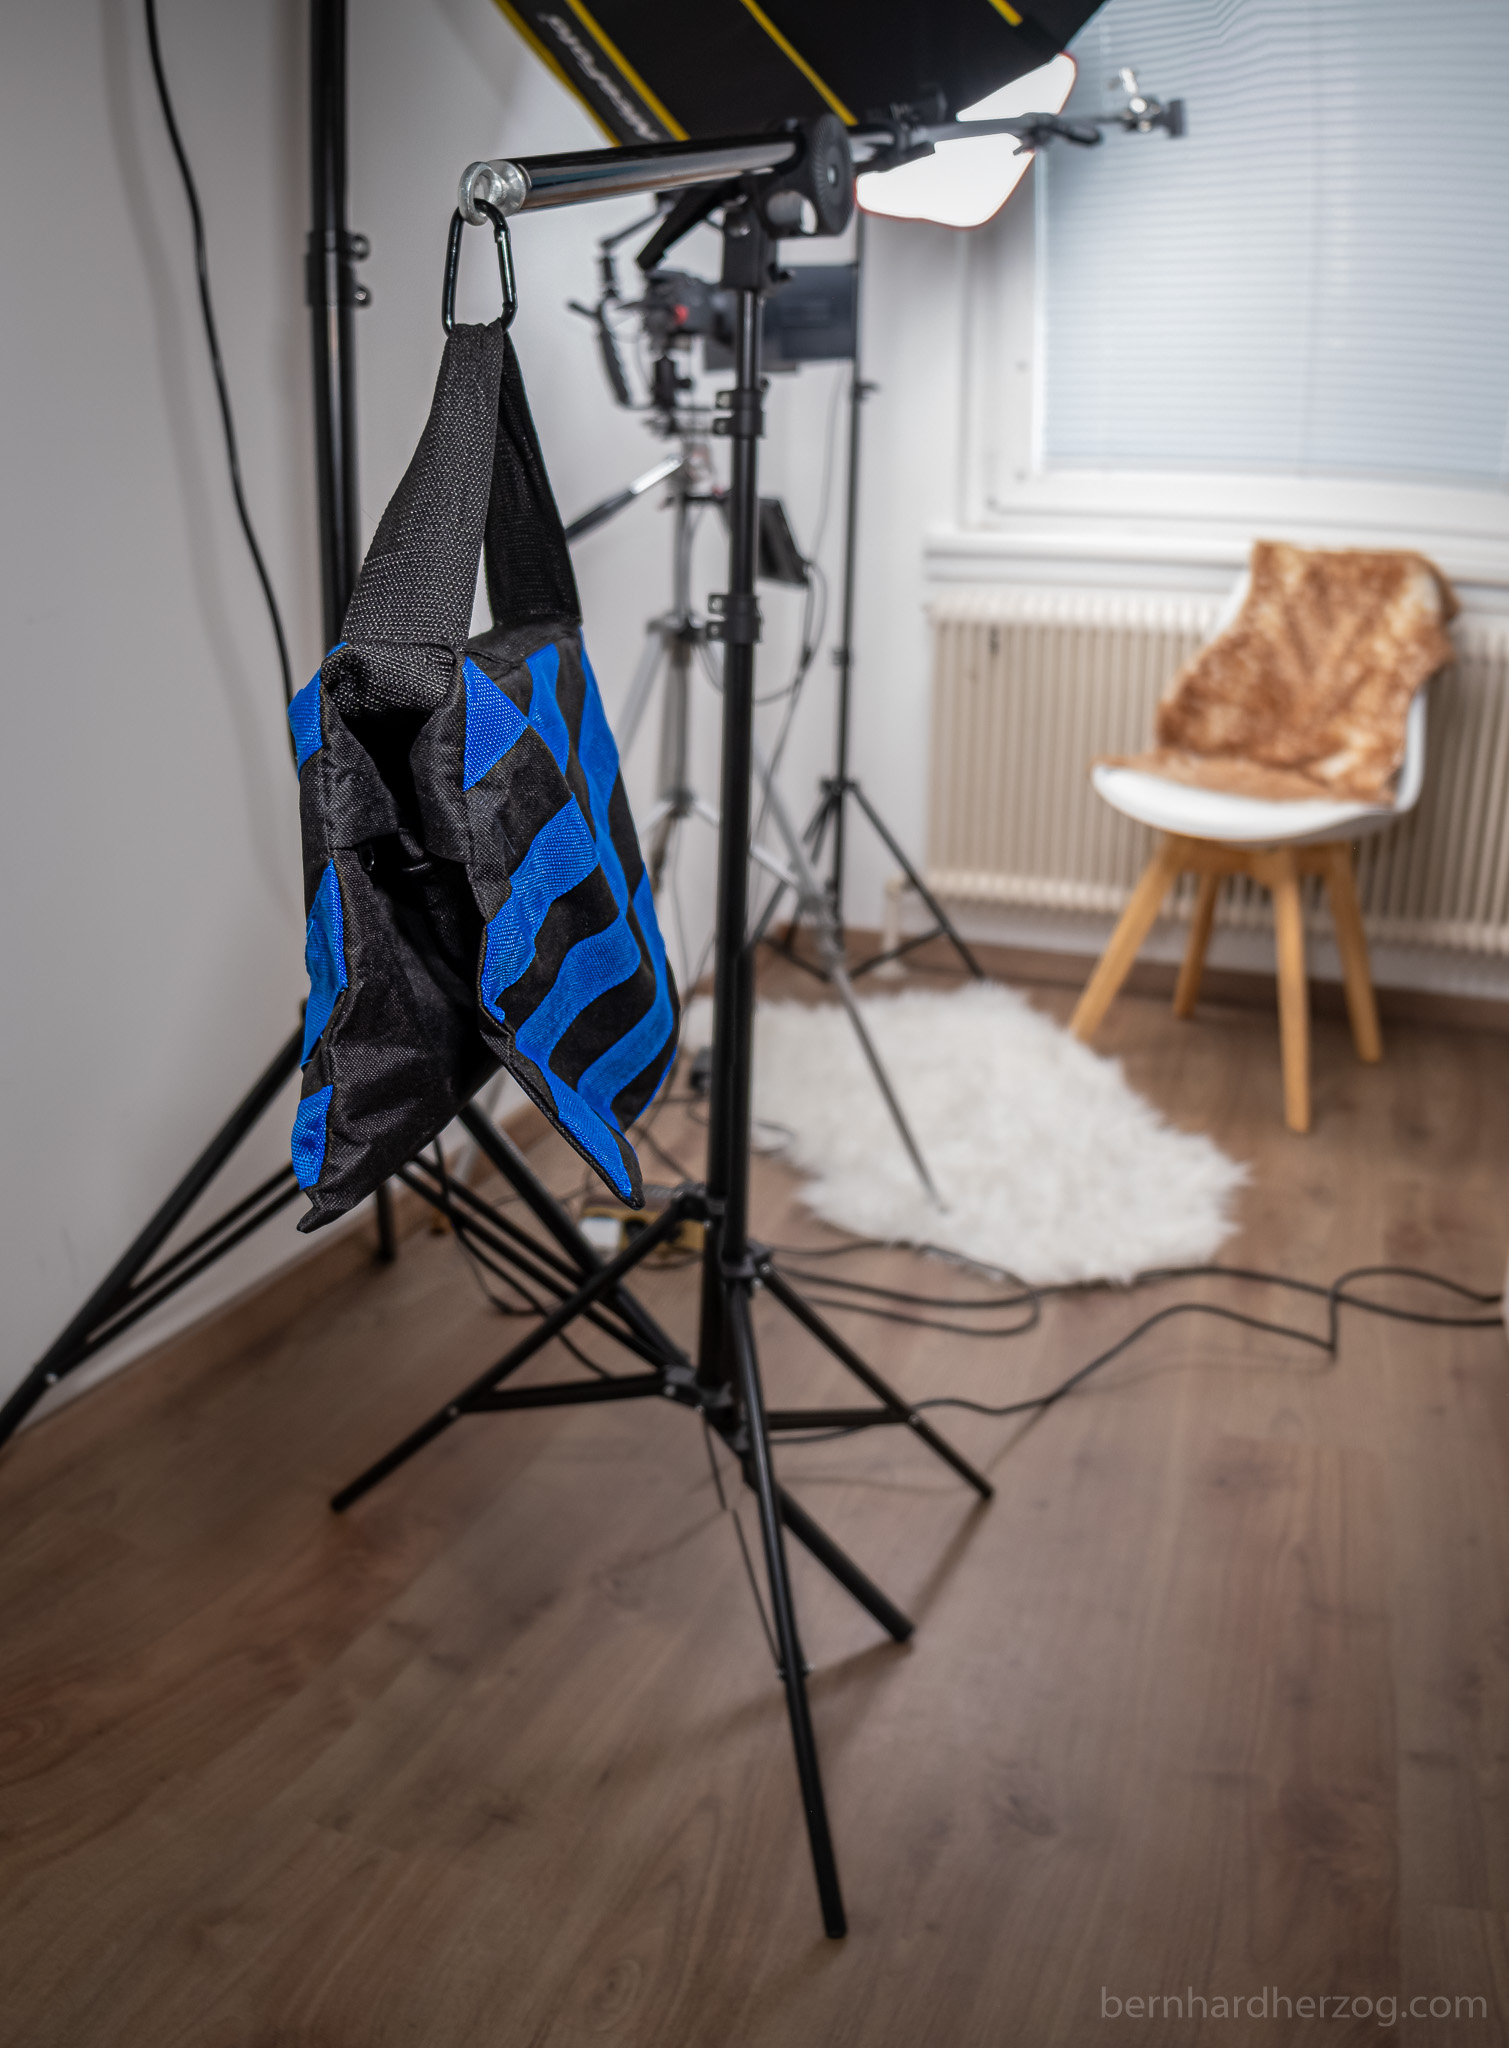
You can use this setup at home together with a lightstand (put a counter-weight on the boom arm then) or as a mobile solution. This also works well when you have two persons talking, then simply put the microphone above and in between both people.
Neewer Boom Arm Small Coldshoe adapter Clamp
10. My Home Studio Setup
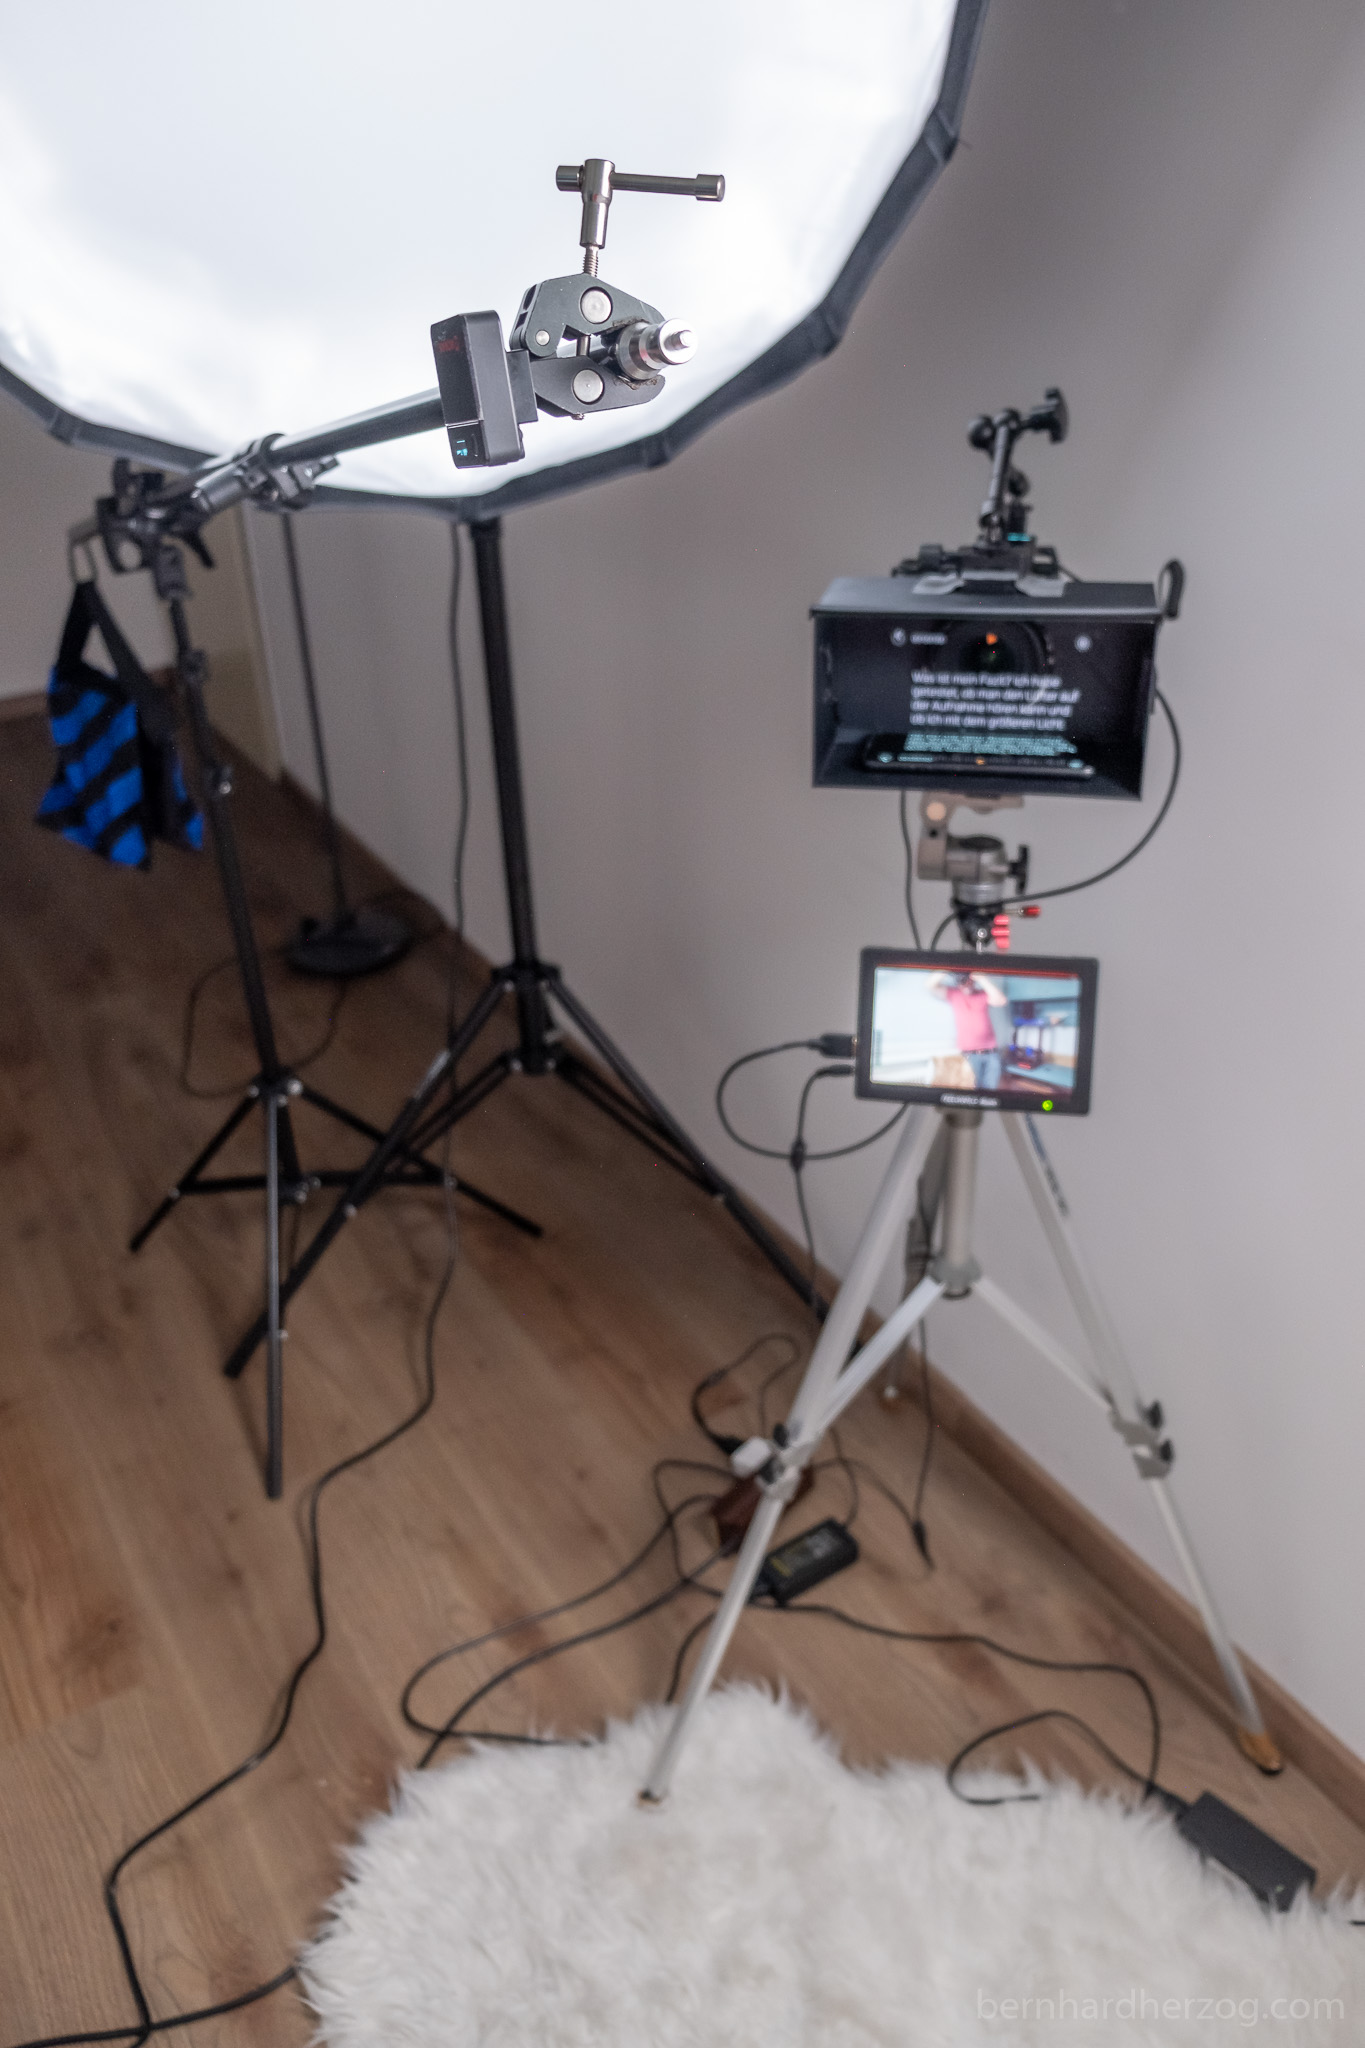
Last but not least I want to show you my current home studio setup.
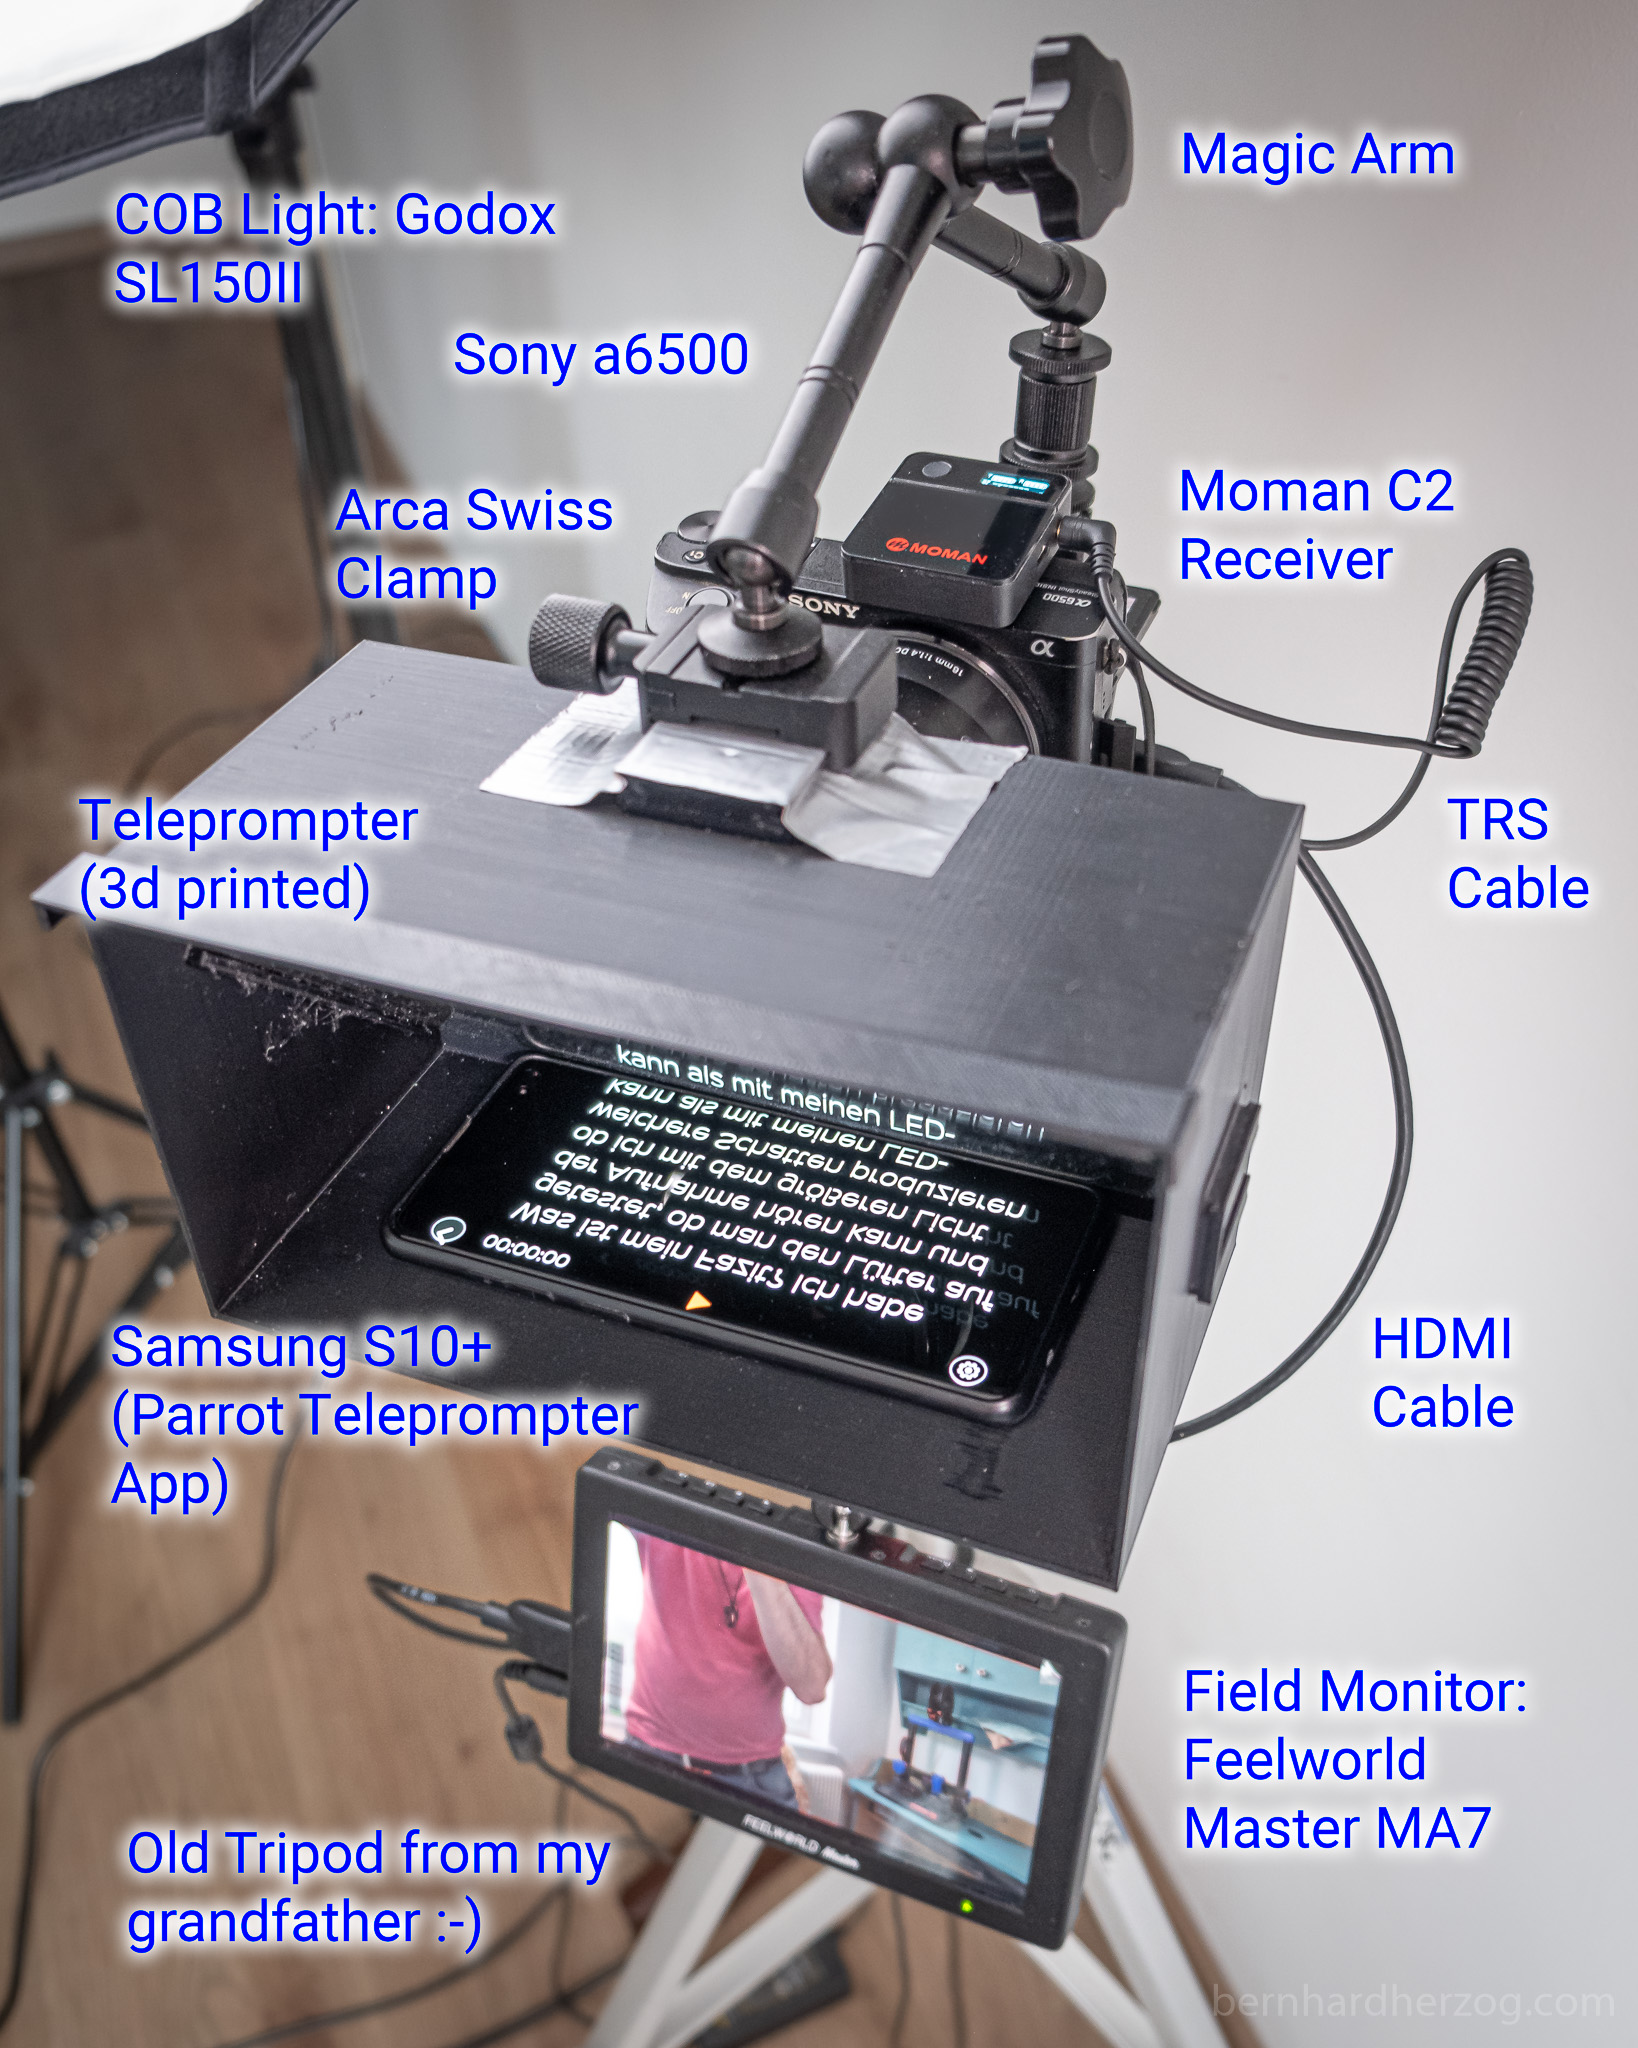
I use a teleprompter that I have also printed using my 3d printer.
My teleprompter has cold shoe attachments on the sides where I can mount the receiver or I simply put it on the hot shoe of the camera.
If I don’t want to use the teleprompter I can also put a field monitor on the hot shoe of the camera and put the receiver on the cold shoe adapter that is on the tilt arm of the monitor. This also works very well when filming outside.
Artillery Genius (my 3d printer) Godox SL150II Magic Arm Field Monitor 7 inch Arca Swiss Clamp L-Shape Bracket (I use this to hang teleprompter)
Conclusion
Ok, I hope I was able to give you some ideas.
As I said in the beginning I am very happy with my wireless microphone and it makes everything much easier. Of course it is not perfect, for example I always have to take care that both the transmitter and the receiver are charged and in some more quite situations where the audio is not very loud I might get more noise that I have to remove in post (outside it is usually not so much of a problem).
I highly recommend to always use the audio meter on your camera or audio recorder to check if there is actually something recording, or even to monitor your audio with headphones.
You are welcome to post in the comments about your favorite setups and/or if you could make use of my tips if you want.
Please use the following links for shopping. I will receive a small kickback from anything you buy at no extra costs for you and it will help me finance my blog. Thank you for that! CU next time!!
Moman C2 @ amazon.com Rode Wireless Go Recommended Tripod (also good for overhead shots) Tripod Mount for Smartphone with cold shoe mount (can be rotated vertically for Instagram) Headphone/Mic Adapter for iPhone Headphone/Mic Adapter for newer Android phones Y-Splitter cable Selfie Stick Tripod with cold shoe Bluetooth remote Extension Arm Vented Helmet Straps (you will need 2) J-Hook Mounts (break easily, better buy more) GoPro 9 (turn off stabilization when using newer GoPros) GoPro 4/3/3+ Mic Adapter GoPro 5/6/7/8/9 Mic Adapter GoPro 8 Media Mod GoPro 9 Media Mod DJI Osmo Action Audio Adapter HDMI Stick / Capture Card Micro HDMI cable Tabletop Tripod Dummy Battery for Sony Alpha A6500, A6400, A6300, A7, A7II, A7RII, A7SII, A7S, A7S2, A7R, A7R2, A55, A5100, RX10 Cameras Rode Interview Go Adapter Foam Wind Muff and Deadcat Download 3d Model Artillery Genius (my 3d printer) UHU allplast Zoom H1 Audio Recorder Screen Mirror for Vlogging Version 1 Screen Mirror for Vlogging Version 2 DJI RSC 2, recommended Gimbal (I still use a Zhiyun Crane M which is not sold anymore) Neewer Boom Arm Small Coldshoe adapter Godox SL150II Magic Arm Field Monitor 7 inch Arca Swiss Clamp L-Shape Bracket (I use this to hang teleprompter)
Leave a Reply